Stuffed Onion Bombs are the ultimate backyard showstopper, combining the smoky sweetness of charred yellow onions with a savory, high-protein filling. This isn’t just another meatloaf variation; it is a meticulously layered culinary experience designed for those who crave bold textures and deep, wood-fired flavors.
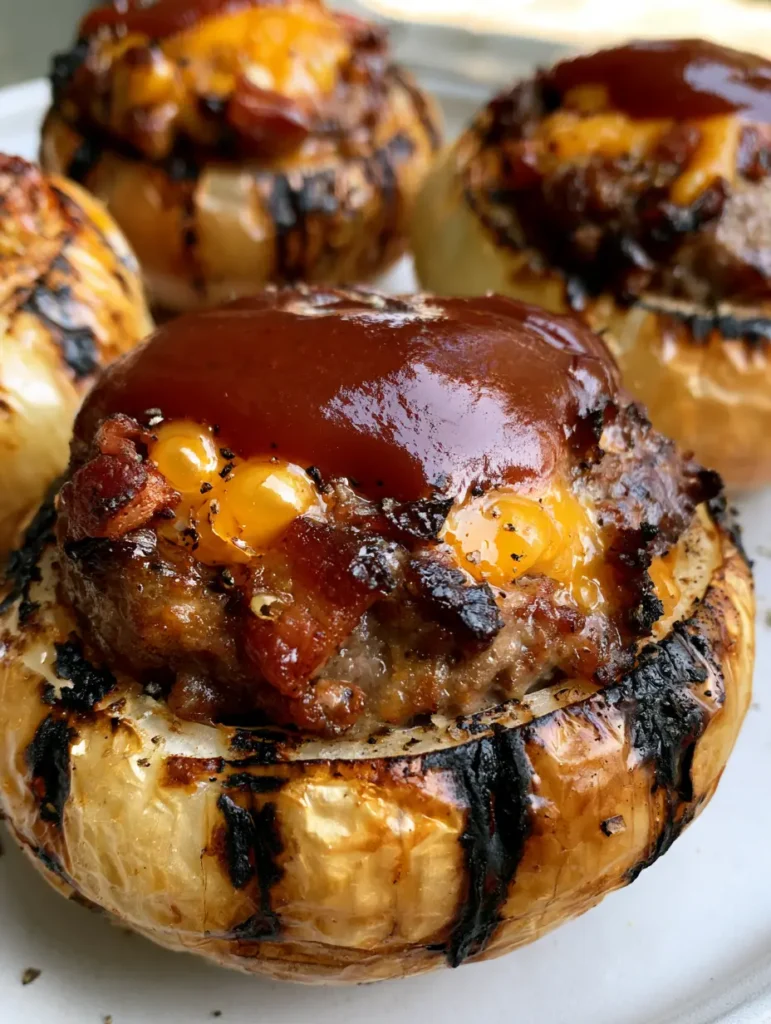
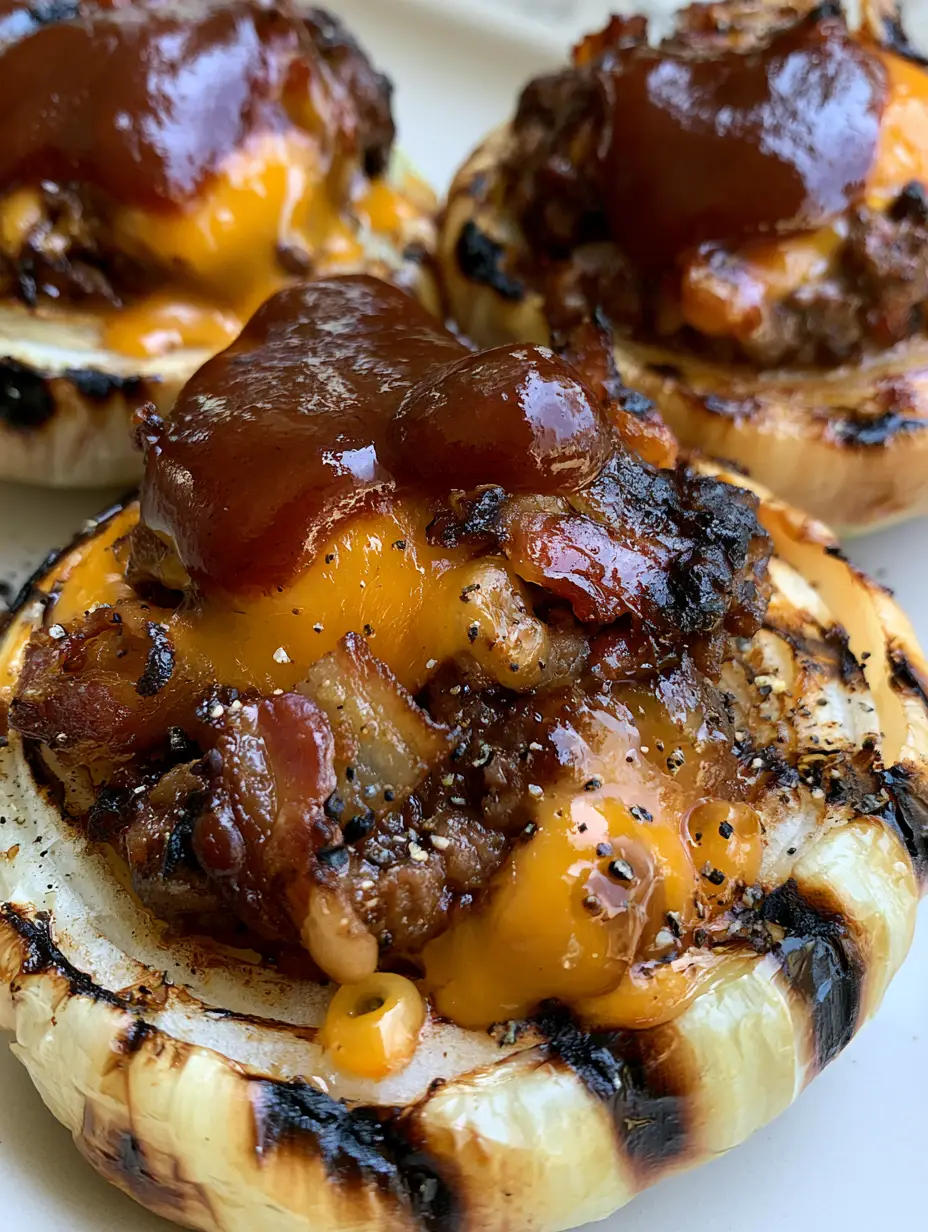
When you take your first bite, you are met with the snap of a flame-kissed onion shell followed by the rush of molten sharp orange cheddar and the crunch of perfectly rendered bacon. The exterior, lacquered in a glossy mahogany BBQ sauce, provides a sticky, sweet contrast to the savory beef patty inside.
Captured in the soft glow of natural daylight, these Stuffed Onion Bombs represent the pinnacle of authentic outdoor cooking. Whether you are hosting a summer cookout or looking for a high-impact weeknight meal, this recipe delivers professional results with the approachable feel of a handheld smartphone capture.
The Unrivaled Appeal of the Grilled Onion Shell
What makes this recipe truly stand out is the structural integrity and flavor profile of the onion itself. Unlike traditional buns, the yellow onion caramelizes under high heat, releasing natural sugars that complement the saltiness of the beef and bacon.
- Charred and Softened Texture: The dual-stage cooking process ensures the onion is tender enough to bite through while maintaining distinct, dark grill marks for a professional aesthetic.
- Molten Cheese Core: We utilize sharp orange cheddar specifically for its high oil content and vibrant color, creating those iconic melted cheese bubbles on the surface.
- Glossy Mahogany Finish: A thick, molasses-based BBQ sauce creates a professional glaze that clings to the onion’s surface, reflecting light and locking in moisture.
- Crispy Bacon Integration: By folding crispy chopped bacon directly into the beef, we ensure every single bite contains a smoky crunch, rather than just a top-layer garnish.
The Anatomy of Ingredients for Stuffed Onion Bombs
To achieve the visual and structural perfection seen in our blueprint, selecting the right raw materials is non-negotiable. Each ingredient plays a scientific role in the “bomb” construction.
Large Yellow Onions (4 Count): Choose onions that are firm and heavy for their size. Yellow onions are superior to white onions for this recipe because their higher sugar content leads to better charring and a deeper mahogany color when grilled.
Ground Beef Patty Mix (1.5 lbs / 680g): We recommend an 80/20 lean-to-fat ratio. The fat is essential for a “juicy, browned ground beef filling” that won’t dry out during the extended indirect heat phase.
Crispy Chopped Bacon (6 Slices / 170g): You must pre-cook the bacon until it is fully crisp before folding it into the beef. This ensures the texture remains distinct and “visible” against the softened meat and cheese.
Sharp Orange Cheddar (1 cup / 115g): We use shredded sharp cheddar for better distribution. The orange hue provides a striking visual contrast against the dark BBQ sauce and the white-to-translucent onion layers.
Glossy Mahogany BBQ Sauce (1/2 cup / 120ml): Look for a sauce with a tomato and molasses base. This provides the viscosity needed to coat the bombs without running off, creating that “thick, glossy” appearance.
Cracked Black Pepper (1 tbsp / 6g): Use a coarse grind for “fine grains” that are visible on the surface. This adds a punch of heat that cuts through the richness of the cheese and beef.
Foundational Seasonings: You will also need 1 tsp (6g) kosher salt and 1/2 tsp (3g) garlic powder to enhance the natural umami of the ground beef. A light coating of neutral oil (1 tbsp / 15ml) on the onion exteriors prevents sticking and encourages even charring.
Essential Equipment for the Master Griller
Achieving the perfect Stuffed Onion Bombs requires a combination of direct and indirect heat management. These tools will ensure your success.
A reliable outdoor grill (charcoal or gas) is the primary requirement. You need a two-zone setup to first sear the onions for those “distinct dark grill marks” and then roast them until the cheese is bubbling.
A set of long-handled tongs is vital for rotating the onions without piercing the shells. We also recommend a digital meat thermometer to ensure the beef centers reach a safe internal temperature of 160°F (71°C).

Step-by-Step Evolution of a Stuffed Onion Bomb
Phase 1: Preparing the Onion Foundations
Start by peeling the outer papery skin off your large yellow onions. Carefully slice them in half vertically, from root to stem, and separate the largest 2-3 outer layers to form your “shells.”
Save the smaller inner layers of the onion for another use, such as a beef stir fry. Brush the outer surface of the large shells with a light coating of neutral oil and a pinch of salt.
Phase 2: Crafting the Bacon-Cheddar Beef Filling
In a large mixing bowl, combine your 1.5 lbs (680g) of ground beef with the salt, garlic powder, and half of the cracked black pepper. Gently fold in the crispy chopped bacon and the sharp orange cheddar.
Avoid over-handling the meat; you want the bacon and cheese to remain as distinct, visible pieces within the juicy filling. Form the mixture into spheres that fit snugly inside your prepared onion halves.
Phase 3: The Assembly and Initial Sear
Place a meat sphere into one onion half and cover it with the matching half, creating a reconstructed whole onion. If the fit is loose, you can secure the “bomb” with a single toothpick, though a well-sized onion shell should hold naturally.
Preheat your grill to medium-high heat (approx. 400°F / 204°C). Place the bombs directly over the flame for 3-4 minutes per side. Look for the sensory cue of a “sizzling sound” and the visual of dark, defined char marks forming on the yellow skin.
Phase 4: Indirect Roasting and the Mahogany Glaze
Move the Stuffed Onion Bombs to the cooler, indirect heat side of the grill. Close the lid and cook for 15-20 minutes. This allows the heat to penetrate the center, melting the cheese into those beautiful “melted cheese bubbles.”
During the last 5 minutes of cooking, use a brush to apply a generous layer of the mahogany BBQ sauce. The sauce should thicken and become glossy. Finish with a final sprinkle of the remaining cracked black pepper over the top.
Expert Tips for the Perfect Onion Bomb
- The “Size Match” Rule: Ensure your beef balls are slightly larger than the onion cavity. This creates a tight seal and prevents the BBQ sauce from leaking into the center too early.
- Pre-Cook Your Bacon: Never put raw bacon inside the beef. It will not reach the necessary temperature to become “crispy” and will instead result in a rubbery texture.
- The Carry-Over Cook: Remove the bombs from the grill when the internal temp hits 155°F (68°C). Let them rest for 5 minutes; the temperature will rise to 160°F (71°C) while the juices redistribute.
- Visual Cue for Done-ness: You’ll know they are ready when the BBQ sauce looks like a “mahogany mirror” and the onion layers have softened from opaque white to a translucent, golden hue.
Optimal Storage and Reheating Strategies
Stuffed Onion Bombs are best enjoyed fresh off the grill, but they can be stored in an airtight container in the refrigerator for up to 3 days. The flavors actually deepen as the onion and BBQ sauce meld overnight.
To reheat, avoid the microwave as it can make the onion shells rubbery. Instead, place them in an oven or air fryer at 350°F (175°C) for 10-12 minutes until the cheese is once again bubbling.
Freezing is not recommended for this specific recipe. The high water content in the yellow onions causes the cell walls to collapse when thawed, resulting in a loss of the structural “bomb” integrity.
What to Serve with Your Grilled Masterpiece
Because these Stuffed Onion Bombs are incredibly rich and savory, they pair perfectly with acidic or creamy side dishes that cleanse the palate. A classic macaroni salad provides the perfect cool contrast to the hot BBQ glaze.
If you are looking to round out a full grill menu, consider adding some shrimp skewers for a surf-and-turf feel. For those who enjoy a bit of heat, these bombs also pair excellently with a side of street corn components.
If you find yourself with leftover ground beef and bacon, you could even transition these flavors into bacon cheeseburger bombs for your next meal prep session.
Frequently Asked Questions
Absolutely. Bake them at 400°F (204°C) on a wire rack over a baking sheet for 25-30 minutes. To get the ‘charred’ look, you can broil them for the last 2 minutes after applying the BBQ sauce.
Yes. Since the beef is enclosed in an onion shell, the bacon will steam rather than crisp if added raw. Pre-cooking it ensures you get that vital ‘crispy’ texture in the final bite.
Ensure the beef filling is packed tightly and the onion shells are large enough to wrap at least 75% around the meat. If needed, secure with a single toothpick, but searing the onion first helps it ‘shrink-wrap’ around the meat.
Large yellow onions are best. They have a higher sugar content than white onions, which leads to superior caramelization and that beautiful charred appearance.
This usually happens if the sauce is too thin or the onion is too oily. Ensure you use a thick, molasses-based mahogany sauce and only apply it during the final 5-10 minutes of cooking.
The Ultimate Stuffed Onion Bombs Recipe
Stuffed Onion Bombs with Crispy Bacon and Sharp Cheddar
Ingredients
Equipment
Method
- Peel onions and slice vertically. Remove the inner layers, leaving 2-3 outer layers to act as the shell. Brush the outside with oil and salt.
- In a bowl, combine ground beef, crispy bacon, shredded cheddar, salt, garlic powder, and half the pepper. Mix gently until just combined.
- Place beef spheres inside onion shells and close. Grill over direct medium-high heat for 3-4 minutes per side until dark char marks appear.
- Move bombs to indirect heat. Close lid and cook for 15-20 minutes. Brush with BBQ sauce and top with remaining pepper in the last 5 minutes.
Notes
Use a thermometer to hit 160°F internal for food safety.
Master the Grill with This Flavor Explosion
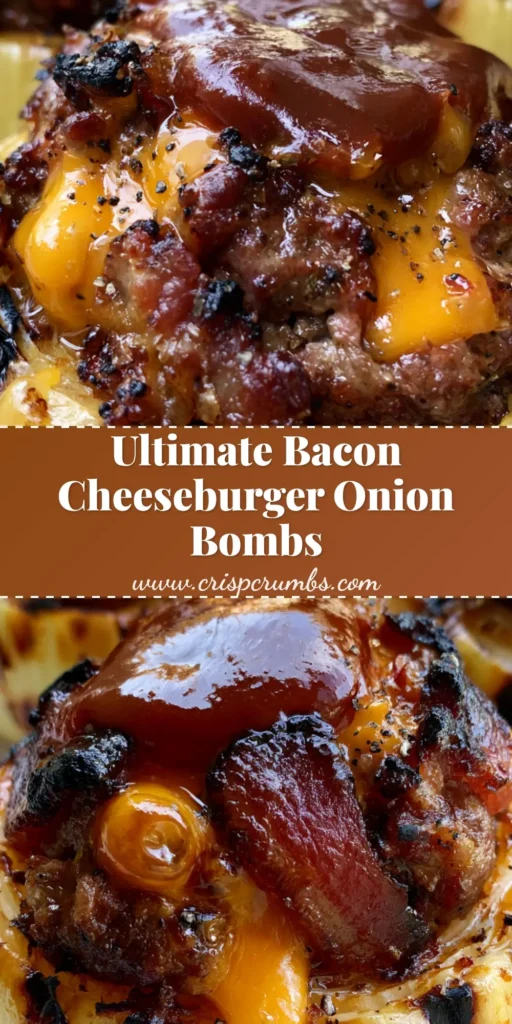
These Stuffed Onion Bombs are more than just a meal; they are a conversation starter. The combination of the charred yellow onion and the hidden bacon-cheese center offers a sophisticated twist on the classic American burger profile.
We invite you to try this recipe at your next gathering. If you enjoyed the smoky, glossy finish of these “bombs,” please leave a comment below and share your results! Don’t forget to follow CrispCrumbs on Pinterest for more visually-driven recipe inspiration and grilling tips.


