There is a specific, audible “snap” that defines a perfect pickle. When you bite into these Refrigerator Dill Pickles, that sound is the first thing you notice—a sharp, refreshing crack that gives way to a vibrant, garlic-infused brine. Unlike mushy, shelf-stable grocery store versions, these pickles maintain their integrity because they never touch a boiling water bath.
This recipe transforms humble garden cucumbers into a gourmet condiment in less than thirty minutes of active time. We are aiming for that exact visual captured in our kitchen today: vibrant bright green cucumbers with crisp white flesh, suspended in a crystal-clear liquid alongside feathery dill and pungent garlic. Whether you prefer the classic vertical spear or the thick-cut round, this method delivers the ultimate crunch every single time.
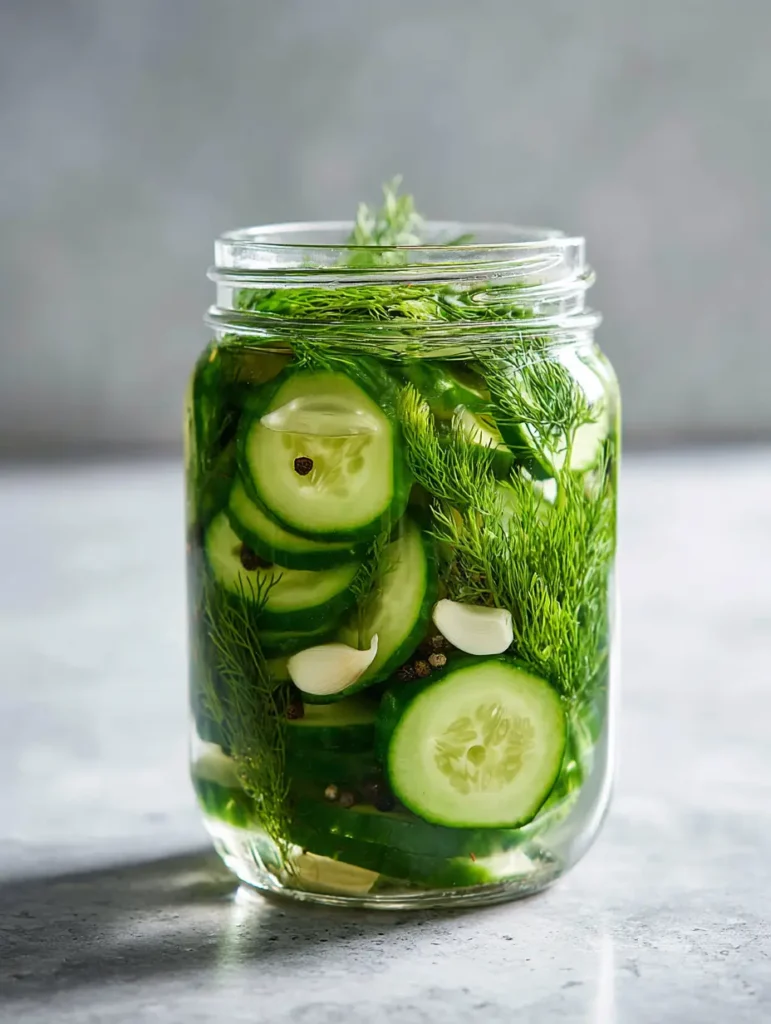
Why This Cold-Process Method Beats Traditional Canning
- Unbeatable Texture: By skipping the heat-processing stage, the cell structure of the cucumber remains firm and snappy rather than softening.
- Visual Vibrancy: These pickles retain a “vibrant bright green” hue that looks stunning in a wide-mouth mason jar, making them a centerpiece of any refrigerator shelf.
- Small-Batch Simplicity: You don’t need giant pots or specialized canning equipment; a single jar and a small saucepan are all it takes to master Refrigerator Dill Pickles.
- Customizable Flavor: Once you understand the base brine, you can tweak the garlic, peppercorn, and dill ratios to suit your specific palate.
The Science of Selecting Crunchy Pickle Ingredients
To achieve the “crisp white flesh and visible seeds” look seen in the highest quality Refrigerator Dill Pickles, you must start with the right cultivar. Standard “slicing” cucumbers from the produce aisle have skins that are too thick and seeds that are too watery for a high-quality pickle.
Kirby or Persian Cucumbers: 1.5 lbs (680g). These are the gold standard for pickling due to their low moisture content and thin, bumpy skins that allow the brine to penetrate quickly. Look for firm, small-to-medium specimens that feel heavy for their size.
Distilled White Vinegar: 1.25 cups (300ml). This provides the “clear vinegar brine” aesthetic. While apple cider vinegar adds a fruity note, it tints the liquid brown; distilled white vinegar ensures the cucumbers and garlic remain the visual stars.
Filtered Water: 1.25 cups (300ml). Using filtered water prevents chlorine or minerals from clouding your brine or affecting the clean, sharp taste of the dill.
Kosher Salt: 2 tbsp (30g). Avoid table salt with iodine, which can turn your pickles a muddy color and create a bitter aftertaste. Kosher salt dissolves cleanly and provides a pure saline punch.
Granulated Sugar: 1 tbsp (12g). This is a foundational “invisible” ingredient. It doesn’t make the pickles sweet; rather, it rounds out the sharp acidity of the vinegar for a balanced mouthfeel.
Fresh Green Dill Sprigs: 1 large bunch (approx. 5-6 feathery sprigs). The “large, feathery sprigs” are essential for that aromatic, herbaceous flavor that defines a true dill pickle.
Whole Peeled Garlic Cloves: 4-6 large cloves (20g). We leave these whole to ensure the brine remains clear while slowly infusing the cucumbers with a deep, savory pungency.
Black Peppercorns: 1 tsp (5g). These add a subtle, woody heat and look beautiful scattered throughout the jar, as described in our visual blueprint.
Essential Equipment for Professional Results
To recreate the handheld smartphone photo aesthetic of a perfectly packed jar, you need the right tools. Accuracy in cutting ensures that every spear and round pickles at the same rate.
A Wide-Mouth Mason Jar: 32 oz (1 Liter). The wide opening is crucial for tucking in the feathery dill and arranging the spears vertically without bruising the vegetables.
A Sharp Chef’s Knife or Mandoline: This allows you to achieve the “thick rounds” and “vertically sliced spears” with geometric precision. Consistent thickness leads to consistent crunch.
A Small Non-Reactive Saucepan: Use stainless steel or enamel-coated pots to heat your brine. Avoid aluminum or copper, which can react with the vinegar and create off-flavors.
Step-by-Step: Crafting Your Refrigerator Dill Pickles
1. Prepare the Visual Elements
Wash your cucumbers thoroughly in cold water to remove any garden debris. Trim 1/16th of an inch off the blossom end of each cucumber; this end contains enzymes that can cause softening, and removing it is the secret to a professional-grade crunch.
Slice half of your cucumbers into long, vertical spears and the other half into “thick rounds” about 1/4 inch (6mm) thick. This variety of shapes ensures your Refrigerator Dill Pickles are perfect for everything from snacking to topping an Oklahoma onion smash burger.
2. The Clear Brine Infusion
In your saucepan, combine the distilled white vinegar, filtered water, kosher salt, and sugar. Place over medium heat and stir occasionally until the salt and sugar have completely dissolved.
Bring the mixture to a light simmer, then immediately remove from heat. You want the brine hot enough to extract flavor from the aromatics but not so hot that it “cooks” the cucumbers when poured into the jar.
3. Packing the Jar for Maximum Appeal
Place your whole peeled garlic cloves and half of the black peppercorns at the bottom of the clean mason jar. Begin packing the cucumber spears vertically, wedging them in tightly so they don’t float.
Interlace the “large, feathery sprigs of fresh green dill” between the spears. Drop in the cucumber rounds, filling the gaps. The goal is a jar that looks “filled to the brim” with vibrant greens and whites. Scatter the remaining peppercorns over the top.
4. The Final Pour and Chill
Carefully pour the hot brine over the cucumbers, ensuring every piece is fully submerged. The liquid should reach just below the rim of the jar. You will see “gentle highlights on the glass” as the clear liquid fills the spaces between the crisp vegetables.
Let the jar sit at room temperature for about 1 hour until the glass is cool to the touch. Seal the lid tightly and move the jar to the refrigerator. While they are technically edible after 4 hours, the flavors peak after 24 to 48 hours of cold infusion.

Expert Tips for Success
- The Ice Bath Hack: For the ultimate snap, soak your cucumber slices in a bowl of ice water for 30 minutes before packing them into the jar. Dry them thoroughly before adding to the brine.
- Garlic Prep: Gently smash the whole garlic cloves with the side of your knife before peeling. This releases the oils while keeping the clove intact so the brine stays clear.
- Vinegar Ratios: Never drop below a 1:1 ratio of vinegar to water. This acidity level is what keeps the Refrigerator Dill Pickles safe and tangy in the cold environment.
- Freshness Matters: Use dill that is bright green and upright. Avoid wilted or yellowing dill, as it can impart a bitter, “muddy” flavor to the brine.
How to Serve and Pair Your Pickles
These pickles are more than just a snack; they are a versatile flavor-booster. Their high acidity and crunch make them the perfect palate cleanser for rich, savory dishes.
Serve the thick rounds alongside some crispy fried chicken sliders for a classic pairing. The spears are a mandatory side for a loaded chipotle chicken torta or tucked into a warm greek chicken gyro. If you’re hosting a backyard BBQ, a jar of these on the table next to some homemade hot dog buns will disappear in minutes.
Practical Storage and Shelf Life
Because these are Refrigerator Dill Pickles and not shelf-stable canned goods, they must be stored in the fridge at all times. They will remain at peak quality for approximately 3 to 4 weeks.
Over time, the garlic may take on a bluish or greenish tint. This is a natural reaction between the garlic’s enzymes and the vinegar’s acidity; it is perfectly safe to eat. However, if the brine becomes cloudy or you notice any “off” odors, it is time to discard the batch.
Frequently Asked Questions
This specific recipe is designed for refrigeration only. For long-term shelf storage, you would need to use a water bath canning method, which would result in a softer pickle texture.
Yes, you can, but it will change the flavor profile and the look. Apple cider vinegar adds a milder, fruitier taste and will turn the brine a light amber color, whereas white vinegar keeps the brine crystal clear.
Yes. Boiling the water, vinegar, salt, and sugar ensures they are fully dissolved and helps to immediately draw the oils out of the garlic and dill, though we cool it slightly so we don’t cook the cucumbers.
These pickles are best enjoyed within 3 to 4 weeks. After this point, they begin to lose their signature crunch and the vibrant green color will start to fade.
This is a common and harmless chemical reaction. Garlic contains anthocyanins that can react with the acidity of the vinegar. It is perfectly safe to eat and does not affect the flavor.
The Ultimate Refrigerator Dill Pickles Recipe
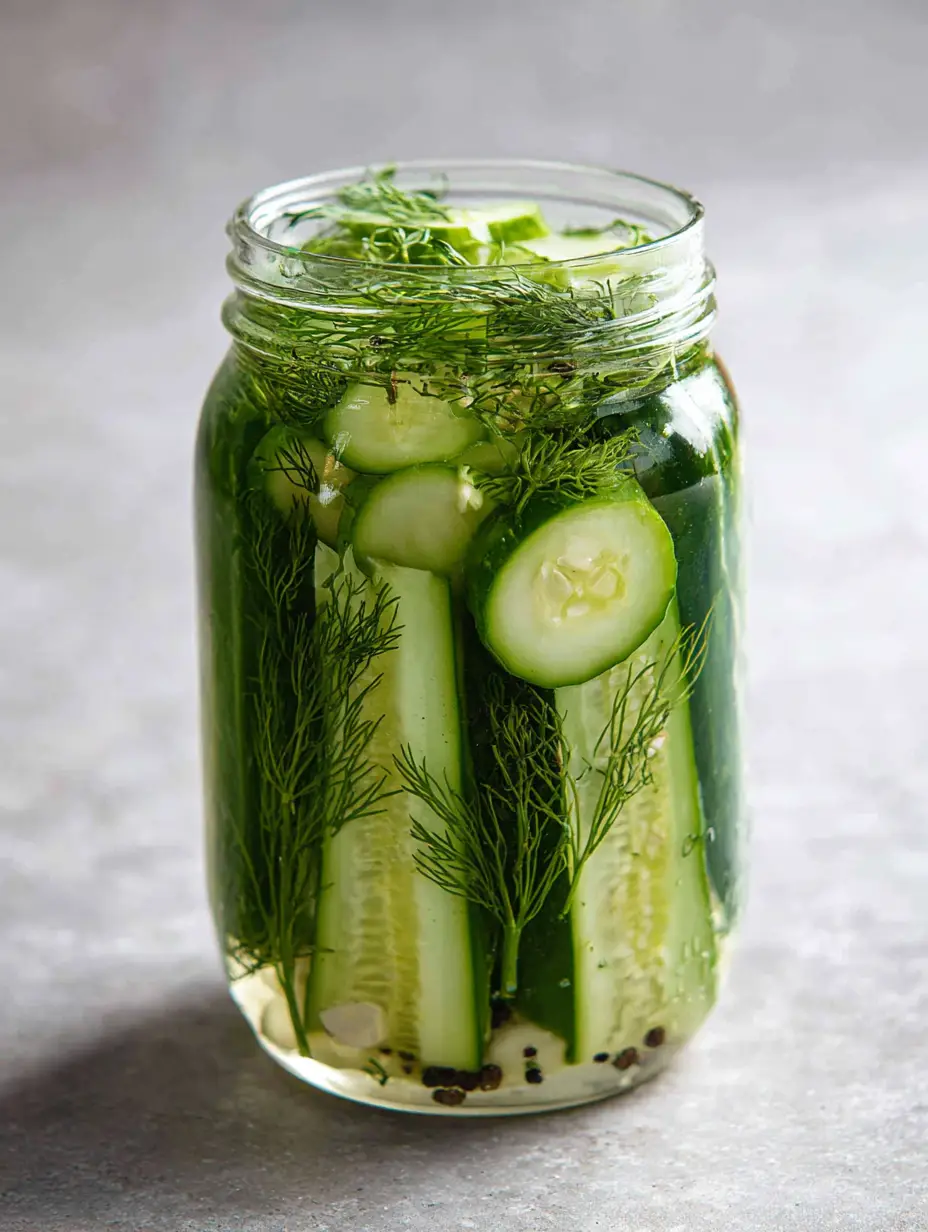
Refrigerator Dill Pickles: The Ultimate Extra-Crunchy Small Batch Guide
Ingredients
Equipment
Method
- Thoroughly wash cucumbers and trim the blossom ends. Slice half into vertical spears and the other half into thick rounds.
- In a small saucepan, combine vinegar, water, salt, and sugar. Heat over medium until salt and sugar dissolve. Bring to a light simmer, then remove from heat.
- Place garlic and half the peppercorns in the mason jar. Pack cucumber spears vertically and tuck in the dill sprigs and cucumber rounds tightly until the jar is filled to the brim.
- Pour the hot brine over the cucumbers until they are fully submerged. Let the jar cool at room temperature for 1 hour.
- Seal the jar and refrigerate. For best results, wait 24-48 hours before eating.
Notes
Do not skip trimming the blossom end, as it contains enzymes that soften pickles.
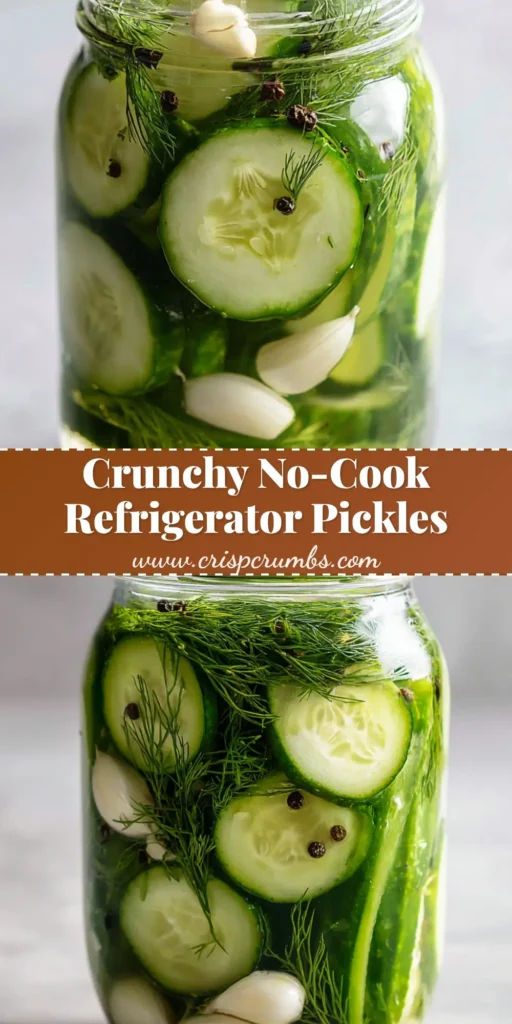
Start Your Pickling Journey Today
Mastering the art of Refrigerator Dill Pickles is a gateway to a world of homemade condiments. With their vibrant color, garlic-heavy aroma, and that unmistakable crunch, they are guaranteed to elevate your next meal. Don’t forget to snap a photo of your perfectly packed jar on your countertop and share it with us!
If you loved this recipe, please leave a comment below and follow us on Pinterest for more culinary inspiration and visual recipe guides.


