There is nothing quite like the crunch of a perfectly executed slider, and these Crispy Fried Chicken Sliders are the gold standard for home cooks. Imagine biting into a double-breaded, deeply golden chicken thigh that is so craggy and textured it practically shatters between your teeth. This recipe captures that exact handheld magic—three sliders arranged on a rustic wooden board, glistening under natural light, just waiting for the first bite.
These aren’t your average snack-sized sandwiches; they are a masterclass in texture and flavor balance. We combine the richness of a melted butter-glazed brioche bun with the sharp, acidic snap of three crinkle-cut dill pickles. To tie it all together, a generous drizzle of orange-tinted creamy chipotle aioli drips down the sides, providing a smoky heat that cuts through the savory chicken.
Whether you are hosting a game day or looking for a restaurant-quality weekend dinner, these Crispy Fried Chicken Sliders deliver a sensory experience. From the sound of the first crunch to the visual of that shiny, toasted bun, every element is designed for maximum impact. Let’s dive into the culinary science of how to achieve that professional, craggy breading at home.
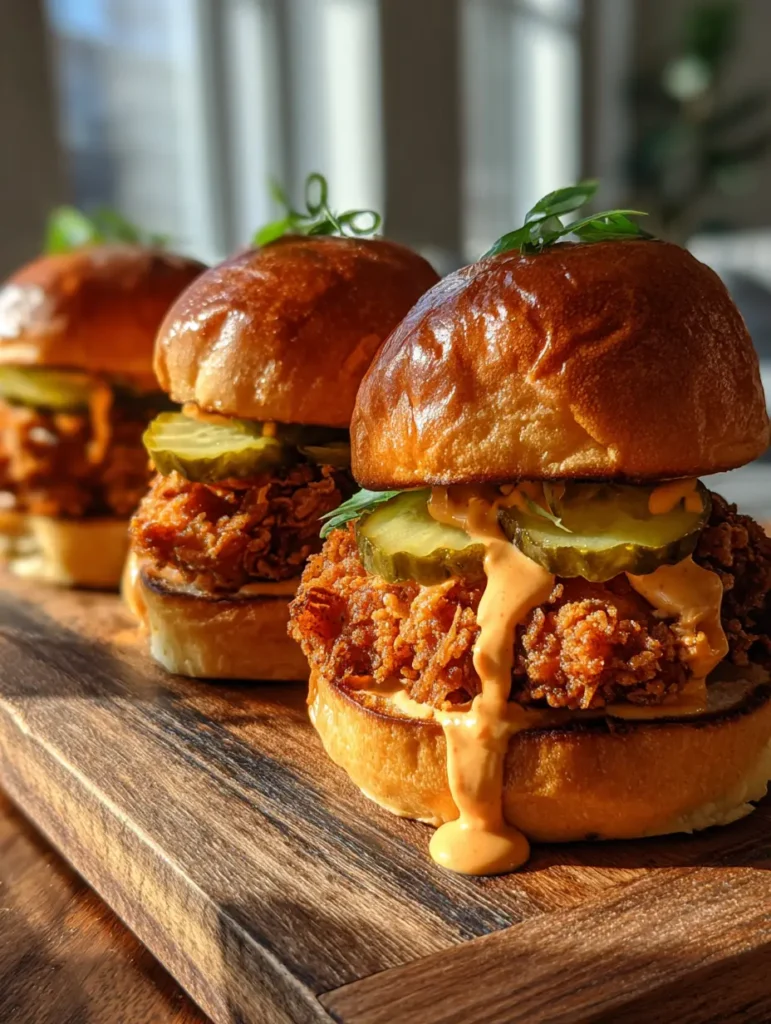
Why These Mini Chicken Sandwiches Outshine the Competition
- The Double-Breaded Crag: By using a specific double-dredge technique, we create a high surface area that results in those coveted flaky, crunchy bits seen in professional food photography.
- The “Holy Trinity” of Toppings: We use exactly three bright green crinkle-cut pickles per slider to ensure every bite has the perfect amount of vinegar-driven acidity.
- Chipotle Infusion: Our orange-tinted sauce isn’t just spicy; it’s a balanced aioli that provides a creamy contrast to the deeply golden chicken thighs.
- Brioche Brilliance: The high fat content in the brioche buns, combined with a melted butter glaze, ensures the bread stays soft while holding up to the heavy fillings.
The Ultimate Component List for Crunchier Chicken Sliders
Boneless Skinless Chicken Thighs: We use 1.5 lbs (680g) of thighs instead of breast meat because the higher fat content ensures the meat stays juicy during the high-heat frying process. Slice them into 3-inch (7.5cm) pieces to perfectly fit the slider buns.
Buttermilk and Hot Sauce Brine: 1.5 cups (350ml) of buttermilk acts as a tenderizer, while 2 tbsp (30ml) of hot sauce infuses the protein with a foundational layer of heat. This acidity helps the flour adhere better to the meat.
All-Purpose Flour and Cornstarch: A 2:1 ratio of flour to cornstarch is the secret to a long-lasting crunch. The 1/2 cup (60g) of cornstarch prevents the gluten from becoming too tough, resulting in a lighter, crispier shell.
The Spice Quad: We combine smoked paprika, garlic powder, onion powder, and cayenne to create a flavor profile that complements the smoky chipotle sauce. Don’t be afraid to be generous with the seasoning in the flour mix.
Chipotle Peppers in Adobo: These provide the “orange tint” and smoky depth to our sauce. Combined with 1 cup (240ml) of high-quality mayonnaise, it creates a professional-grade condiment.
Brioche Slider Buns: These buns are essential for the visual appeal described in our blueprint. Their shiny, golden tops provide the perfect “high-quality mobile photography” look when toasted with a butter glaze.
Crinkle-Cut Dill Pickles: You will need at least 3 pickles per slider. Look for “extra crunchy” varieties in the refrigerated section for the best sensory experience.
Neutral Frying Oil: Use 1 quart (950ml) of peanut or canola oil. These oils have a high smoke point, allowing you to hit that 350°F (175°C) target without the oil breaking down.
Essential Tools for Deep-Fried Success
To achieve the craggy texture seen in our visual blueprint, you will need a heavy-bottomed pot, preferably a Dutch oven. This helps maintain a consistent oil temperature, which is the most critical factor in avoiding greasy chicken. A digital meat thermometer is also non-negotiable for ensuring the chicken is cooked to a safe 165°F (74°C).
You will also need a wire cooling rack set over a baking sheet. Placing your fried chicken directly on paper towels can cause the bottom to steam and become soggy. If you are looking to expand your handheld repertoire, consider how these tools could also help you master an Oklahoma onion smash burger.
The Step-by-Step Blueprint for Golden-Brown Perfection
Phase 1: The Flavor Soak
In a large bowl, whisk together the buttermilk, hot sauce, and a pinch of salt. Submerge your chicken thigh pieces in the liquid, ensuring every crevice is covered. Cover and refrigerate for at least 30 minutes, or up to 4 hours, to allow the enzymes to tenderize the meat.
Phase 2: Creating the Double-Breaded Crust
Whisk your flour, cornstarch, and spices in a shallow dish. To get that “craggy” texture, drizzle 2 tablespoons of the buttermilk brine into the flour and mix with a fork until small clumps form. Take a piece of chicken, press it firmly into the flour, dip it back into the buttermilk, and press it into the flour a second time.
Phase 3: The Precision Fry
Heat your oil to 350°F (175°C). Carefully lower the chicken pieces into the oil, frying in batches to avoid crowding the pot. Fry for 5-7 minutes until the exterior is a deep golden-brown and the chicken reaches an internal temperature of 165°F (74°C). You should hear a vigorous bubbling sound that gradually slows as the moisture evaporates from the crust.

Phase 4: Toasting and Glazing
Brush the tops of your brioche buns with 2 tbsp (30g) of melted butter. Place the buns cut-side down in a hot skillet until they are shiny and lightly toasted. This step prevents the chipotle aioli from soaking into the bread and making the slider soggy.
Phase 5: The Final Assembly
Place the bottom bun on your rustic wooden board. Layer on the thick piece of fried chicken, then place exactly three crinkle-cut pickles on top. Drizzle a generous amount of the orange-tinted chipotle mayo over the pickles, allowing it to drip down the sides. Top with the shiny butter-glazed bun and serve immediately.
Expert Tips for the Ultimate Crunch
- The “Clump” Secret: If your breading looks too smooth, add more buttermilk to your flour mix. Those little “flour pebbles” are what turn into the craggy, flaky texture in the fryer.
- Maintain the Heat: If your oil drops below 325°F (160°C), the breading will absorb oil and become greasy. Wait a minute between batches for the temperature to recover.
- Air Circulation: Always rest the fried chicken on a wire rack. This allows air to circulate around the entire piece, keeping the bottom just as crispy as the top.
- Sauce Thickness: If your chipotle aioli is too thin, whisk in an extra tablespoon of mayo. It should be thick enough to “hang” off the chicken as it drips.
Optimal Storage and Reheating Strategies
While these Crispy Fried Chicken Sliders are best enjoyed fresh, you can store the chicken components separately. Place fried chicken in an airtight container for up to 2 days. To reheat, avoid the microwave at all costs! Use an oven or air fryer at 375°F (190°C) for 4-5 minutes to restore the original crunch.
The chipotle aioli will stay fresh in the refrigerator for up to a week. The buns should be toasted right before serving to maintain their structural integrity. For a different take on portable poultry, check out our grilled chicken bites for a lighter, non-fried alternative.
Perfect Pairings for Your Slider Feast
To balance the richness of the fried chicken and the heat of the chipotle, we recommend serving these with something bright and acidic. A side of jalapeño slaw (coming soon) adds an extra layer of crunch and a fresh green element to the plate. If you are serving a crowd, these sliders pair beautifully with easy canned baked beans for a classic backyard feel.
For those looking for a fusion-style spread, consider adding some spicy garlic beef croquettes (coming soon) to the appetizer tray. The smoky notes in the sliders also complement the flavors found in a chipotle chicken torta.
Frequently Asked Questions
Yes, though the crust won’t be quite as craggy. Spray the breaded chicken generously with oil and cook at 400°F (200°C) for 12-15 minutes, flipping halfway through.
You can, but thighs are recommended for sliders. Breast meat dries out faster in the high heat of a deep fryer, while thighs stay juicy and flavorful.
The secret is adding a few tablespoons of the buttermilk brine into your dry flour mix. Work it with a fork to create small clumps before dredging the chicken; these clumps stick to the meat and fry into those delicious craggy bits.
Always toast the buns in a skillet with a butter glaze. This creates a fat-based barrier that prevents the chipotle aioli and chicken juices from soaking into the bread.
Neutral oils with high smoke points are best. Peanut oil is the gold standard for flavor and crispness, but canola or vegetable oil also work perfectly for this recipe.
The Ultimate Crispy Fried Chicken Sliders Recipe
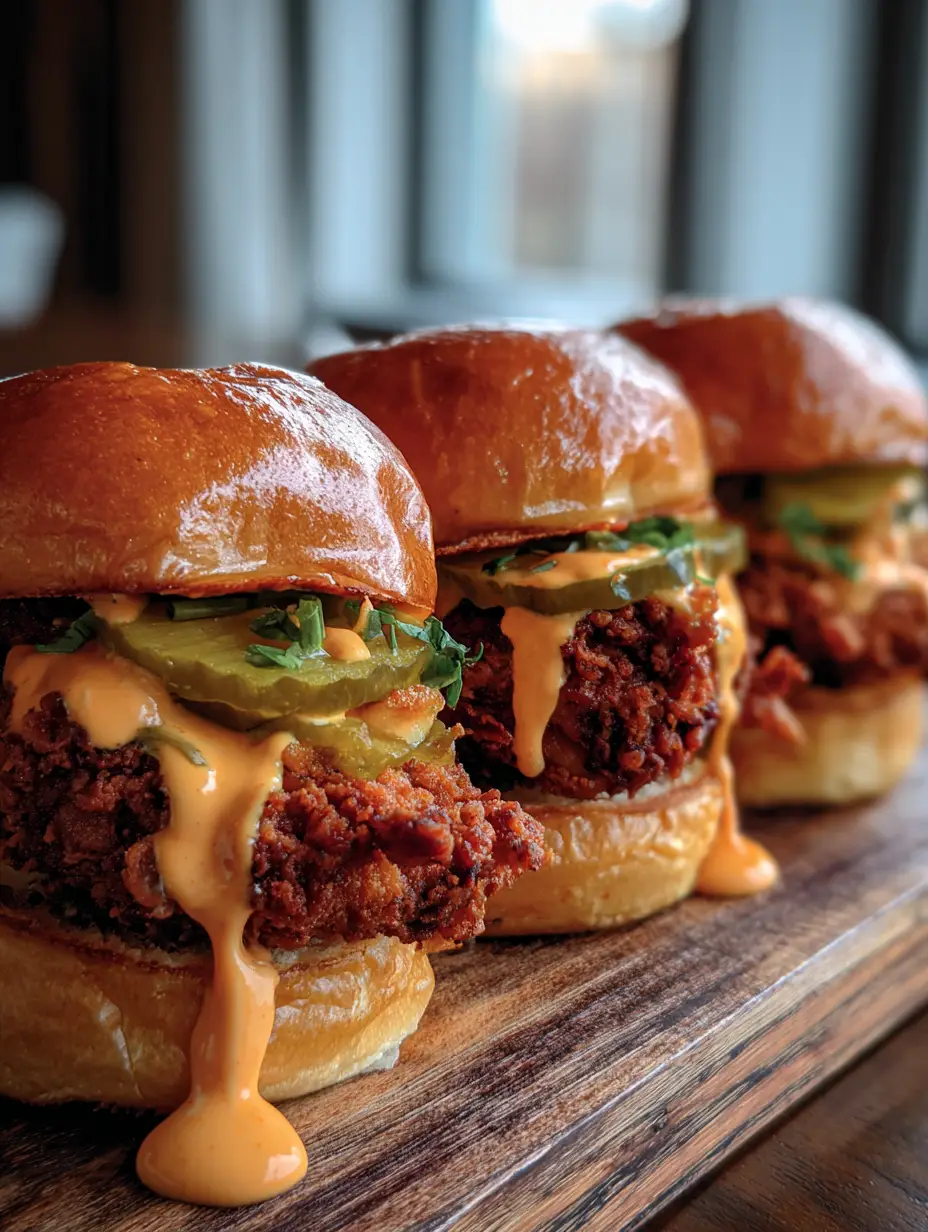
Crispy Fried Chicken Sliders with Creamy Chipotle Aioli and Toasted Brioche
Ingredients
Equipment
Method
- Whisk buttermilk and hot sauce; submerge chicken pieces and refrigerate for 30-60 minutes.
- Mix flour, cornstarch, and spices. Drizzle 2 tbsp brine into flour to create clumps. Double-dredge chicken for maximum craggy texture.
- Heat oil to 350°F (175°C). Fry chicken for 5-7 minutes until deep golden-brown and internal temp is 165°F (74°C).
- Brush buns with butter and toast in a skillet until golden and shiny.
- Layer chicken, three pickles, and a generous drizzle of chipotle aioli on the bun. Serve immediately.
Notes
Rest chicken on a wire rack, never paper towels.
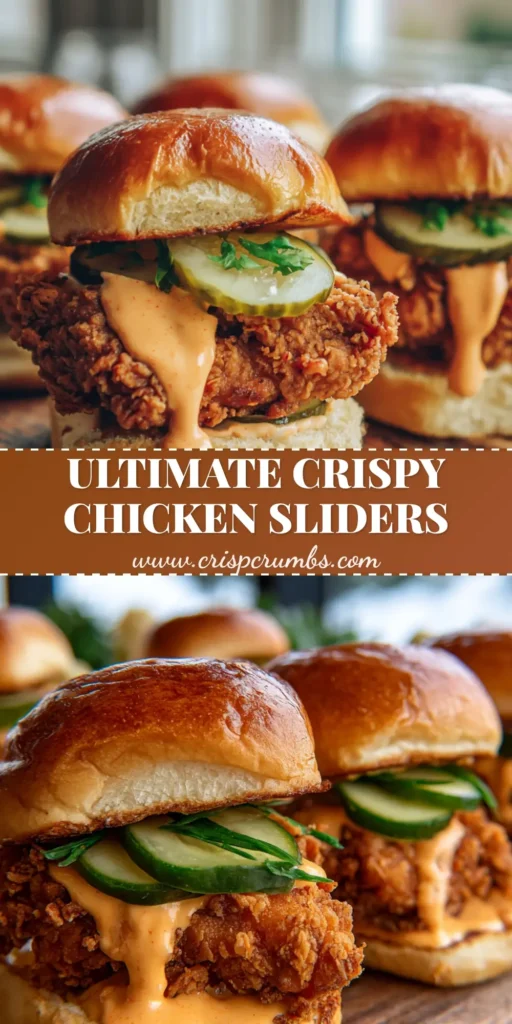
Join the Crisp Crumbs Community
Mastering the art of the Crispy Fried Chicken Sliders is a milestone for any home cook. The combination of the craggy, double-breaded crust and the creamy chipotle drizzle is a proven crowd-pleaser. If you enjoyed this recipe, please leave a comment below and let us know how your sliders turned out! Don’t forget to follow us on Pinterest for more visual recipe inspiration and share your handheld masterpieces with our community.


