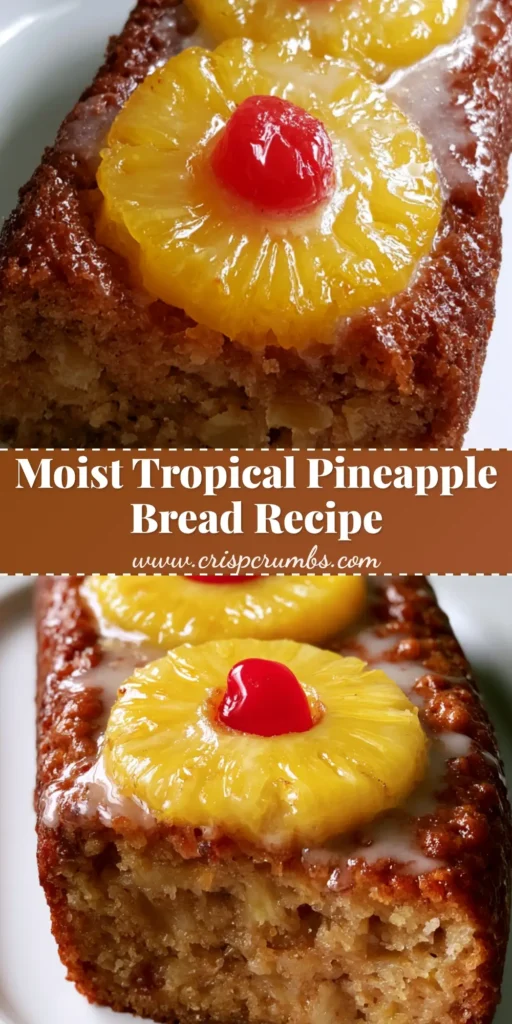
There is something undeniably nostalgic about the scent of Pineapple Bread wafting through a warm kitchen. This isn’t just a standard quick bread; it is a meticulously crafted, golden-brown masterpiece that bridges the gap between a classic snack cake and a sophisticated tropical dessert.
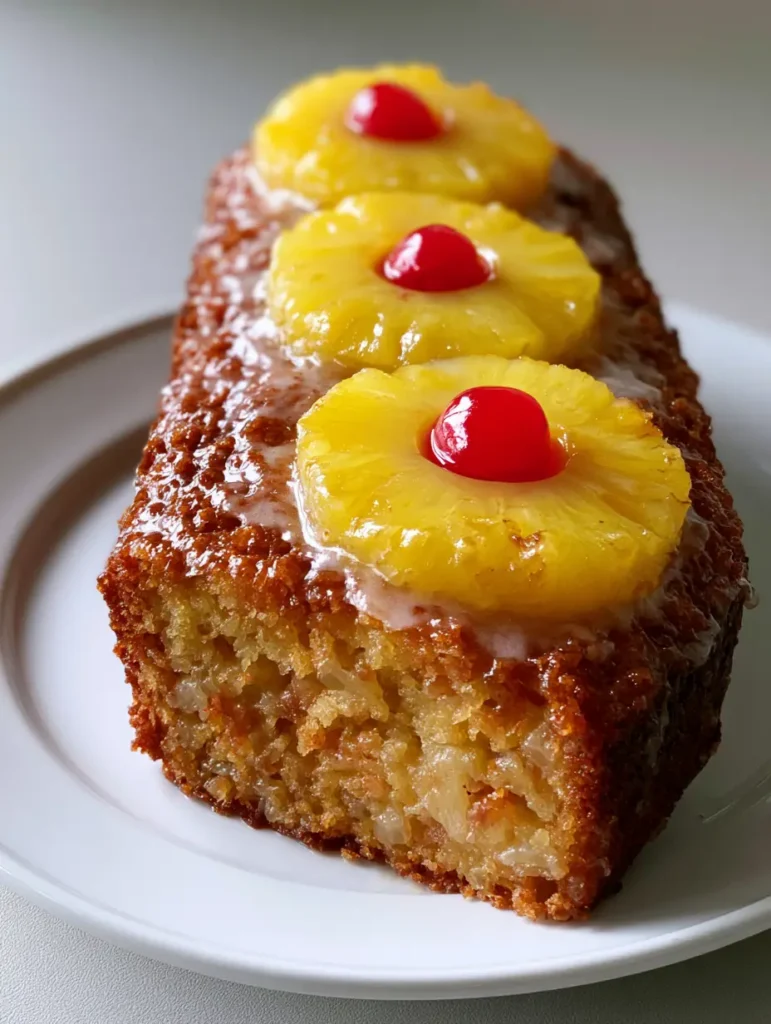
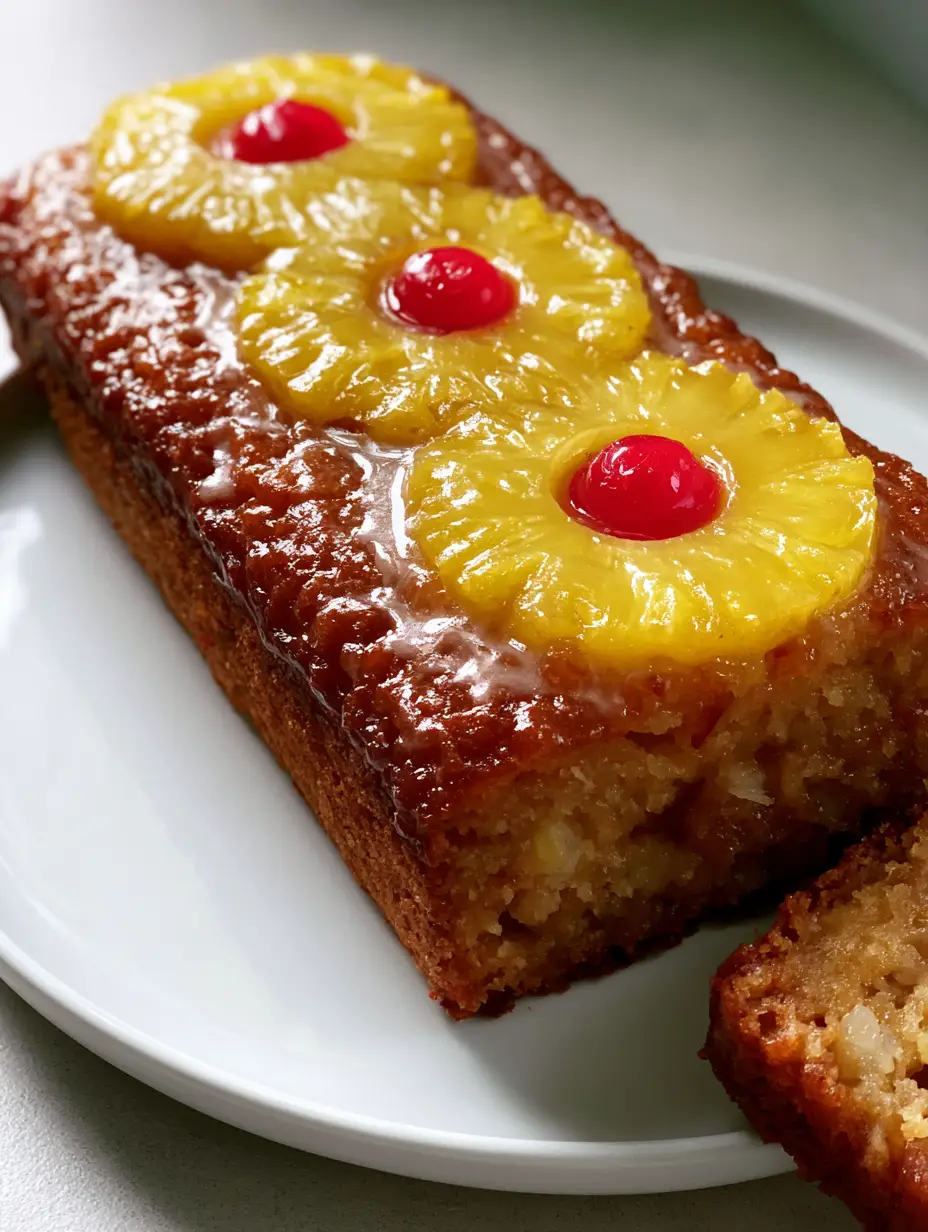
Imagine a rectangular loaf with a dense, moist internal crumb that is practically bursting with tiny, sweet bits of crushed pineapple. The exterior is a deep, honeyed golden-brown, providing a sturdy foundation for the visual stars of the show: three perfectly caramelized yellow pineapple rings arranged in a precise row.
To finish, each ring cradles a vibrant red maraschino cherry, all encased in a thin, glossy translucent sugar glaze that catches the light like stained glass. Whether you are serving this for a sun-drenched brunch or a cozy evening treat, this recipe delivers a sensory experience that looks exactly like a professional food photograph.
Why This Is the Only Tropical Loaf Recipe You Will Ever Need
When developing this Pineapple Bread, we focused on three specific pillars of culinary excellence: structural integrity, moisture retention, and visual impact. Here is what makes this loaf stand out from the rest of the pack.
- The Crushed Pineapple Infusion: We fold crushed pineapple directly into the batter to ensure every single bite is hydrated and packed with tropical acidity.
- Caramelized Topping: By placing the rings on top before baking, the natural sugars in the fruit undergo the Maillard reaction, intensifying the sweetness.
- The “Gloss” Factor: A specific translucent glaze is applied while the bread is still warm, sealing in moisture and creating that signature professional shine.
- Visual Contrast: The bright red maraschino cherries provide a pop of color against the golden cake, making it an instant centerpiece.
The Anatomy of a Perfect Golden Tropical Loaf
To achieve the specific result seen in our visual blueprint, you need a combination of pantry staples and specific tropical elements. Each ingredient plays a scientific role in the final texture of your Pineapple Bread.
All-Purpose Flour (375g / 3 cups): This provides the protein structure necessary to support the weight of the fruit topping without the loaf collapsing in the center.
Granulated Sugar (300g / 1.5 cups): Beyond sweetness, sugar is a humectant that keeps the crumb tender and aids in the browning of the crust.
Crushed Pineapple (432g / 15.25 oz can): Ensure you drain the juice but keep it! The “crushed bits” provide the internal texture, while the reserved juice is the base for our translucent glaze.
Sour Cream or Full-Fat Greek Yogurt (120ml / 0.5 cup): This is our “secret” ingredient for a dense, moist internal crumb. The acidity softens the flour’s gluten for a melt-in-your-mouth feel.
Vegetable Oil (120ml / 0.5 cup): Unlike butter, oil remains liquid at room temperature, which guarantees the bread feels moist even on the second or third day.
Pineapple Rings (3 units): These are used for the top decoration. We select the most uniform rings from a standard can to ensure a symmetrical, professional appearance.
Maraschino Cherries (3 units): Pat these dry before placing them. This prevents the red dye from bleeding into the yellow pineapple rings.
Baking Powder & Baking Soda: We use a dual leavening system to ensure the loaf rises sufficiently to “hug” the pineapple rings on top.
Essential Tools for Baking Success
Achieving a professional-grade Pineapple Bread requires more than just a bowl and a spoon. You need the right equipment to ensure even heat distribution and a clean release from the pan.
A standard 9×5 inch (23×13 cm) metal loaf pan is preferred over glass. Metal conducts heat more efficiently, which is how we achieve that specific deep golden-brown exterior seen in the visual prompt. You will also want a wire cooling rack to prevent the bottom of the loaf from becoming “sweaty” or soggy as it cools.
Finally, a small pastry brush is essential for applying the translucent sugar glaze. This allows you to coat the nooks and crannies of the caramelized fruit without disturbing the delicate surface of the cake.

A Masterclass in Building Your Pineapple Loaf
Preparing the Tropical Base
Preheat your oven to 350°F (175°C). In a large mixing bowl, whisk together your flour, sugar, baking powder, baking soda, and a pinch of salt. In a separate bowl, combine the oil, sour cream, eggs, and the drained crushed pineapple bits.
Gently fold the wet ingredients into the dry. Stop mixing the moment you no longer see streaks of flour. Over-mixing leads to a tough, rubbery crumb rather than the moist, dense texture we are aiming for in this Pineapple Bread.
Artistic Fruit Arrangement
Pour the batter into your prepared loaf pan, smoothing the top with a spatula. Take your three pineapple rings and gently press them into the surface of the batter in a straight row. They should sit slightly submerged but still fully visible.
Place one maraschino cherry in the center of each ring. As the bread bakes, the batter will rise up around the edges of the fruit, creating a “nested” look. The heat will begin to caramelize the rings, turning them from bright yellow to a deep, warm gold.
The Baking and Glazing Process
Bake for 55-65 minutes. You are looking for a deep golden-brown crust and a toothpick inserted into the center should come out clean. While the loaf bakes, simmer 1/2 cup (120ml) of the reserved pineapple juice with 1/4 cup (50g) of sugar until it reduces into a syrupy, translucent glaze.
Brush the glaze over the loaf immediately after taking it out of the oven. Watch as the bread absorbs the syrup, leaving behind a glossy, high-shine finish that highlights the internal bits of pineapple and the caramelized fruit on top.
Expert Tips for the Perfect Slice
- The “Dry Cherry” Rule: Always pat your maraschino cherries with a paper towel. This prevents the “bleeding” effect where the red juice stains the cake batter.
- Drain, Don’t Squeeze: When using crushed pineapple, drain it in a fine-mesh sieve. Don’t squeeze every drop of moisture out; those tiny bits of juice are what make the crumb so moist.
- Tent with Foil: If the top of your Pineapple Bread is browning too quickly before the center is done, loosely tent the pan with aluminum foil for the last 15 minutes of baking.
- Room Temperature Ingredients: Ensure your eggs and sour cream are at room temperature. This creates an emulsion that traps air, resulting in a better rise and a more uniform internal crumb.
Savoring and Storing Your Tropical Creation
This Pineapple Bread is incredibly resilient. Because of the high fruit content and the use of oil, it stays moist for up to 4 days when wrapped tightly in plastic wrap and stored at room temperature.
For longer storage, you can freeze individual slices. Wrap each slice in parchment paper and then foil. When you’re ready for a tropical treat, simply toast the slice or let it come to room temperature for a “just-baked” texture.
Perfect Pairings for a Tropical Feast
If you are serving this for a hearty brunch, it pairs beautifully with savory dishes. Try it alongside some crispy Air Fryer Green Beans for a balanced texture profile.
For a full dinner spread, this bread serves as an excellent side or dessert for a Huli Huli Chicken Stack. The sweetness of the caramelized pineapple mirrors the island flavors of the chicken perfectly.
If you have leftover pineapple, consider using it in Pineapple Shrimp Rice Bowls for your next meal. And if you’re looking for another bite-sized treat to serve at a party, these Brownie Bottom Cheesecake Bites offer a decadent chocolate contrast to the bright fruitiness of the bread.
Frequently Asked Questions
Yes, you can substitute the sour cream with a dairy-free Greek yogurt alternative or a thick coconut cream to maintain the moist texture.
Yes, but you must finely dice it for the batter and ensure the rings are sliced consistently thin for the top. Canned pineapple is preferred for its consistent moisture content and sweetness.
The key is to rinse them under cold water and pat them completely dry with a paper towel before placing them on the pineapple rings.
While the bread tastes great without it, the glaze is what provides the professional translucent shine and helps seal moisture into the caramelized fruit topping.
This usually happens if the batter is too thin or over-mixed. Ensure you measure your flour by weight and only fold until the ingredients are just combined to maintain structural support.
The Ultimate Pineapple Bread Recipe
Pineapple Bread: The Ultimate Moist Tropical Loaf with Caramelized Rings
Ingredients
Equipment
Method
- In a large bowl, whisk flour, sugar, baking powder, and baking soda.
- In another bowl, combine oil, sour cream, eggs, and drained crushed pineapple bits.
- Fold the wet ingredients into the dry until just combined; do not overmix.
- Pour batter into a greased 9x5 pan. Smooth the top with a spatula.
- Place 3 pineapple rings in a row on top. Press a maraschino cherry into the center of each ring.
- Bake at 350°F (175°C) for 55-65 minutes until the loaf is golden-brown and a toothpick comes out clean.
- Simmer reserved pineapple juice and sugar until reduced by half and translucent.
- Brush the hot glaze over the warm loaf immediately for a glossy finish.
Notes
Use a metal pan for the best golden-brown crust.
Join the Crisp Crumbs Community
We hope this Pineapple Bread brings a bit of tropical sunshine to your table. The combination of the caramelized topping and the moist, fruit-filled crumb makes it a guaranteed family favorite. If you enjoyed this recipe, please leave a comment below and share your results!
Don’t forget to follow us on Pinterest for more visually stunning and scientifically sound recipes. Tag us in your photos—we love seeing your golden-brown loaves in the wild!