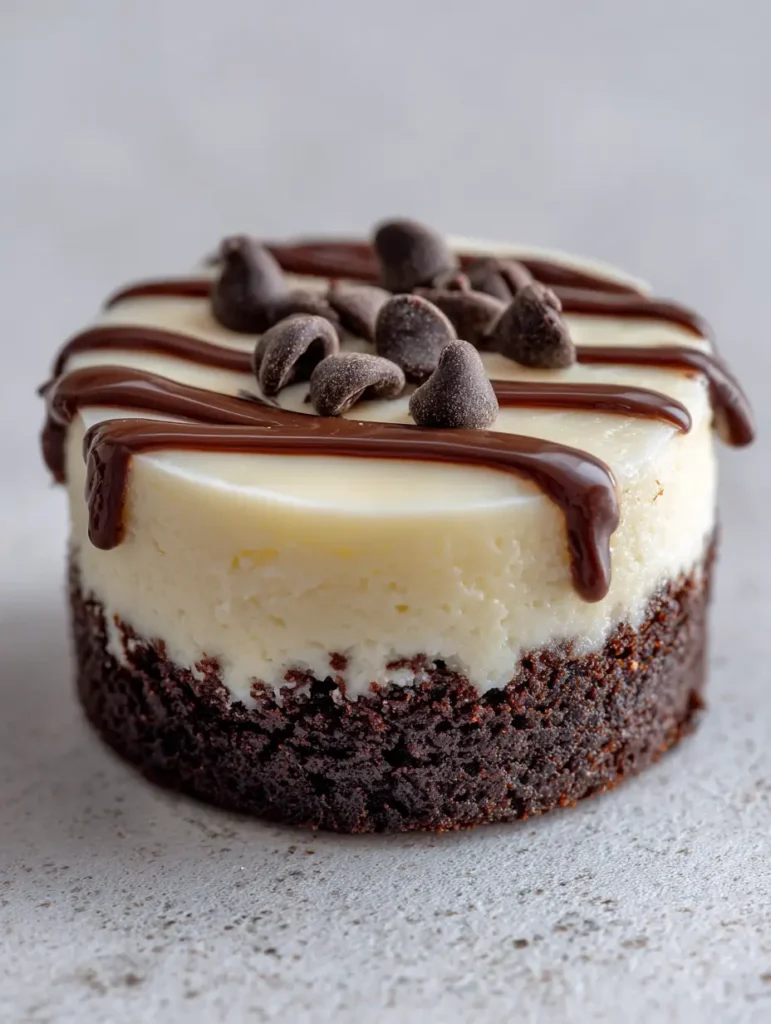
When two of the world’s most beloved desserts collide, the result is nothing short of spectacular. These Brownie Bottom Cheesecake Bites offer a sophisticated, handheld experience that balances a dense, dark chocolate foundation with a silky, ivory-hued cheesecake crown. This isn’t just a recipe; it’s a structural masterpiece designed for the ultimate mouthfeel and visual appeal.
The magic of these Brownie Bottom Cheesecake Bites lies in the contrast of textures. Imagine sinking your teeth through a glossy, snap-crisp dark chocolate ganache, hitting the airy creaminess of a perfectly baked cheesecake, and finally landing on a fudgy, cocoa-rich brownie base. It is a three-act play of decadence in every single bite.
Whether you are preparing for a high-end dinner party or simply satisfying a deep-seated chocolate craving, these mini wonders are engineered for success. They are designed to look as good as they taste, mirroring the professional aesthetic of a high-end patisserie while remaining approachable for the dedicated home baker.
Why These Handheld Delights Are the Ultimate Crowd-Pleaser
- The Perfect Contrast: The marriage of a thick, dense, dark chocolate fudgy brownie foundation with a pale ivory-colored cheesecake creates a stunning visual and textural juxtaposition.
- Professional Gloss: A meticulously prepared dark chocolate ganache drizzle provides a high-shine finish that screams “gourmet.”
- Bite-Sized Convenience: Perfectly portioned for parties, these treats eliminate the need for messy slicing and serving.
- Make-Ahead Friendly: These bites actually improve after a night in the refrigerator, making them the ideal stress-free dessert for entertaining.
The Essential Components for Fudgy Brownie Bottom Perfection
Achieving the precise textures described in our visual blueprint requires high-quality ingredients and a basic understanding of culinary science. Each element serves a specific purpose in building the structural integrity of the Brownie Bottom Cheesecake Bites.
Unsalted Butter (1/2 cup / 115g): We use melted butter to ensure a dense, fudgy brownie base rather than a cakey one. Butter provides the fat necessary for that “melt-in-your-mouth” quality that characterizes an elite brownie.
Granulated Sugar (1 cup / 200g): Beyond sweetness, sugar liquefies during baking, contributing to the fudgy, chewy texture of the brownie foundation. It also helps stabilize the cheesecake layer above it.
Dutch-Processed Cocoa Powder (1/2 cup / 45g): This specific cocoa is treated with alkali to neutralize its acidity, resulting in a darker color and a smoother, more intense chocolate flavor. This is vital for achieving that “dark chocolate dense foundation” visual.
Full-Fat Cream Cheese (8 oz / 226g): For the cheesecake layer, temperature is everything. Ensure your cream cheese is completely room temperature to avoid lumps and achieve that “creamy, smooth, pale ivory” appearance.
Heavy Cream (1/4 cup / 60ml): This is used in both the cheesecake batter for silkiness and the ganache for that signature glossy sheen. The high fat content prevents the ganache from becoming brittle.
Mini Semi-Sweet Chocolate Chips (1/4 cup / 45g): These provide a textural “pop” on top of the ganache. Their small size ensures they don’t overwhelm the delicate cheesecake layer.
The Baker’s Toolkit for Miniature Success
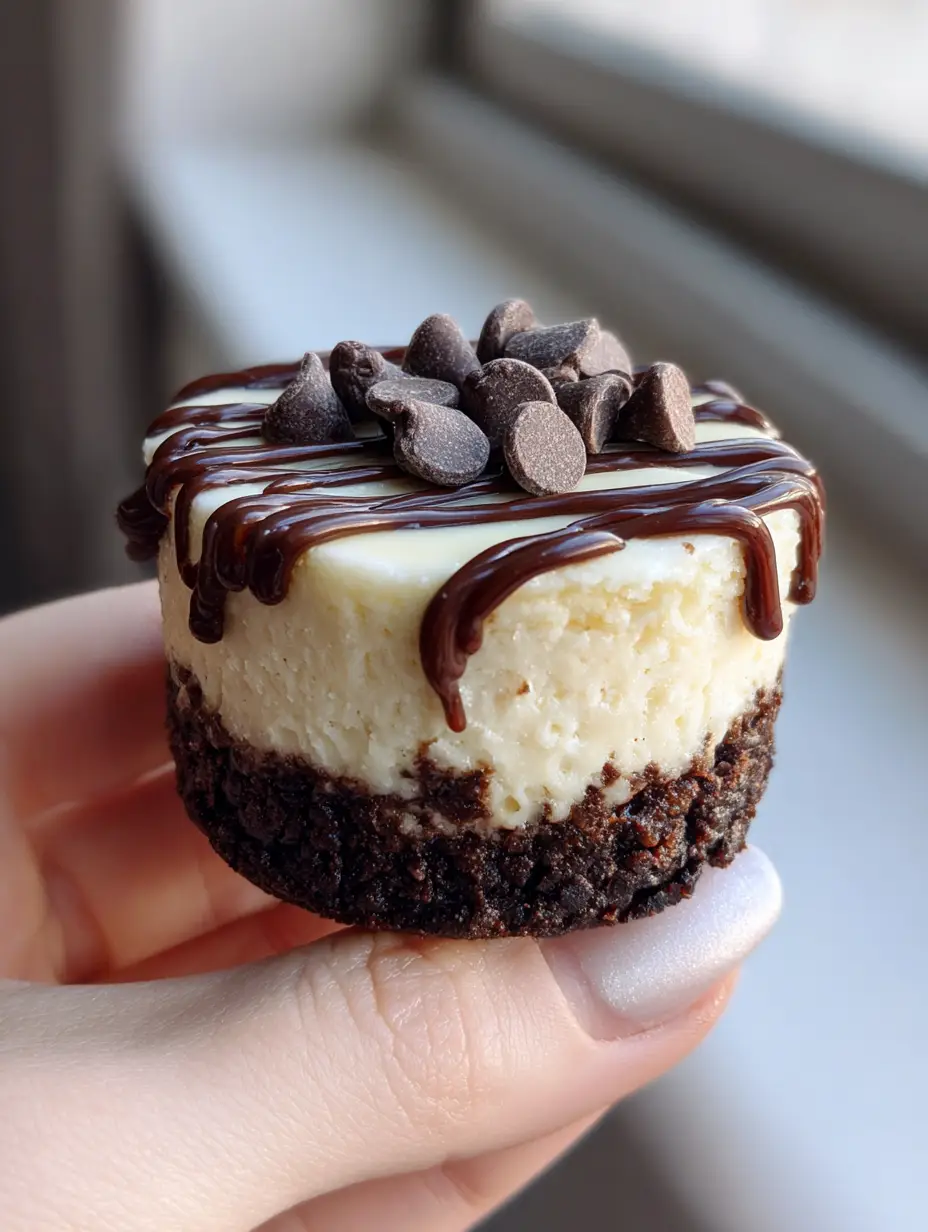
To achieve the “round mini” shape seen in the handheld smartphone photo, you will need a standard 12-cup muffin tin or a specialized mini cheesecake pan with removable bottoms. Using high-quality paper liners will ensure the edges of your Brownie Bottom Cheesecake Bites remain clean and smooth.
A silicone spatula is essential for folding the brownie batter without over-aerating it, which would lead to a cakey rather than fudgy base. For the ganache, a small offset spatula or a piping bag with a fine tip will help you achieve that precise, professional drizzle across the ivory surface.
The Step-by-Step Guide to Achieving Layered Dessert Harmony
Crafting the Dense Chocolate Foundation
Preheat your oven to 325°F (163°C). This lower temperature is crucial for ensuring the brownie base cooks evenly without drying out before the cheesecake layer is added. In a medium bowl, whisk together the melted butter and sugar until well combined.
Add 1 large egg and 1 tsp (5ml) of vanilla extract, beating until the mixture is glossy and smooth. Sift in the cocoa powder, 1/2 cup (65g) of all-purpose flour, and a pinch of salt. Fold gently until no streaks of flour remain; over-mixing here will introduce too much air, ruining the “fudgy” goal.
Distribute the batter evenly into your lined muffin tin, using about 1 tablespoon per well. Bake for 8-10 minutes. This par-baking step ensures the base is set enough to support the cheesecake layer without mixing into it.
Building the Ivory Cheesecake Layer
While the bases par-bake, beat the room-temperature cream cheese and 1/4 cup (50g) of sugar until completely smooth. You are looking for a vibrant ivory color and zero lumps. Add 1 egg and a splash of heavy cream, mixing on low speed until just combined.
Low speed is the secret to the “flat top” described in the visual prompt. High speeds incorporate air bubbles, which cause the cheesecake to rise and then collapse, creating cracks. Pour the cheesecake mixture over the par-baked brownie bases, filling each cup nearly to the top.
The Final Bake and Sensory Cues
Return the tin to the oven for another 15-18 minutes. Look for the “jiggle test” cues: the edges should be set and slightly matte, but the center should still have a slight, uniform wobble when the pan is gently shaken. The color should remain a pale ivory, with no browning on top.
Allow the bites to cool in the pan at room temperature for at least an hour before transferring them to the refrigerator. Chilling for at least 4 hours is non-negotiable for the internal structure to set into that creamy, dense texture we desire.

The Finishing Touches: Glossy Ganache and Chips
To create the glossy dark chocolate ganache, heat 2 oz (56g) of dark chocolate and 2 tbsp (30ml) of heavy cream in 20-second bursts in the microwave, stirring until glass-smooth. Use a spoon or piping bag to create a delicate drizzle over the chilled cheesecake surface.
Immediately garnish with the mini semi-sweet chocolate chips so they adhere to the wet ganache. The result should look exactly like the handheld smartphone photo: a professional, multi-layered masterpiece with a focus on clean lines and rich colors.
Culinary Secrets for a Flawless Dessert Finish
- Room Temperature Ingredients: This cannot be overstated. If your eggs or cream cheese are cold, the emulsion will break, leading to a grainy cheesecake layer.
- The Water Bath Alternative: For an even creamier result, place your muffin tin inside a larger roasting pan filled with 1 inch (2.5cm) of hot water. This steam-baking method ensures an ultra-smooth, crack-free ivory top.
- Tapping the Pan: Before putting the cheesecake layer into the oven, tap the tin firmly on the counter three times to release any trapped air bubbles.
- The Clean Cut: If you aren’t using liners, run a thin knife dipped in hot water around the edges of each bite after they have fully chilled for a perfect release.
Preserving the Decadence: Storage and Freezing
These Brownie Bottom Cheesecake Bites should always be stored in an airtight container in the refrigerator. They will remain fresh and maintain their textural integrity for up to 5 days. For the best flavor, let them sit at room temperature for 10 minutes before serving to soften the ganache slightly.
If you wish to freeze them, do so before adding the ganache drizzle. Wrap each bite individually in plastic wrap and store in a freezer-safe bag for up to 3 months. Thaw overnight in the refrigerator before adding the fresh ganache and chocolate chips for that “just-made” glossy look.
Perfect Pairings for Your Dessert Spread
These rich, chocolatey bites pair beautifully with a variety of textures and flavors. If you are hosting a brunch, consider serving them alongside a savory peach and brie grilled cheese for a sophisticated contrast.
For a fruit-forward dessert table, these bites complement the brightness of peach crumble bars or the tropical notes of mango sticky rice rolls. If you want to lean into the cheesecake theme, offer a larger slice of pineapple upside down cheesecake as a centerpiece alongside these mini portions.
Frequently Asked Questions
Yes, but ensure you only use about half the box and follow the directions for a fudgy brownie (usually one less egg) to maintain structural integrity.
Using paper liners is the easiest method. If baking directly in the tin, ensure it is well-greased and chill the bites thoroughly before removing.
For the best texture and clean edges, chill them for at least 4 hours, though overnight is ideal for the flavors to meld.
Cracking is usually caused by over-mixing the batter, which incorporates too much air, or by over-baking. Use room temperature ingredients and mix on low speed.
A dull ganache is often the result of overheating the chocolate. Melt it in short increments and stir gently to keep the cocoa butter emulsion stable.
The Ultimate Brownie Bottom Cheesecake Bites Recipe
Brownie Bottom Cheesecake Bites: The Ultimate Fudgy Dessert Recipe
Ingredients
Equipment
Method
- Mix melted butter and sugar. Add egg and vanilla, then fold in cocoa and flour. Par-bake at 325°F (163°C) for 10 minutes.
- Beat cream cheese and sugar until smooth ivory. Add egg and cream. Pour over brownies and bake for 18 minutes until the edges are set.
- Chill bites for 4 hours. Drizzle with glossy ganache made from melted chocolate and cream. Top with mini chocolate chips.
Notes
Do not over-mix the cheesecake batter to prevent air bubbles and cracks.
Join the CrispCrumbs Community
We hope you find these Brownie Bottom Cheesecake Bites as indulgent and rewarding as we do. The combination of fudgy chocolate and creamy cheesecake is a timeless classic that never fails to impress. If you enjoyed this recipe, please leave a comment below and share your results!
For more daily culinary inspiration and “behind-the-scenes” tips, follow us on Pinterest. Don’t forget to sign up for our newsletter to receive the latest recipes directly to your inbox. Happy baking!


