Creating a Coconut Milk Frosting that holds its shape, boasts a velvety matte finish, and tastes like a tropical dream is the holy grail of dairy-free baking. If you have ever struggled with runny coconut creams or grainy vegan buttercreams, this recipe is your scientific solution. We are focusing on a thick, stable, and highly pipeable frosting that perfectly complements the deep, bitter notes of a dark chocolate cupcake.
In this guide, we dive deep into the culinary forensics of coconut fat. We aren’t just making a topping; we are engineering a structural masterpiece designed to hold those sharp, defined ridges from a star-tipped piping bag. Whether you are hosting a summer garden party or simply craving a plant-based indulgence, this frosting delivers professional-grade results every time.
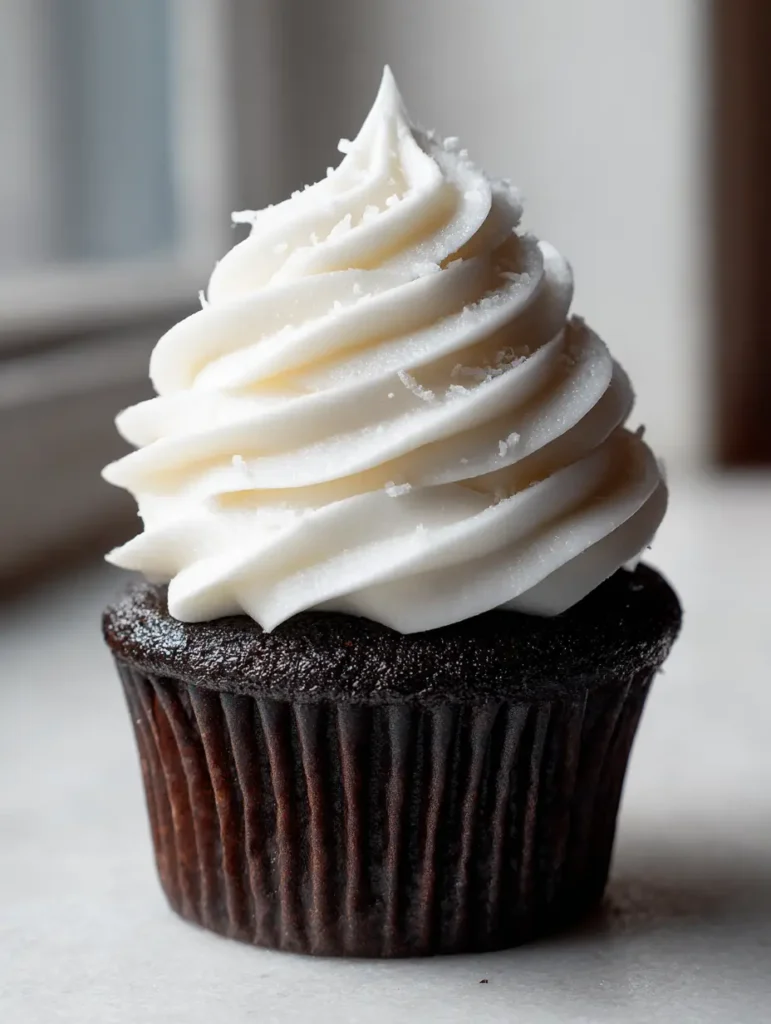
Why This Stabilized Coconut Milk Frosting Works Every Single Time
- Defined Structural Integrity: Unlike standard whipped cream, this recipe uses chilled coconut fat and a touch of starch to ensure your star-tipped swirls stay tall and sharp without melting.
- Matte Creamy Texture: By carefully controlling the aeration process, we achieve that authentic, handheld smartphone photo look—thick, white, and perfectly opaque.
- Contrast of Flavors: The bright, tropical sweetness of the frosting provides a stunning sensory bridge to the rich, earthy crumb of a dark chocolate cupcake.
- Visual Sophistication: The addition of fine desiccated coconut flakes adds a delicate micro-texture that catches the light, just like a professional food shoot.
Essential Components for a High-Stability Coconut Milk Frosting
To achieve the visual results seen in our blueprint, we must select ingredients based on their chemical properties. It is not just about flavor; it is about the “invisible” ingredients that provide the lift and hold required for high-volume piping.
Full-Fat Coconut Milk (2 cans / 800ml): This is the backbone of the recipe. You must use full-fat canned milk, preferably without excessive guar gum, to ensure the fat solids separate cleanly from the coconut water after chilling.
Sifted Powdered Sugar (1.5 cups / 180g): This provides both sweetness and structural volume. Sifting is non-negotiable to prevent clumping, which would ruin the “sharp defined ridges” of your piping.
Tapioca Starch or Cornstarch (1 tbsp / 8g): This is a “foundational invisible ingredient.” It acts as a stabilizer, absorbing excess moisture and preventing the frosting from weeping in room temperature conditions.
Pure Vanilla Extract (1 tsp / 5ml): A culinary bridge that rounds out the “nutty” notes of the coconut and aligns with the floral aroma of the cocoa in the dark chocolate cupcakes.
Fine Desiccated Coconut (2 tbsp / 15g): These tiny, dried flakes are used exclusively for the garnish. They add a professional finish and reinforce the coconut flavor profile without compromising the smoothness of the frosting swirl.
Dark Chocolate Cupcakes in Brown Paper Liners: To match our visual blueprint, you will need a batch of chocolate cupcakes baked in dark brown pleated paper liners. This creates a high-contrast base for the white frosting.
Professional Tools for Perfect Piping Ridges
Achieving the handheld, unedited, authentic look of a professional cupcake requires the right gear. To replicate the star-tipped piping swirl with sharp ridges, you will need specific equipment.
First, a Large Open Star Piping Tip (e.g., Wilton 1M or 2D) is essential. This tip creates those deep valleys and high peaks that catch natural side lighting so beautifully. You will also need a Stand Mixer with a Whisk Attachment. Whipping by hand will not incorporate enough air to achieve the “thick white” matte texture we are looking for.
Finally, ensure you have a Chilled Metal Mixing Bowl. Keeping the coconut fat cold during the whipping process is the secret to preventing it from turning into oil. If the fat gets too warm, you will lose the ability to pipe those defined ridges.
Mastering the Coconut Milk Frosting: A Step-by-Step Guide
Phase 1: The Critical 24-Hour Chill
Success begins a full day before you bake. Place your cans of full-fat coconut milk in the back of the refrigerator for at least 24 hours. This allows the coconut fat to solidify into a hard “puck” at the top, while the coconut water settles at the bottom. Do not shake the cans before opening.
Phase 2: Separating the Solids
Carefully open the cans and scoop out only the thick, white solids into your chilled mixing bowl. Save the remaining coconut water for a tropical smoothie or to serve alongside some mango sticky rice rolls. If any liquid gets into your frosting, it will become too soft to hold a swirl.
Phase 3: The Initial Aeration
Whip the coconut solids on medium-high speed for about 2 minutes. You are looking for a sensory cue: the fat should transition from a waxy solid to a light, fluffy cream that looks like soft-serve ice cream. This is where the matte texture begins to form.
Phase 4: Stabilizing and Sweetening
Turn the mixer to low and gradually add the sifted powdered sugar, starch, and vanilla. Once incorporated, turn the speed back to high for 30 seconds. The frosting should now be stiff enough to hold a “peak” on the end of the whisk. If it feels too soft, chill the entire bowl for 15 minutes before piping.

Phase 5: The Star-Tipped Piping Technique
Transfer the frosting to a piping bag fitted with your star tip. Hold the bag vertically over the dark chocolate cupcake. Starting from the outside edge of the brown paper liner, pipe in a circular motion, moving toward the center and upward to create a tall, swirling mound. End with a quick “flick” of the wrist to create a sharp point at the top.
Phase 6: The Final Forensic Garnish
Take your fine desiccated coconut flakes and lightly scatter them over the top of the swirl. The goal is a “scatter,” not a “coating.” This mimics the authentic, handheld photo aesthetic where every flake looks intentional yet natural. Serve these as the perfect dessert after a savory meal of spicy garlic beef croquettes (coming soon) or grilled chicken bites.
Expert Tips for Success with Vegan Frosting
- Avoid Guar Gum: Check the label of your coconut milk. Brands with high amounts of guar gum or emulsifiers often won’t separate, leaving you with a liquid mess.
- Temperature Control: If your kitchen is warm, your hands will melt the frosting through the piping bag. Wear a thin glove or wrap the bag in a paper towel to insulate the frosting from your body heat.
- The “Invisible” Salt: Add a tiny pinch of fine sea salt to the frosting. It cuts through the richness of the coconut fat and enhances the chocolate flavor of the cupcake.
- Prep for Events: This frosting holds up well in the fridge but should be piped onto the cupcakes no more than 4 hours before serving for the best visual texture.
Storage, Freshness, and Stability Tips
Because this frosting is fat-based, it behaves much like butter. Once piped onto the cupcakes, they should be stored in an airtight container in the refrigerator. The coconut fat will firm up significantly when cold, making the ridges even more durable.
If you are making the frosting in advance, keep it in the bowl and re-whip it for 30 seconds before piping. Do not freeze the finished frosting, as the expansion of water molecules can cause the emulsion to break, leading to a grainy texture upon thawing. These cupcakes are best enjoyed within 3 days of assembly.
What to Serve With Coconut Chocolate Cupcakes
This dessert is a showstopper, but it fits perfectly into a broader menu. The tropical notes of the coconut make it a natural follow-up to a spicy meal. Consider serving these after a round of chipotle chicken tortas or even a light Greek chicken flatbread.
For a complete tropical-themed brunch, pair these cupcakes with peach crumble bars or a bowl of Hawaiian pineapple coconut fluff. The contrast between the dark chocolate and the bright fruit flavors creates a balanced dessert table that appeals to every palate.
Frequently Asked Questions about Coconut Frosting
Powdered sugar is best for structure. While liquid sweeteners like maple syrup can be used for flavor, they will significantly soften the frosting, making it difficult to pipe tall swirls.
No, carton coconut milk is too diluted with water. You must use full-fat canned coconut milk to get the necessary fat solids for a pipeable frosting.
Ensure the frosting is properly chilled and whipped to stiff peaks, then use a large open star tip (like a 1M) and pipe with firm, consistent pressure.
It is stable for 2-4 hours at moderate room temperature thanks to the added starch, but it should be stored in the fridge for long-term structural integrity.
This usually happens if the can wasn’t chilled long enough, the brand had too many emulsifiers (like guar gum), or some coconut water accidentally mixed into the solids.
The Ultimate Piped Coconut Milk Frosting Recipe
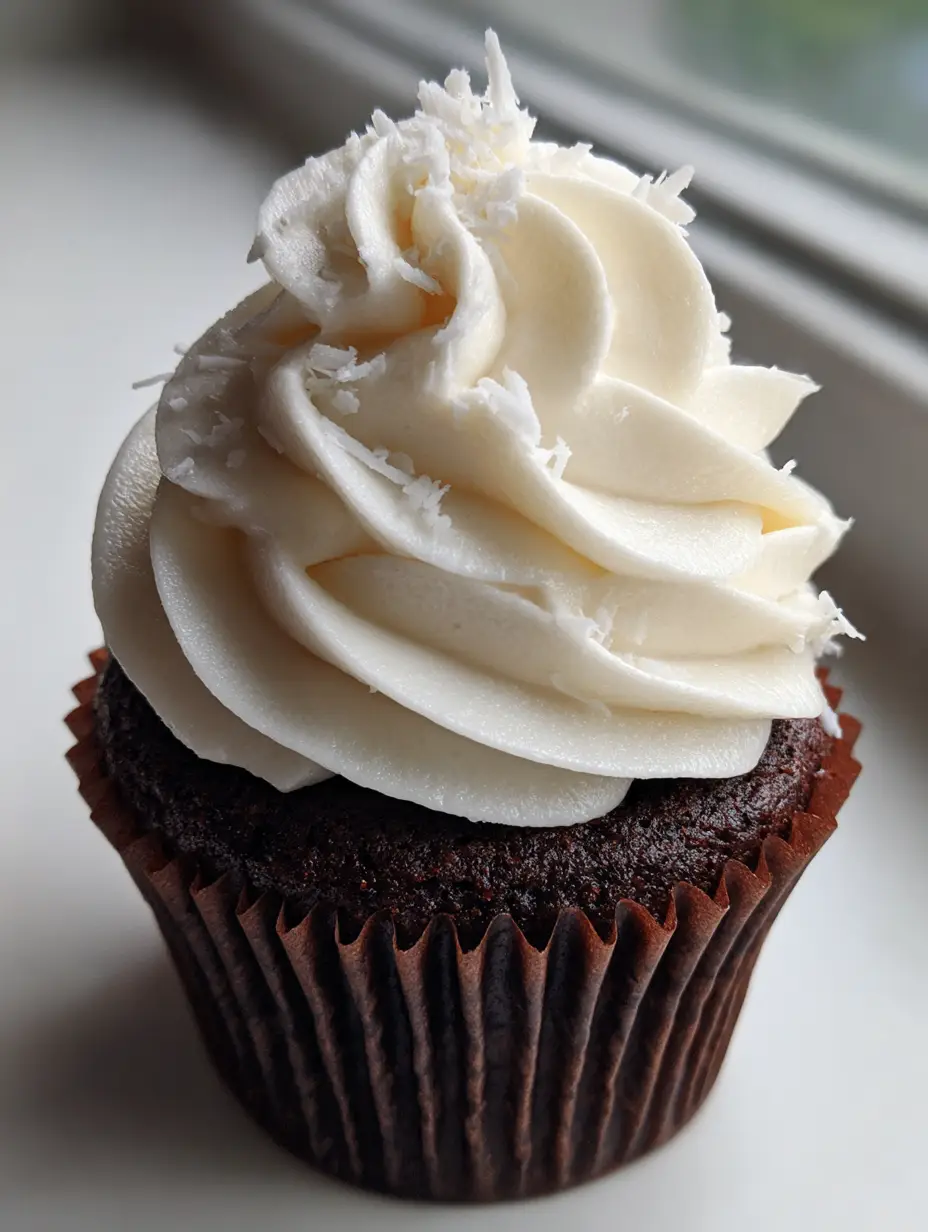
Coconut Milk Frosting: The Ultimate Piped Vegan Topping for Dark Chocolate Cupcakes
Ingredients
Equipment
Method
- Place cans of coconut milk in the refrigerator for 24 hours to separate the fat solids from the liquid.
- Open cans carefully and scoop the hardened white coconut cream into a chilled mixing bowl, discarding or saving the liquid for other use.
- Whip the coconut solids on medium-high speed until light and fluffy, showing a matte texture.
- Slowly mix in sifted powdered sugar, starch, and vanilla. Whip on high for 30 seconds until stiff peaks form.
- Transfer to a piping bag with a star tip. Pipe tall swirls onto dark chocolate cupcakes and scatter fine desiccated coconut flakes on top.
Notes
Use only full-fat canned coconut milk; carton varieties will not work.
Join the CrispCrumbs Community!
We hope this deep dive into Coconut Milk Frosting helps you achieve those bakery-perfect swirls you have been dreaming of. There is nothing more satisfying than the contrast of a matte white coconut peak against a dark chocolate base. If you enjoyed this recipe, please leave a comment below and tell us how your piping turned out!
Don’t forget to follow us on Pinterest for more culinary forensics and visual recipe blueprints. Share your creations by tagging @CrispCrumbs—we love seeing your star-tipped masterpieces!


