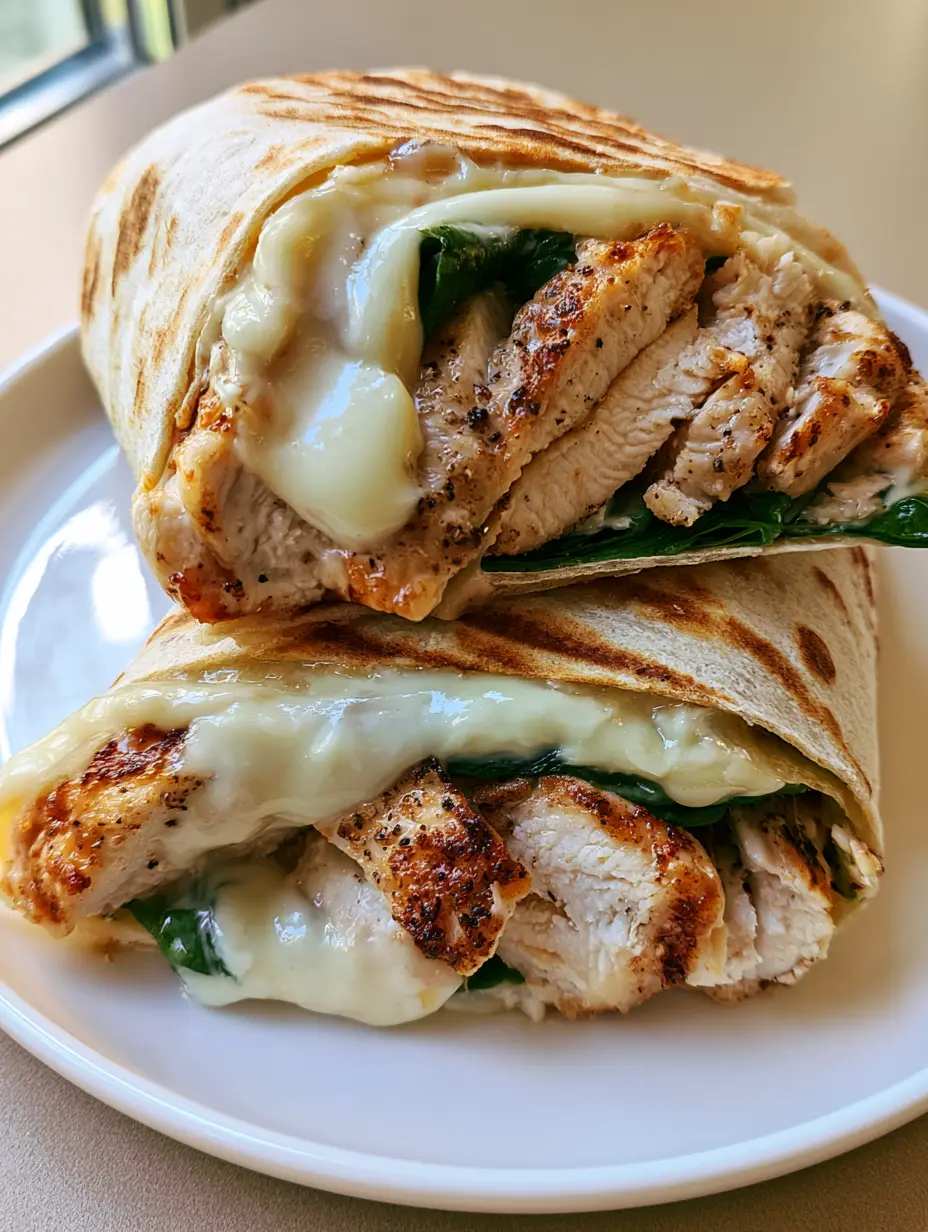
There is something undeniably satisfying about the perfect handheld meal, and these Cheesy Garlic Chicken Wraps are the ultimate testament to that. Imagine a warm, toasted flour tortilla wrapped tightly around succulent, golden-seared chicken breast and a molten layer of gooey mozzarella cheese. Every bite offers a contrast of textures, from the slight crunch of the charred tortilla to the fresh, vibrant snap of baby spinach leaves.
The star of the show, however, is the luxurious creamy garlic sauce that glazes every strip of chicken, catching the soft natural daylight in a glossy shimmer. This recipe isn’t just about putting ingredients in a wrap; it’s about layering flavors and textures to create a restaurant-quality experience right in your own kitchen. Whether you are looking for a high-protein lunch or a quick weekday dinner, these wraps deliver on every front.
Inspired by the classic flavor profiles found in our Marry Me Chicken, this recipe leans heavily into the aromatic power of roasted garlic and herb seasonings. We have meticulously crafted this guide to ensure your chicken remains juicy and your tortilla stays perfectly crisp without becoming soggy. Let’s dive into the science of the perfect sear and the art of the garlic emulsion.
Why You Will Crave These Toasted Chicken Wraps
- Visual Texture: Each wrap features distinct golden-brown sear marks on the exterior, providing a professional, “handheld smartphone photo” aesthetic.
- Gooey Cheese Pull: The combination of seared chicken heat and a hot pan ensures the mozzarella cheese reaches its peak melting point for a classic cheese pull.
- Aromatic Depth: A double-hit of garlic—both in the herb seasoning and the creamy aioli—provides a multi-dimensional flavor profile that lingers beautifully.
- Fresh Balance: Layers of fresh green baby spinach provide a crisp, earthy counterpoint to the rich white cheese and savory cracked black pepper.

The Anatomy of a Perfect Garlic Chicken Filling
To achieve the result seen in our visual blueprint, every ingredient must serve a specific culinary purpose. We don’t just want flavor; we want structural integrity and moisture management.
Boneless Skinless Chicken Breast: We use 1 lb (450g) of chicken, sliced into thick, uniform strips. This ensures even cooking and allows the garlic herb seasoning to coat every surface for a savory crust.
Large Flour Tortillas: You will need 4 large (10-inch/25cm) flour tortillas. These provide enough surface area to contain the generous filling while offering that characteristic toasted dough flavor when seared.
Shredded Mozzarella Cheese: 1.5 cups (170g) of low-moisture mozzarella is essential. Unlike fresh mozzarella, which can release too much water, low-moisture shreds melt into a thick, “smothered” consistency that binds the chicken and spinach.
Fresh Baby Spinach: 2 cups (60g) of packed spinach adds color and nutrients. The heat from the chicken will slightly wilt the leaves, making them easier to bite through while retaining a fresh green hue.
The Garlic Herb Seasoning: A blend of garlic powder, dried parsley, and a hint of onion powder creates the base flavor. This is what gives the chicken its “seasoned with garlic” appearance in the cross-section.
Creamy Garlic Aioli: This is a mixture of mayonnaise, fresh minced garlic, and lemon juice. If you enjoy this flavor profile, you might also love our creamy garlic shrimp which uses a similar aromatic base.
Foundational Additions: Don’t forget 2 tbsp (30ml) of high-smoke point oil (like avocado or light olive oil) for searing the chicken and 1 tbsp (14g) of butter for toasting the tortillas to achieve those golden sear marks.
Essential Tools for the Best Toasted Wraps
To replicate the authentic food photography style of our blueprint, you need the right heat distribution. A heavy-bottomed cast iron skillet or a high-quality non-stick pan is non-negotiable for achieving those specific golden-brown marks.
You will also need a sharp chef’s knife for slicing the chicken into thick, juicy strips. A set of silicone-tipped tongs is helpful for flipping the wraps without tearing the delicate flour tortilla. Finally, a clean white ceramic plate will make the colors of the spinach and the glossy sauce pop, just like in our Midjourney prompt.
Mastering the Sear: Step-by-Step Instructions
Phase 1: Preparing the Garlic Infusion
Start by whisking together 1/2 cup (120ml) of high-quality mayonnaise with 3 cloves of finely minced garlic, 1 tsp (5ml) of lemon juice, and a pinch of salt. Set this aside in the refrigerator for at least 15 minutes.
This resting period allows the garlic’s pungency to mellow into the fat of the mayo, creating a smoother, more cohesive aioli. This is the “glossy sauce” that defines the visual appeal of our Cheesy Garlic Chicken Wraps.
Phase 2: Searing the Chicken Strips
Pat your chicken breast strips dry with a paper towel. This is a critical step; moisture is the enemy of the Maillard reaction. Season the chicken generously with the garlic herb seasoning and plenty of cracked black pepper.
Heat 2 tbsp (30ml) of oil in your skillet over medium-high heat. Once the oil shimmers, add the chicken in a single layer. Sear for 4-5 minutes per side until a deep golden-brown crust forms and the internal temperature reaches 165°F (74°C). Remove from heat and let rest for 3 minutes to keep the juices inside.

Phase 3: Assembly and The “Melt” Factor
Lay your tortillas flat. Spread a generous tablespoon of the garlic aioli down the center of each. Add a layer of fresh baby spinach, followed by the warm, juicy chicken strips.
Top the chicken with a heavy hand of shredded mozzarella. The residual heat from the chicken will begin the melting process, but the final sear in the pan will finish it into that “smothered” white cheese texture seen in the photos.
Phase 4: Toasting to Golden Perfection
Wipe out your skillet and add a small knob of butter. Fold the sides of the tortilla over the filling and roll tightly. Place the wrap seam-side down in the hot skillet.
Press down slightly with a spatula. Toast for 1-2 minutes per side until golden-brown sear marks appear. The tortilla should feel slightly crisp to the touch. Slice diagonally with a serrated knife to reveal the beautiful layers of chicken, cheese, and greens.
Pro Tips for Restaurant-Quality Wraps
- Room Temperature Tortillas: Microwave your tortillas for 10 seconds before rolling. This makes the gluten more pliable and prevents the wrap from cracking.
- The “Tight Roll” Technique: Tuck the ends in early and use your fingers to pull the filling toward you as you roll to ensure a dense, stackable wrap.
- Don’t Overcrowd: When searing chicken, work in batches. Overcrowding the pan causes the temperature to drop, resulting in steamed chicken rather than seared chicken.
- The Pepper Finish: Grind fresh black pepper over the chicken right before closing the wrap to ensure the aromatics are sharp and visible.
Smart Storage and Reheating Advice
These Cheesy Garlic Chicken Wraps are best enjoyed immediately while the tortilla is crisp. However, if you have leftovers, wrap them tightly in aluminum foil and store in the refrigerator for up to 2 days.
To reheat, avoid the microwave as it will make the tortilla chewy and soggy. Instead, use an air fryer at 350°F (175°C) for 3-5 minutes or a dry skillet over medium heat until the cheese is melted and the exterior is recrisped.
What to Serve with Your Chicken Wraps
These wraps are a meal in themselves, but they pair beautifully with a light side. Consider a crisp cucumber salad or a side of Greek marinated vegetables for a Mediterranean twist.
If you’re looking for more garlic-forward inspiration, these wraps serve as a fantastic lunch follow-up to a dinner of Garlic Parmesan Chicken Pasta. For a spicy kick, a small bowl of buffalo dipping sauce—inspired by our Buffalo Chicken Sandwich—works wonders.
Frequently Asked Questions
Yes! Chicken thighs offer more fat and flavor. Just ensure you trim the excess fat and sear them until they reach an internal temperature of 175°F (79°C) for the best texture.
The key is to sear them seam-side down first. The heat melts the cheese and ‘glues’ the flap of the tortilla to the body of the wrap, creating a secure seal.
Fresh garlic has a ‘bite,’ but when mixed with mayonnaise and lemon juice, it mellows out. For a milder flavor, you can briefly sauté the minced garlic before adding it to the mayo.
Always pat your chicken and spinach dry before assembly. Also, using low-moisture mozzarella instead of fresh mozzarella prevents excess water from soaking the tortilla.
The Ultimate Cheesy Garlic Chicken Wrap Recipe
Cheesy Garlic Chicken Wraps with Creamy Garlic Aioli
Ingredients
Equipment
Method
- Whisk mayonnaise, minced garlic, and lemon juice in a small bowl. Refrigerate while preparing chicken.
- Coat chicken strips with garlic herb seasoning, salt, and cracked black pepper.
- Heat oil in skillet. Sear chicken for 4-5 minutes per side until golden brown and cooked through.
- Spread aioli on tortillas. Layer spinach, chicken, and mozzarella. Roll tightly.
- Melt butter in skillet. Toast wraps seam-side down until golden-brown sear marks appear.
Notes
Ensure the chicken rests for 3 minutes before assembly to keep it juicy.
Wrap It Up: Final Thoughts
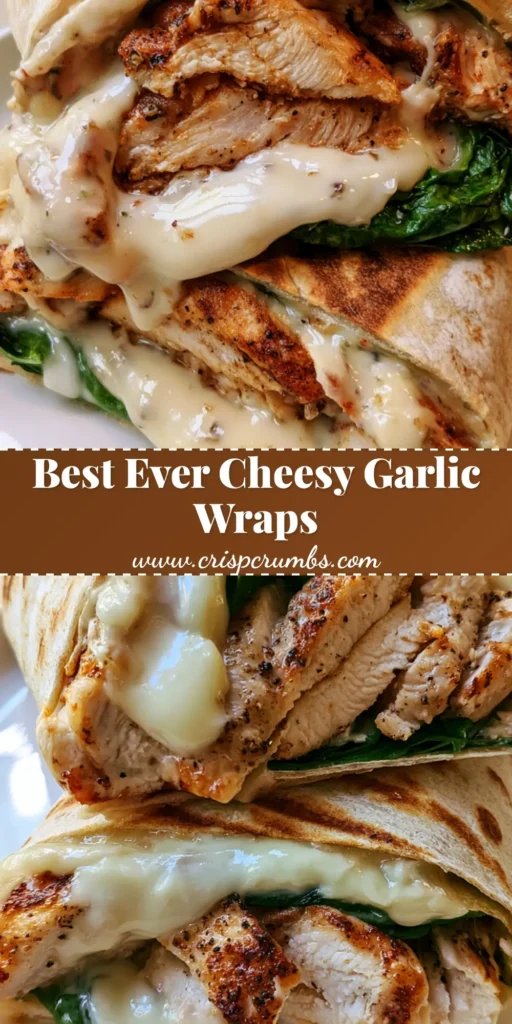
Mastering the Cheesy Garlic Chicken Wraps is all about the balance of a hard sear and a creamy finish. By following these steps, you’ve created a dish that is as visually stunning as it is delicious. The combination of toasted dough, melted cheese, and garlic-infused protein is a crowd-pleaser that never goes out of style.
If you enjoyed this recipe, please leave a comment below and let us know how your sear turned out! Don’t forget to save this to your favorite boards on Pinterest so you always have a quick dinner idea ready to go. Happy cooking!


