There is a specific, primal satisfaction in biting into a Buffalo Chicken Sandwich that hits every sensory note perfectly. This isn’t just a sandwich; it’s a masterclass in textural architecture and flavor balancing. Imagine a handheld masterpiece where the first thing your eyes land on is a bright, glossy, orange-red buffalo sauce, shimmering under natural light. This sauce isn’t just a topping—it’s a viscous, slightly wet glaze that clings to the craggy, golden-brown ridges of a perfectly fried chicken breast.
Every element in this recipe is designed to replicate that “just-ordered-at-a-premium-gastropub” feel. From the buttery, toasted brioche bun that provides a pillowy foundation to the cool, thick mound of ranch-infused coleslaw, every bite offers a temperature and texture contrast. We are moving beyond basic recipes to create a culinary experience that looks as good as it tastes, featuring a breading so thick and craggy it creates deep pockets for the sauce to pool in.
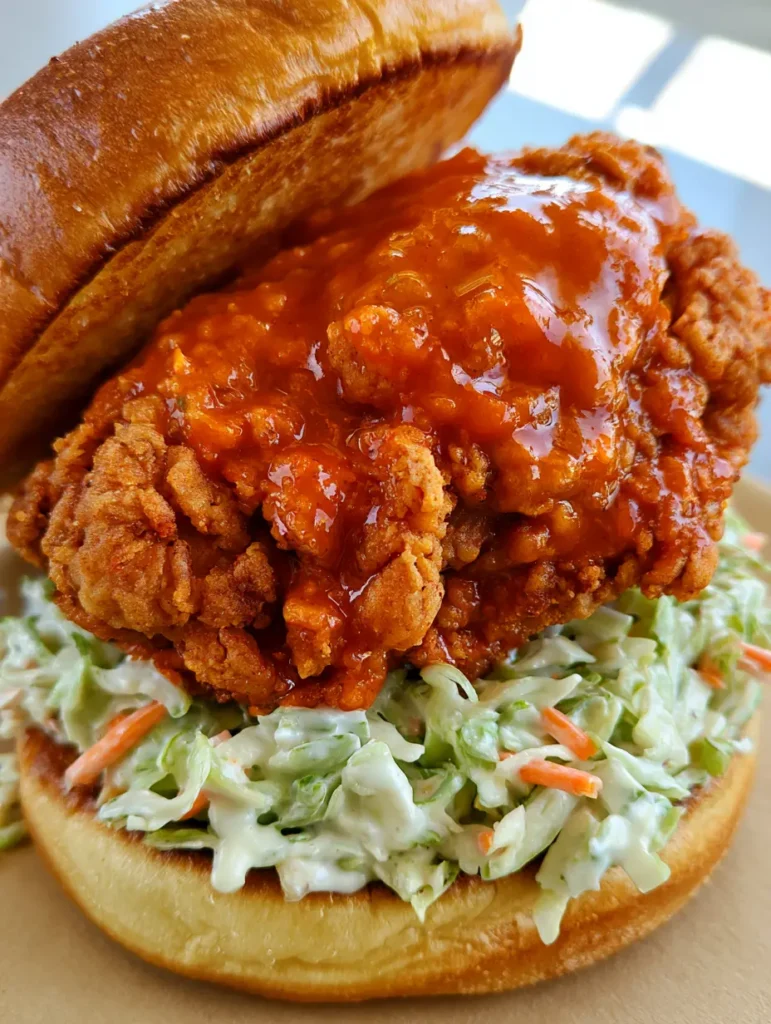
Why This Is The Ultimate Buffalo Chicken Sandwich Experience
- The “Craggy” Factor: Our double-dredge technique creates a thick, irregular breading that maximizes surface area for the buffalo sauce to cling to, ensuring no bite is dry.
- Glossy Visuals: We use a high-fat emulsification technique for the buffalo sauce to achieve that signature wet, viscous look seen in professional food photography.
- Ranch Slaw Balance: Instead of separate pickles or blue cheese, we utilize a creamy ranch-based coleslaw with julienned carrots for a refreshing, crunchy counterpoint to the heat.
- Structural Integrity: By toasting the inside of the brioche bun until golden-brown, we create a moisture barrier that prevents the glossy sauce from making the bread soggy.
The Foundation: Essential Ingredients for the Perfect Buffalo Chicken Sandwich
To achieve the result shown in our visual blueprint, you need specific ingredients that perform under heat and pressure. Here is what you’ll need to gather.
The Chicken and the “Crag”
Chicken Breasts: 2 large (approx. 1 lb / 450g) breasts, halved and pounded to even thickness. This ensures even cooking and a large surface area for breading.
All-Purpose Flour: 2 cups (250g). This serves as the base of our breading, providing the structure for the crust.
Cornstarch: 1/2 cup (60g). This is our secret weapon for “shatter-crisp” textures; it interferes with gluten development for a more delicate crunch.
Buttermilk: 1.5 cups (350ml). The acidity tenderizes the chicken proteins while acting as the “glue” for our flour mixture.
The Signature Glossy Buffalo Coating
Cayenne Pepper Sauce: 1 cup (240ml). Use a classic fermented pepper sauce (like Frank’s) for that authentic tang and bright orange-red hue.
Unsalted Butter: 1/2 cup (115g). High-quality butter provides the viscosity and “glossy” finish described in our visual prompt.
Honey: 1 tbsp (20g). This adds a subtle weight to the sauce, helping it look slightly wet and viscous on the chicken.
The Creamy Ranch Coleslaw and Bun
Green Cabbage: 3 cups (210g), finely shredded. This provides the primary volume and a clean, refreshing crunch.
Carrots: 1 cup (100g), thin julienned strips. These add a pop of color and a secondary layer of sweetness to the slaw.
Ranch Dressing: 1/2 cup (120ml). Use a thick, buttermilk-based ranch to ensure the slaw stays “generously mounded” and doesn’t weep water.
Brioche Buns: 4 large buns. Brioche is essential for its high egg and butter content, which toasts to a beautiful golden-brown on the inside.

Professional Equipment for Gastropub Quality
Achieving a thick, craggy crust requires more than just a pan; you need tools that manage heat effectively. A heavy-bottomed Dutch oven or cast-iron skillet is mandatory for maintaining oil temperature. To get those thin, julienned carrots, a mandoline or a very sharp chef’s knife is required. Finally, a wire cooling rack is essential for resting the fried chicken; placing it on paper towels will steam the bottom and ruin that beautiful golden-brown breading.
Step-by-Step Architecture: Building Your Buffalo Chicken Sandwich
Phase 1: The Buttermilk Brine and Slaw Preparation
Start by marinating your chicken in 1.5 cups (350ml) of buttermilk seasoned with salt, pepper, and garlic powder for at least 30 minutes. While the chicken brines, prepare the ranch coleslaw. In a large bowl, combine the finely shredded green cabbage and julienned carrots. Fold in the thick ranch dressing and a splash of apple cider vinegar until fully coated. Cover and refrigerate; the cabbage needs time to soften slightly while maintaining its structural crunch.
Phase 2: Creating the Thick, Craggy Breading
In a wide shallow dish, whisk together the flour, cornstarch, and your spices. Here is the professional tip: drizzle 3 tablespoons of the buttermilk marinade into the flour mixture and use a fork to create small “clumps.” When you press the chicken into this flour, these clumps adhere to the surface, creating the “thick, craggy breading” seen in our Nashville-style and Cajun-style sandwiches. Press each chicken piece firmly into the flour, ensuring every irregular nook is covered.
Phase 3: The Science of the Perfect Fry
Heat 2 inches of neutral oil (canola or peanut) to 350°F (175°C). Carefully lower the chicken away from you into the oil. Fry for 5-6 minutes per side. Visual Cue: Look for a deep, golden-brown crust that appears visually “rough” and hard to the touch. The internal temperature must reach 165°F (74°C). Transfer the chicken to a wire rack immediately to keep the crust shatter-crisp.
Phase 4: Emulsifying the Viscous Buffalo Sauce
In a small saucepan over low heat, combine the cayenne sauce and honey. Once warm, whisk in the cold butter, one tablespoon at a time. This emulsification process is what creates the “glossy, orange-red” finish. If the sauce is too hot, the butter will “break” and look greasy. You want a thick, wet coating that looks viscous. Dip each hot fried chicken breast entirely into the sauce until completely drenched.
Phase 5: Toasting and Assembly
Liberally butter the cut sides of your brioche buns. Toast them in a dry skillet over medium heat until the edges are dark golden-brown. Assembly Order: Place the toasted bottom bun on a neutral surface. Add a generous mound of the creamy ranch coleslaw. Rest the glossy, sauce-drenched chicken on top. Finally, lean the top bun against the chicken at a slight angle to showcase the layers, just like a professional food photograph.
Expert Tips for a Non-Soggy Sandwich
- The Sauce Dip: Do not sauce the chicken until you are ready to serve. Even the sturdiest breading will eventually soften when drenched in a wet sauce.
- Cold Butter: Always whisk cold butter into warm sauce. This creates a stable emulsion that is thicker and glossier than melted butter alone.
- Bun Toasting: Do not skip toasting. The “toasted, buttery golden” surface acts as a shield against the slaw’s dressing and the buffalo sauce.
- Slaw Drainage: If your cabbage is particularly watery, salt it for 10 minutes beforehand, rinse, and pat dry before adding the ranch dressing.
Shelf Life, Storage, and Reheating
The Buffalo Chicken Sandwich is best enjoyed immediately to experience the contrast between the hot chicken and cold slaw. However, components can be stored separately. The fried chicken can be kept in the fridge for up to 3 days. To reheat, use an oven or air fryer at 375°F (190°C) until the crust re-crisps; never use a microwave. The coleslaw will stay fresh for 2 days, though it will become more liquid over time. The buffalo sauce can be reheated gently on the stove while whisking to re-emulsify the butter.
What to Serve With Your Buffalo Masterpiece
To round out this meal, consider sides that complement the heat and acidity. A side of crispy fries is classic, but if you’re looking for something different, try our BBQ-style snacks or a light creamy pasta salad. For those who love a variety of handhelds, pairing this with a Lemon Pepper Chicken Sandwich at a party provides a great “Spicy vs. Zesty” duo. If you have leftover chicken, it works beautifully chopped up in mediterranean-style bowls the next day.
Frequently Asked Questions
You can, though the ‘craggy’ texture is harder to achieve without oil. Spray the dredged chicken liberally with oil and air fry at 400°F (200°C) for 15-18 minutes, flipping halfway through.
Toast the brioche bun until a dark golden-brown crust forms on the inside. This creates a structural barrier. Additionally, placing the slaw between the bottom bun and the chicken helps shield the bread.
The secret is cold butter. Whisk cold, cubed butter into the warm pepper sauce slowly. This creates an emulsion that is thicker, shinier, and more viscous than simply mixing in melted butter.
Adding a few tablespoons of liquid (like buttermilk) into your dry flour mixture creates small clumps. When you dredge the chicken, these clumps stick to the meat, forming the irregular, craggy peaks that get extra crispy when fried.
The breading often falls off because the surface of the chicken was too wet or it wasn’t pressed firmly enough. Ensure you pat the chicken dry before the buttermilk brine and press the flour mixture into the chicken with significant force.
The Ultimate Buffalo Chicken Sandwich Recipe
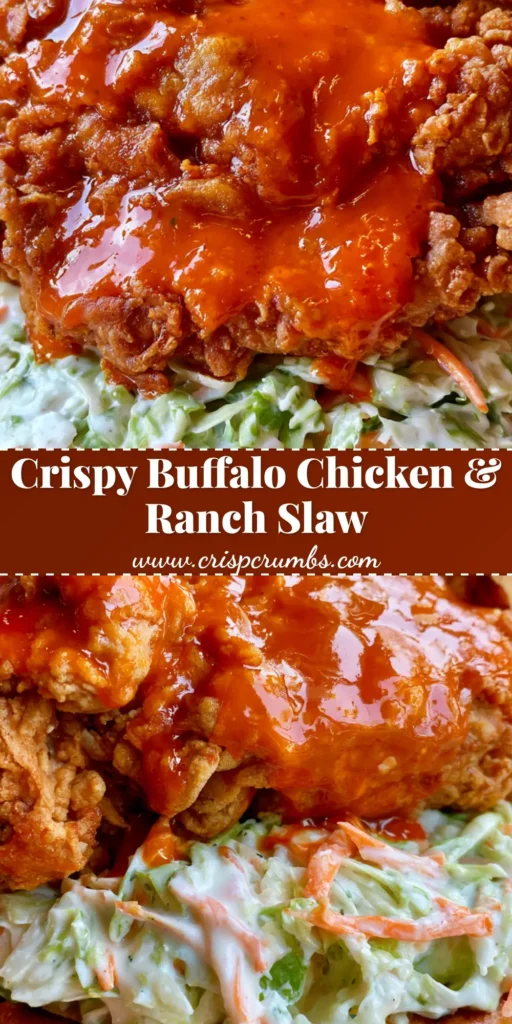
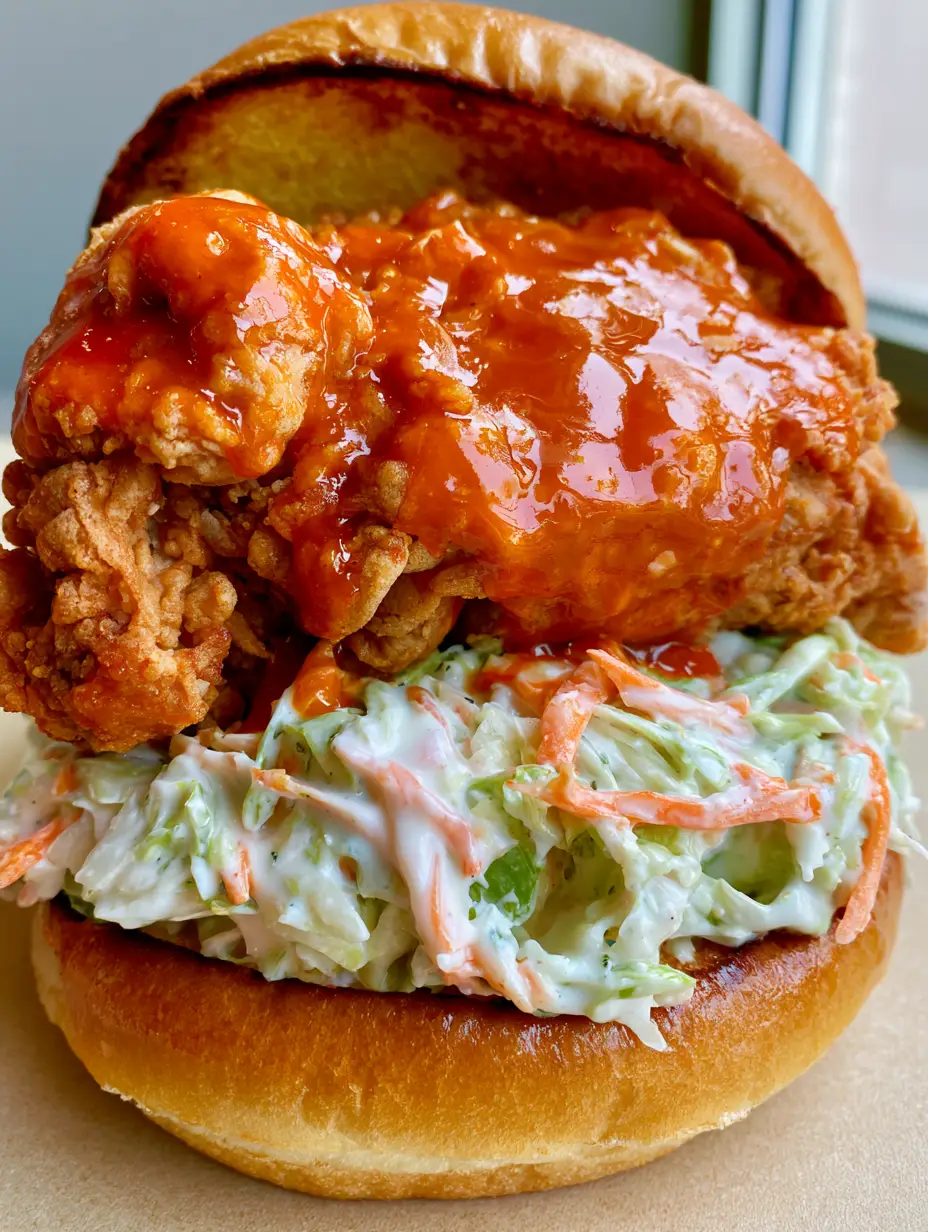
Buffalo Chicken Sandwich with Creamy Ranch Slaw on Toasted Brioche
Ingredients
Equipment
Method
- Marinate chicken in seasoned buttermilk for 30 minutes.
- Toss cabbage and carrots with ranch dressing. Refrigerate until assembly.
- Coat chicken in flour-cornstarch mix with buttermilk 'clumps' for a craggy texture.
- Fry in 350°F (175°C) oil for 5-6 mins per side until deep golden-brown.
- Whisk cold butter into warm cayenne sauce to create a glossy emulsion; drench chicken.
Notes
Double dredge the chicken and press firmly for maximum cragginess.
Bring the Gastropub Home
Creating a Buffalo Chicken Sandwich that looks like a professional handheld smartphone photo is all about the details—the craggy crust, the glossy sauce, and the vibrant slaw. This recipe delivers a balance of heat, crunch, and creaminess that will rival any restaurant. If you enjoyed this recipe, please leave a comment below and let us know how your “crag” turned out! Don’t forget to share your creations with us on Pinterest and follow CrispCrumbs for more culinary inspiration.


