There is nothing quite like the aroma of a freshly baked Banana Bread Recipe wafting through a sun-drenched kitchen. It is the ultimate comfort food, bridging the gap between a morning pastry and a decadent afternoon snack. This specific version isn’t just another quick bread; it is a masterclass in texture and visual appeal.
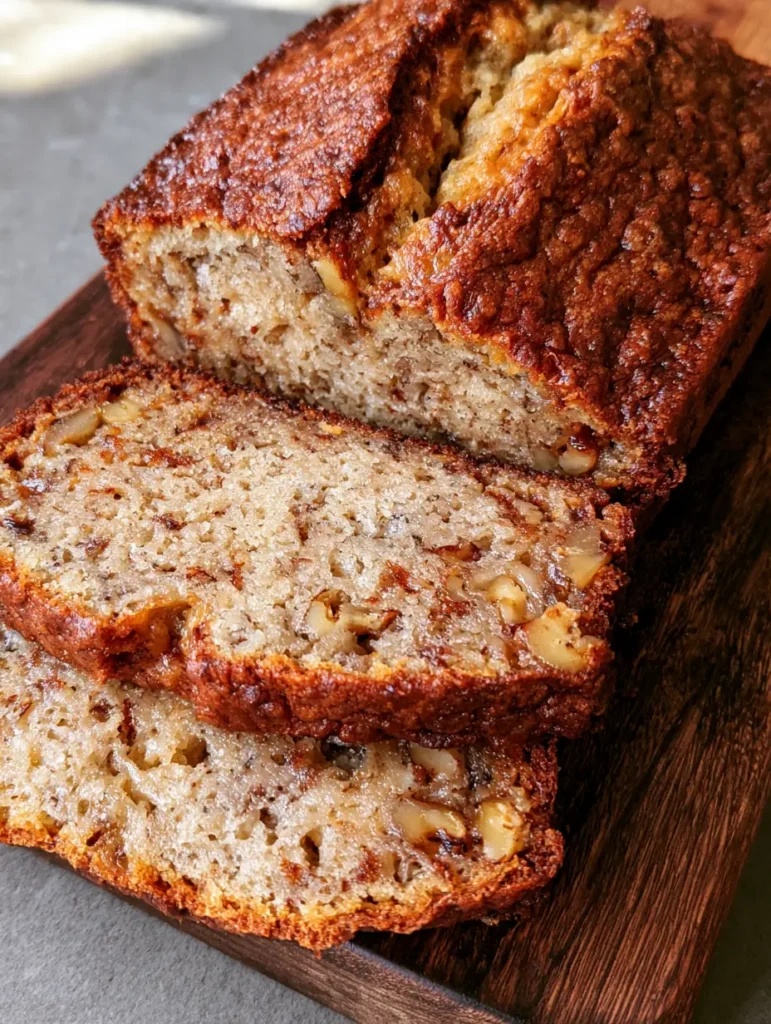
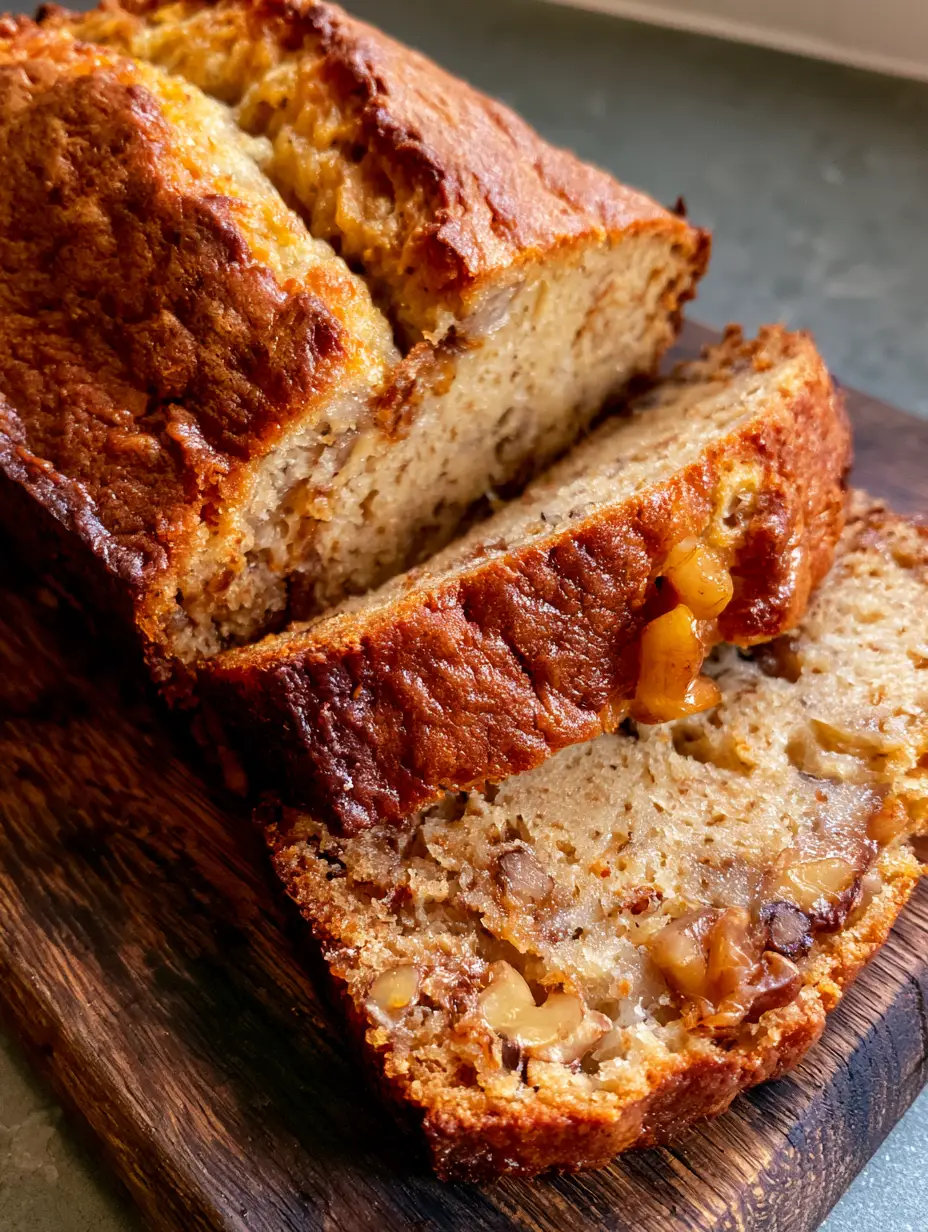
Imagine a loaf with a deep, golden-brown crust that shatters slightly under the knife, revealing a longitudinal crack that acts as a window to a moist, tender interior. This recipe focuses on achieving that elusive glistening crumb, punctuated by streaks of caramelized fruit and the earthy crunch of toasted walnuts.
Whether you are a seasoned baker or a newcomer to the oven, this guide will walk you through the science of the perfect bake. We are targeting that authentic, handheld smartphone aesthetic—the kind of loaf that looks just as good on a rustic wooden board as it tastes with a smear of salted butter.
Why This Is the Only Banana Bread Recipe You Need
- The Craggy Signature Crust: A specific sugar-to-fat ratio ensures a thick, deep golden-brown exterior with a prominent natural crack.
- Moisture-Locked Interior: By using highly ripened bananas and a touch of Greek yogurt, the pale-tan crumb remains glistening and soft for days.
- Forensic Flavor Profiling: Visible streaks of caramelized banana and scattered chunks of toasted walnuts provide a multi-sensory experience in every bite.
- Structural Integrity: This loaf is dense enough to hold its shape when sliced thick, yet tender enough to melt in your mouth.
The Anatomy of a Perfect Golden-Brown Loaf
To achieve the visual result of a rustic, professional-grade loaf, we must look at the science of our ingredients. Every component in this Banana Bread Recipe serves a dual purpose: structural stability and flavor enhancement.
Over-Ripe Bananas: You want skins that are more black than yellow. These provide the natural sugars necessary for those beautiful caramelized streaks seen in the crumb.
Unsalted Butter (1/2 cup / 115g): We melt and slightly cool the butter to ensure a dense, fudgy texture rather than a cake-like aeration. This creates the “glistening” moisture profile.
Granulated and Brown Sugars: The granulated sugar helps form that craggy crust, while the molasses in the brown sugar keeps the interior pale-tan and soft.
All-Purpose Flour (1 ½ cups / 190g): This provides the protein structure needed to support the heavy fruit and walnut inclusions without the loaf collapsing.
Greek Yogurt or Sour Cream (2 tbsp / 30ml): The acidity reacts with the baking soda to provide a lift that creates the longitudinal crack during the initial oven spring.
Toasted Walnut Halves (1/2 cup / 60g): Toasting the walnuts before folding them in releases essential oils, intensifying the “toasted” aroma and flavor.
Foundational Spices and Leaveners: 1 tsp (5g) baking soda, ½ tsp (3g) sea salt, and 1 tsp (5ml) pure vanilla extract are the invisible heroes that balance the sweetness and ensure a perfect rise.
Essential Tools for a Rustic Presentation
Achieving the look of a professional food photographer’s handheld shot requires more than just ingredients. You will need a standard 9×5 inch (23x13cm) loaf pan to get the height necessary for that deep crack.
A rustic dark wooden cutting board is essential for the final presentation. To get the perfect “glistening” slice, use a sharp serrated knife to cut through the crust without compressing the tender interior.
If you enjoy the process of crafting artisanal bakes, you might also find joy in mastering a rustic rhubarb galette (coming soon) or perhaps a delicate almond dacquoise.

Mastering the Art of the Craggy Loaf: Step-by-Step
1. Prepping for the Maillard Reaction
Preheat your oven to 350°F (175°C). Grease your loaf pan thoroughly with butter or non-stick spray, and line the bottom with parchment paper, leaving an overhang on the sides.
This “sling” method allows you to lift the loaf out without disturbing the craggy crust. A well-heated oven is crucial for the Maillard reaction, which gives the crust its deep golden-brown hue.
2. Toasting the Walnut Inclusions
Place your walnut halves on a baking sheet and toast for 5-7 minutes until fragrant. Chop them roughly, keeping some larger “chunks” as described in the visual blueprint.
Toasted walnuts offer a far superior flavor profile compared to raw ones. If you have leftover nuts, they are a fantastic addition to a crunchy chickpea salad (coming soon) or a side of sauteed vegetables.
3. The Two-Bowl Emulsion
In a large bowl, mash 3 large bananas (about 1 ½ cups / 350g) until mostly smooth but with some visible chunks remaining. These chunks become the caramelized streaks in the final bake.
Whisk in the melted butter, sugars, egg, vanilla, and Greek yogurt. In a separate bowl, sift the flour, baking soda, and salt to ensure no clumps remain in the dense crumb.
4. Folding and Finesse
Gently fold the dry ingredients into the wet until just combined. Over-mixing will develop too much gluten, turning your tender loaf into a tough bread.
Fold in the toasted walnut chunks. Pour the batter into the prepared pan and smooth the top slightly, leaving a small “mound” in the center to encourage that longitudinal crack.
5. The Bake and the “Visual Cues”
Bake for 55-65 minutes. At the 45-minute mark, check the color; if it is browning too quickly, tent it loosely with foil.
The loaf is done when a skewer inserted into the crack comes out with just a few moist crumbs. The exterior should look deep tan and feel firm to the touch, while the interior remains soft and glistening.
Expert Tips for Success
- The Banana Ratio: If you use too much banana, the bread will be heavy and wet. Stick to the 1 ½ cup (350g) measurement for the perfect pale-tan crumb structure.
- Temperature Matters: Ensure your egg and yogurt are at room temperature to create a seamless emulsion with the melted butter.
- Don’t Rush the Cool: Let the loaf sit in the pan for 10 minutes before moving it to a rustic wooden board. This sets the crumb and prevents the slices from falling apart.
- The “Crack” Secret: For a perfectly centered crack, you can draw a thin line of melted butter down the center of the batter before baking.
Storage, Reheating, and Freezing
This Banana Bread Recipe actually tastes better on day two as the moisture redistributes. Store it in an airtight container at room temperature for up to 4 days.
To freeze, wrap the entire loaf (or individual slices) in plastic wrap and then foil. It will stay fresh for up to 3 months. Thaw at room temperature and toast slightly to revive that craggy crust.
What to Serve With This Decadent Loaf
While a thick slice is a meal on its own, it pairs beautifully with other brunch favorites. Serve it alongside a creamy banana pudding fluff salad (coming soon) for a themed dessert spread.
For a savory contrast, consider serving it after a dinner of garlic butter steak pasta or a refreshing tangy homemade coleslaw. The sweetness of the bread acts as the perfect palate cleanser.
Frequently Asked Questions
Yes! Thaw them completely and include the liquid that leaches out, as it contains concentrated sugars and flavor. Ensure they are mashed well to maintain the ‘glistening’ texture of the crumb.
The crack occurs naturally when the surface sets before the interior finished rising. To encourage a prominent longitudinal crack, you can draw a thin line of melted butter or oil down the center of the batter before placing it in the oven.
Toss the chopped walnuts in a teaspoon of flour before folding them into the batter. This helps them ‘grip’ the mixture and stay suspended throughout the loaf.
Absolutely. Toasting walnuts for 5-7 minutes at 350°F (175°C) enhances their earthy flavor and ensures they stay crunchy within the moist bread rather than becoming soft.
Dryness is usually caused by over-measuring flour or over-baking. Use the spoon-and-level method for flour and check the loaf 5 minutes before the timer ends. Adding Greek yogurt or sour cream also helps lock in moisture.
The Ultimate Moist Banana Bread Recipe
Banana Bread Recipe: The Ultimate Guide to a Craggy, Caramelized Loaf
Ingredients
Equipment
Method
- Preheat oven to 350°F (175°C). Grease a 9x5 inch loaf pan and line with parchment paper.
- Toast walnuts in the oven for 5-7 minutes until fragrant, then roughly chop.
- In a large bowl, mash bananas. Stir in melted butter, sugars, egg, vanilla, and yogurt.
- Whisk flour, baking soda, and salt in a separate bowl. Gently fold into the wet mixture.
- Fold in the toasted walnut chunks until just distributed.
- Pour batter into pan. Bake for 55-65 minutes until a deep golden-brown crust forms and a skewer comes out clean.
- Cool in pan for 10 minutes, then transfer to a wooden board to cool completely before slicing.
Notes
Do not overmix the batter to keep the crumb tender and moist.
Closing & Call to Action
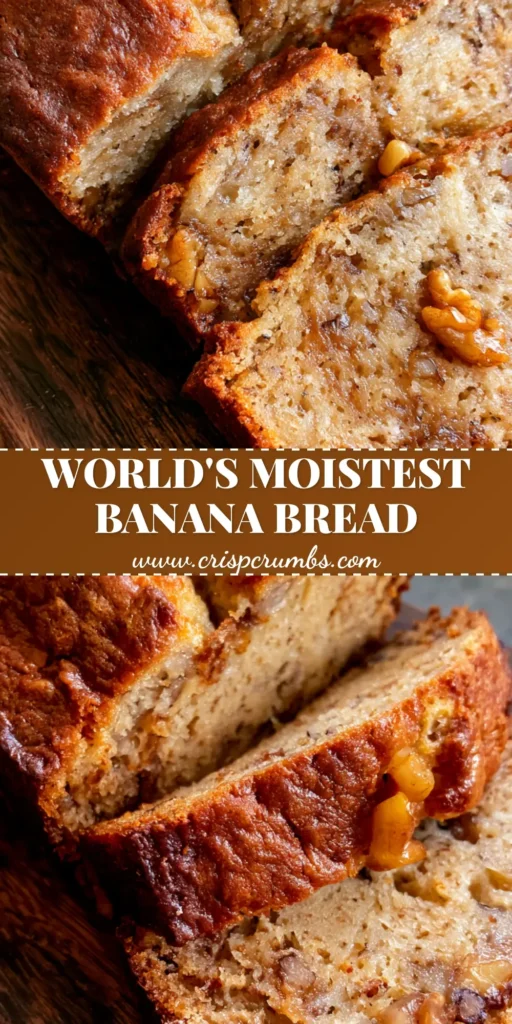
Mastering the perfect Banana Bread Recipe is a rite of passage for any home cook. With its craggy, golden crust and moisture-glistening interior, this loaf is guaranteed to become a family favorite.
If you enjoyed this recipe, please leave a comment below and tell us how yours turned out! Don’t forget to follow us on Pinterest for more culinary inspiration and high-RPM recipes.
Ready for more? Check out our Southern Peach Cobbler (coming soon) for another classic comfort dessert!


