There is a specific, soul-satisfying crunch that only a perfectly Baked Italian Grinder Sandwiches can provide. Imagine a glossy, golden-brown Italian hoagie roll, its surface shimmering with melted butter, dried oregano, and a dusting of sharp grated parmesan. As you take that first bite, the crust shatters to reveal dense, folded layers of salty ham, spicy pepperoni, and beautifully marbled Genoa salami, all bound together by a molten blanket of white mozzarella cheese.
This isn’t just a sandwich; it’s a culinary architecture project designed for maximum flavor impact. Unlike cold deli subs that can feel limp, these hot grinders utilize the oven’s dry heat to intensify the oils in the cured meats while softening the interior of the bread. Every element, from the chunky red marinara to the crisp green dill pickles tucked inside, serves a purpose in creating the ultimate handheld feast.
Whether you are feeding a crowd for game day or looking for a weeknight dinner that feels like a trip to an authentic East Coast deli, these Baked Italian Grinder Sandwiches deliver professional results with minimal effort. Let’s dive into how to achieve that signature herb-crusted finish and the perfect meat-to-cheese ratio that makes every slice a masterpiece.
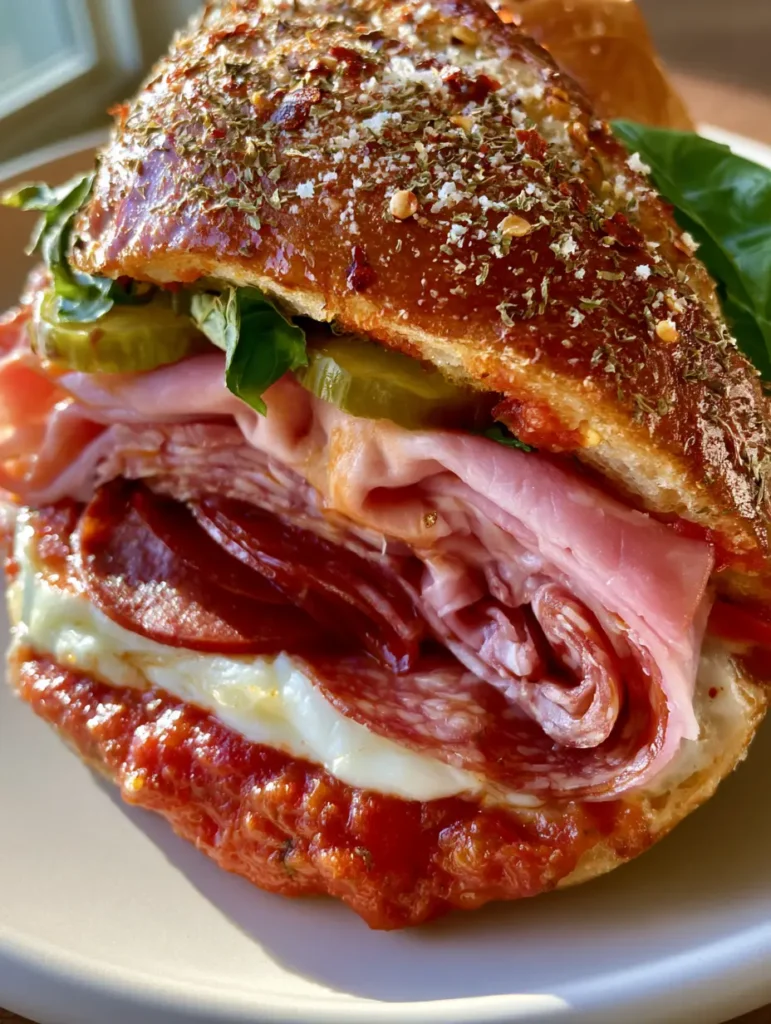
Why These Oven-Toasted Grinders Outshine the Local Deli
- The Signature Herb-Crusted Roll: We don’t just toast the bread; we season it with a heavy hand of oregano, red pepper flakes, and parmesan for a savory, textured crust that rivals high-end bakeries.
- Perfectly Layered Textures: By folding the deli meats rather than laying them flat, we create air pockets that trap heat and melted cheese, ensuring every bite is light yet substantial.
- The Fresh-to-Hot Contrast: The addition of crisp green dill pickles and vibrant fresh basil leaves *after* the heavy baking provides a bright, acidic pop that cuts through the rich fats of the salami and pepperoni.
- Chunky Marinara Integration: Instead of a thin, watery sauce, we use a thick, vibrant red marinara that stays put inside the sandwich, adding moisture without making the bottom bun soggy.
The Anatomy of an Elite Italian Grinder Ingredient List
Italian Hoagie Rolls: You need a sturdy roll with a soft interior. A standard “sub” roll works, but look for ones labeled “Italian” as they typically have the structural integrity to hold the heavy meat and sauce.
Sliced Deli Ham: 8 oz (225g) of thinly sliced pink deli ham provides the salty, mild base of our meat stack. It acts as a foundation for the bolder flavors to come.
Thin Pepperoni Rounds: 4 oz (115g) of dark red pepperoni. When baked, these release their spicy oils, which season the surrounding cheese and bread beautifully.
Marbled Genoa Salami: 6 oz (170g) of Genoa salami. The high fat content and marbling ensure the sandwich remains juicy and flavorful even after a stint in a hot oven.
Mozzarella Cheese: 8 oz (225g) of thick-sliced white mozzarella. This is the “glue” of our Baked Italian Grinder Sandwiches, providing that iconic cheese pull and a creamy counterpoint to the spice.
Chunky Red Marinara Sauce: 1 cup (240ml) of your favorite high-quality marinara. It adds a necessary acidity and sweetness that balances the cured meats.
The “Crust Seasoning” Trio: A combination of 1 tbsp (4g) dried oregano, 1 tsp (2g) red pepper flakes, and 2 tbsp (15g) grated parmesan cheese. This creates the visual and textural “glossy golden-brown” finish seen in the photos.
Crisp Dill Pickles & Fresh Basil: These are the “finishing” ingredients. The pickles add crunch and vinegar, while the basil provides an aromatic, earthy freshness that lifts the entire flavor profile.
Unsalted Butter: 4 tbsp (56g) of melted butter, used to adhere the herb crust to the roll and ensure even browning.
Essential Tools for the Perfect Oven Toast
To achieve that unedited, professional look, you will need a large rimmed baking sheet lined with parchment paper. This prevents the cheese from sticking to the pan and makes cleanup a breeze. A sharp serrated bread knife is also non-negotiable; it allows you to slice through the toasted crust and dense meat layers without squishing the sandwich flat.
If you find yourself frequently making these or other hearty handhelds like bacon cheeseburger bombs, investing in a heavy-duty cooling rack that fits inside your baking sheet can help circulate air under the bread, ensuring the bottom stays as crisp as the top.

Mastering the Bake: Step-by-Step Instructions
Phase 1: Preparing the Herb-Infused Rolls
Preheat your oven to 400°F (200°C). Split your Italian rolls lengthwise, taking care not to cut all the way through if you prefer a “hinged” sandwich. In a small bowl, combine the melted butter with half of the oregano and red pepper flakes. Use a pastry brush to liberally coat the entire exterior of the rolls. Dust the tops heavily with the grated parmesan cheese, pressing it slightly into the buttered surface so it sticks during the bake.
Phase 2: The Art of Meat and Cheese Layering
Open the rolls and spread a generous layer of the chunky marinara sauce on both the top and bottom interior. Now, begin the folding process. Instead of laying the ham, salami, and pepperoni flat, fold each slice into loose “ribbons” or “cones.” This creates height and allows the mozzarella to flow into the crevices. Layer the ham first, followed by the salami, and then the pepperoni rounds. Top the meats with thick slices of mozzarella cheese.
Phase 3: The Meltdown and Toasting
Place the open-faced sandwiches on the prepared baking sheet. Slide them into the center rack of the oven. Bake for 8-10 minutes. You are looking for specific visual cues: the cheese should be bubbling and showing small golden spots, and the edges of the pepperoni should be starting to crisp. The bread crust should transition from pale to a deep, glossy golden-brown.
Phase 4: The Fresh Finish
Remove the sandwiches from the oven. While the cheese is still molten, carefully tuck the crisp green dill pickle slices and the fresh basil leaves into the sandwich, nestled between the meat and the top bun. The residual heat will slightly wilt the basil, releasing its oils, but the pickles will remain cold and crunchy. Close the sandwiches and press down gently to marry the flavors.
Pro Tips for the Ultimate Grinder Experience
- Control the Moisture: If your marinara is particularly thin, simmer it on the stove for 5 minutes to reduce it before spreading. This prevents the “soggy bottom” syndrome.
- The Foil Tent Trick: If your bread is browning too quickly before the cheese has melted, loosely tent the sandwiches with aluminum foil for the first 5 minutes of baking.
- Room Temp Meats: Take your deli meats out of the fridge 10 minutes before assembling. This ensures the center of the sandwich gets hot without over-toasting the bread.
- Slice on a Bias: Always use a serrated knife to cut the sandwich at a 45-degree angle. This not only looks more professional but makes it easier to eat without the filling sliding out.
What to Serve with Your Baked Italian Grinders
These sandwiches are incredibly rich, so they pair best with sides that offer a sharp contrast. A bowl of tangy jalapeno slaw (coming soon) provides a cooling crunch that complements the spicy pepperoni. If you’re hosting a larger party, these grinders sit perfectly alongside other Italian-inspired finger foods like homemade pizza rolls or even a platter of garlic butter shrimp scampi (coming soon) for a “surf and turf” deli spread.
For those who love extra dipping options, a small ramekin of creamy peppercorn sauce (coming soon) on the side adds a sophisticated peppery bite that highlights the Genoa salami.
Frequently Asked Questions
You can assemble the meat and cheese inside the rolls up to 4 hours in advance. However, wait to add the marinara and the herb-butter crust until just before you are ready to bake.
Use a thick, chunky marinara sauce and avoid over-saturating the bread. Baking at a high temperature (400°F) also helps set the crust before the sauce can soak in.
A sturdy Italian hoagie roll or a French baguette work best. Avoid very soft ‘hot dog’ style buns as they will collapse under the weight of the meats and sauce.
Place the sandwich in an air fryer at 350°F for 3-5 minutes or in a toaster oven. Avoid the microwave, as it will make the bread rubbery.
Adding them after baking ensures the pickles stay crisp and cold, providing a necessary temperature and texture contrast to the hot, melty interior.
The Ultimate Baked Italian Grinder Sandwich Recipe
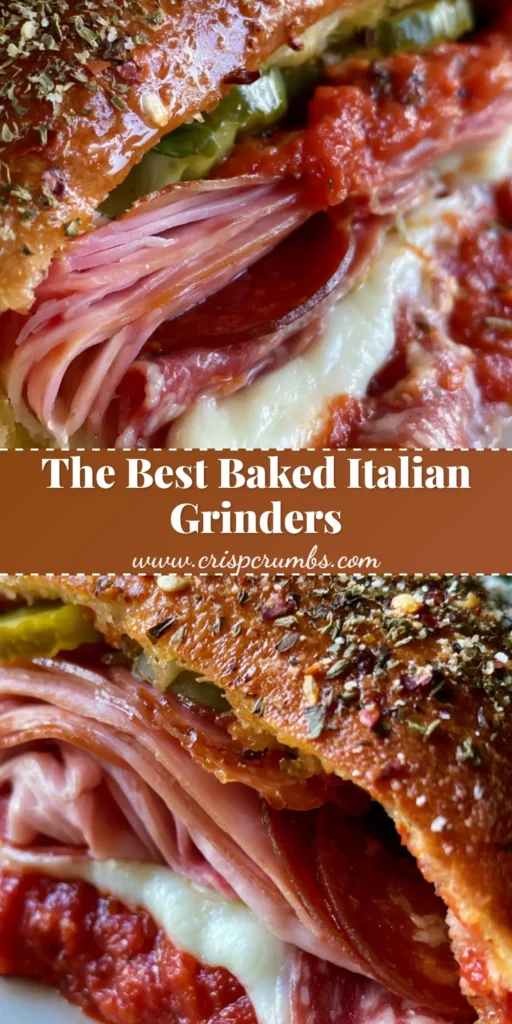
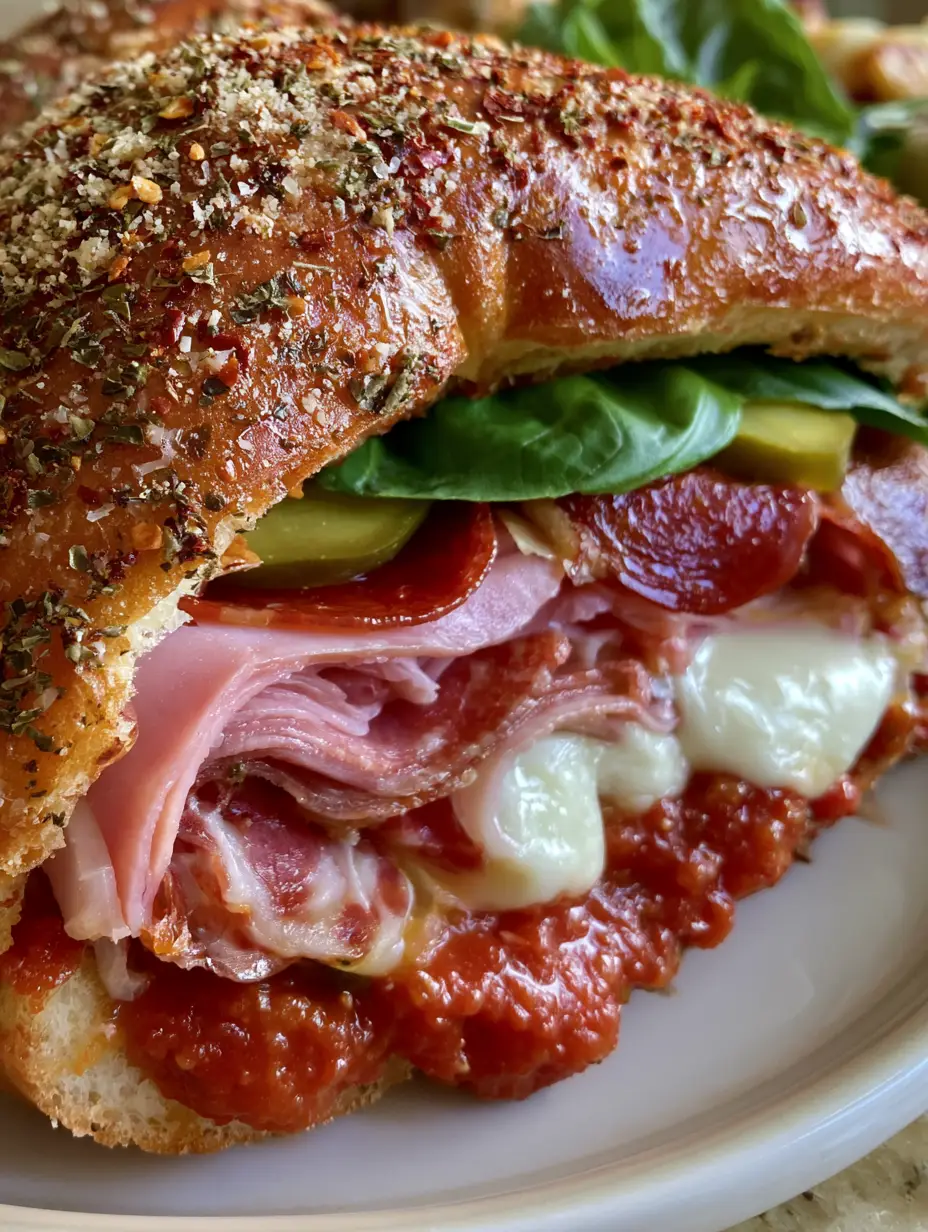
Baked Italian Grinder Sandwiches with Herb-Crusted Rolls
Ingredients
Equipment
Method
- Preheat oven to 400°F (200°C). Split rolls lengthwise and brush exteriors with a mix of melted butter, oregano, and red pepper flakes. Dust heavily with parmesan.
- Spread chunky marinara on the interior of the rolls. Fold the ham, salami, and pepperoni into ribbons and layer them deeply inside the bread.
- Top with thick mozzarella slices. Place on a baking sheet and bake for 8-10 minutes until the crust is glossy golden-brown and cheese is bubbling.
- Remove from oven and tuck crisp dill pickles and fresh basil under the top bun. Slice on a bias and serve hot.
Notes
Use high-quality Genoa salami for the best fat marbling and flavor.
Final Thoughts on This Italian Classic
The Baked Italian Grinder Sandwiches represent the pinnacle of home-cooked comfort food. By focusing on the visual cues—the herb-crusted roll, the folded meats, and the vibrant fresh herbs—you transform a simple sub into a restaurant-quality meal. These sandwiches are best enjoyed immediately while the bread is at its peak crunch and the mozzarella is at its stretchiest.
If you loved this recipe, please consider sharing it with your friends or saving it to your favorite board on Pinterest. Your support helps us continue to develop these deep-dive culinary guides!


