There is a specific kind of magic that happens when a ball of cold ground beef hits a screaming-hot cast iron surface. The Smash Burger isn’t just a meal; it is a culinary masterclass in the Maillard reaction, where protein and heat collide to create a deeply charred, jagged crust that no thick pub-style burger can ever replicate.
When you hold this double-stacked masterpiece in your hands, the first thing you notice is the contrast. You see the glossy, buttery sheen of the toasted brioche bun reflecting the light, followed by the vibrant pop of yellow American cheese draped over the beef like a silken blanket. It is a handheld symphony of textures that demands your full attention.
This recipe focuses on the forensic details that make a burger truly elite. We are looking for those translucent, thinly sliced white onions and the distinct orange hue of a well-emulsified burger sauce. If you have ever wondered why diner burgers taste better, the secret lies in the physics of the smash.
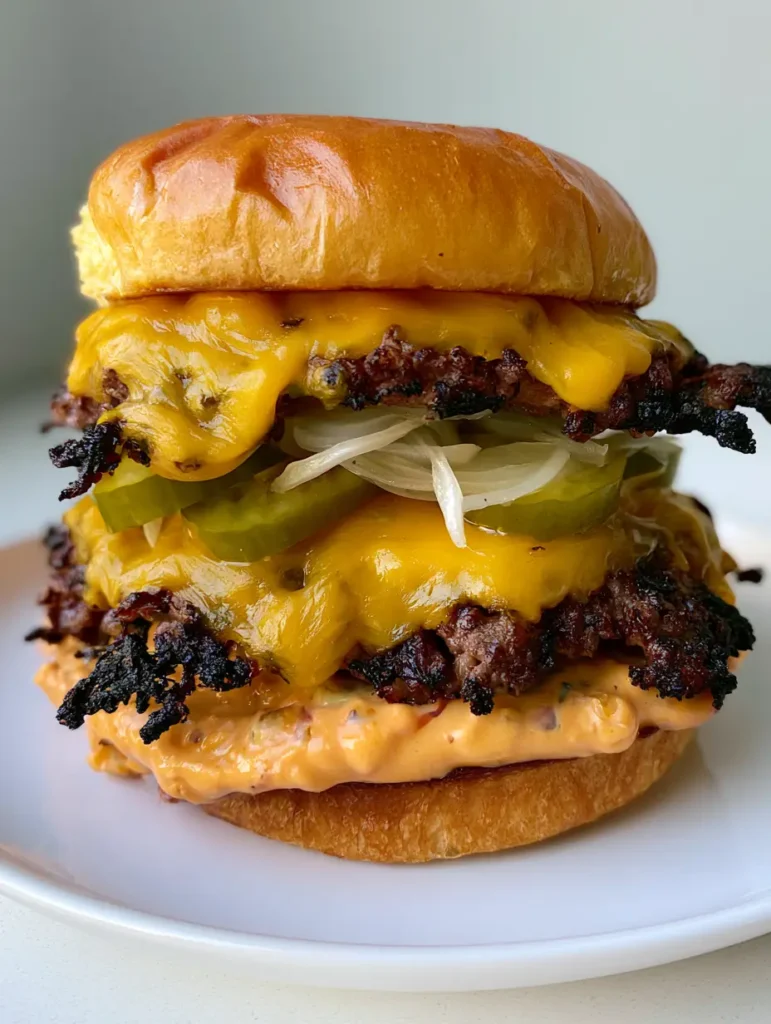
Why This Smash Burger Technique Wins Every Single Time
- The Iconic Lacy Edge: By applying intense pressure during the first 30 seconds of cooking, we force the beef into the pores of the metal, creating a thin, crispy perimeter that shatters like glass.
- The Steam-Infused Onion Trick: We place the translucent white onions directly against the beef, allowing the rendered fat to soften them while the moisture steams them to perfection.
- Perfect Melt Geometry: Using American cheese isn’t just a tradition; its high oil content ensures a flawless, liquid-gold drape over the irregular surfaces of the smashed patties.
- The Orange Sauce Balance: A custom-blended sauce provides the necessary acidity to cut through the rich, fatty beef, ensuring every bite is balanced.
The Anatomy of an Elite Smash Burger
To achieve the result seen in professional food photography, you must start with high-quality, high-fat beef. For a true Smash Burger, an 80/20 ground chuck ratio is non-negotiable. The 20% fat content acts as the fuel for the searing process, providing the “oil” needed to fry the edges of the patty until they are lacy and charred.
The Foundation: 1 lb (450g) 80/20 Ground Chuck. Keep your beef as cold as possible until it hits the pan. Cold fat takes longer to melt, giving you a wider window to smash the beef into the pan before it begins to render and lose its structural integrity.
The Vehicle: 2 Large Brioche Buns. A brioche bun is essential for its high egg and butter content. When toasted with a thin layer of butter, it develops a glossy finish that stands up to the weight of two beef patties without becoming soggy. If you’re looking for a lighter alternative, you might enjoy our juicy ground turkey burger for your next weeknight meal.
The “Orange” Secret: 1/2 cup (120ml) Mayonnaise-Based Sauce. This is the creamy orange burger sauce that defines the visual profile. By combining mayo, yellow mustard, and smoked paprika, we achieve that iconic sunset hue and a tangy flavor profile that complements the salty beef.
The Toppings: Sliced Dill Pickles and White Onion. You want your onions sliced so thin they are practically see-through. These translucent slivers provide a sharp, clean crunch. The dill pickles add the necessary vinegar pop to keep the palate refreshed between bites.
Essential Gear for the Perfect Sear
Achieving the charred results seen in our Midjourney-inspired visuals requires the right equipment. You cannot make a proper Smash Burger in a non-stick pan; the surface simply cannot handle the heat required for the crust.
A Heavy Cast Iron Skillet or Griddle: This is the most important tool in your arsenal. Cast iron retains heat better than any other material, ensuring the temperature doesn’t drop when the cold beef hits the surface. A flat griddle is even better if you are making multiple burgers for easy vacation meals.
A Heavy-Duty Burger Press or Stiff Spatula: You need a tool that allows you to apply significant vertical pressure. A flimsy offset spatula will bend. Look for a stainless steel press with a flat bottom to ensure the patties are even and thin.
A Razor-Sharp Mandoline: To get those white onions into translucent, paper-thin slices, a mandoline is your best friend. Just be sure to use a safety guard!

The Science of the Smashing Technique
Phase 1: Prepping the Beef Balls
Divide your 1 lb (450g) of beef into four equal portions, roughly 4 oz (113g) each. Do not overwork the meat. Gently roll them into loose balls. If you pack the meat too tightly, the interior will become dense and tough rather than tender and juicy.
Phase 2: The Screaming Hot Surface
Heat your cast iron skillet over medium-high heat for at least 5 minutes. You want to see wisps of smoke rising from the pan. Do not add oil; the 20% fat in the beef will provide all the lubrication needed once the smashing begins.
Phase 3: The 30-Second Smash
Place two beef balls in the pan, leaving plenty of space between them. Immediately use your press to flatten them until they are less than 1/4 inch (0.6cm) thick. Apply pressure for a full 10 seconds to ensure the beef “grabs” the pan. This is how you develop those jagged, deeply charred, lacy crispy edges.
Phase 4: The Onion Infusion
While the first side is searing, season the top with a generous pinch of kosher salt and cracked black pepper. Press a handful of the thinly sliced white onions into the raw side of the beef. This allows the onions to start softening from the heat rising through the patty.
Phase 5: The Flip and Melt
After about 2 minutes, use a sturdy spatula to scrape under the patty, making sure to keep every bit of that crust attached. Flip the patty. Immediately place a slice of yellow American cheese on each. The residual heat will melt the cheese into a vibrant, glossy layer within 30 seconds.
Expert Tips for Success
- Keep it Cold: If the beef reaches room temperature, the fat will smear rather than fry. Keep the rolled balls in the fridge until the very second you are ready to smash.
- Use Parchment Paper: If your burger press is sticking to the meat, place a small square of parchment paper between the press and the beef. This allows for a clean release.
- Don’t Flip Twice: A Smash Burger is all about the crust on the first side. The second side only needs 30-45 seconds to cook through and melt the cheese.
- Butter the Buns: Toast your brioche buns in a separate pan with a touch of cowboy butter (coming soon) for an extra layer of complex flavor and a glossy, professional finish.
The Best Ways to Store and Reheat
Smash Burgers are best enjoyed immediately to preserve the “shatter” of the crispy edges. However, if you have leftovers, store the patties and buns separately. Keep the beef patties in an airtight container in the refrigerator for up to 3 days.
To reheat, avoid the microwave as it will make the beef rubbery. Instead, place the patties in a cold skillet over medium heat. Add a teaspoon of water to the pan and cover with a lid. The steam will gently reheat the beef and re-melt the cheese without drying out the edges.
What to Serve With Your Double Smash Burger
A burger this rich deserves a side that provides contrast. A crisp, acidic coleslaw (served as a side salad) works beautifully to cut through the fat of the American cheese and beef chuck.
For a full “diner at home” experience, consider pairing this with crispy truffle fries or even a refreshing smash burger taco variation if you’re hosting a large crowd and want to offer different formats of the same flavor profile.
Frequently Asked Questions
It is not recommended. Non-stick pans cannot safely reach the high temperatures required for a proper sear, and you risk damaging the coating when applying the heavy pressure needed to smash the patties.
No, do not add oil. The fat from the 80/20 beef will render out almost instantly upon contact with the heat, providing all the fat needed to crisp the edges and preventing the burger from sliding.
The secret is applying extreme pressure with a burger press in the first 30 seconds on a smoking hot cast iron surface. This forces the beef into the pan, creating a thin, shatteringly crisp perimeter.
The ideal beef is an 80/20 ground chuck. The 20% fat content is necessary to fry the edges of the burger, creating the signature lacy, crispy crust that leaner meats cannot achieve.
American cheese has a unique melting point and emulsifiers that allow it to drape perfectly over the irregular, smashed surface of the patty without breaking or becoming oily like aged cheddar.
The Master Smash Burger Recipe Card
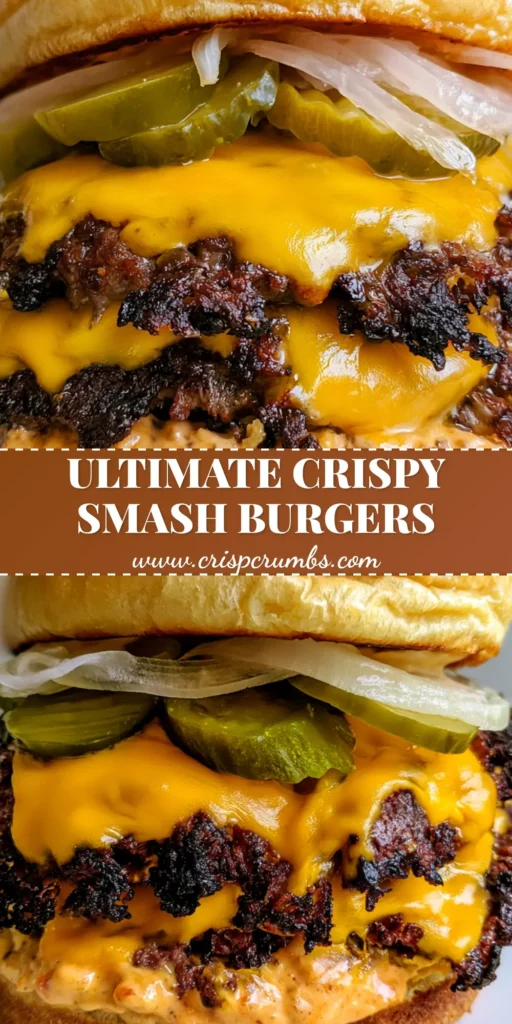
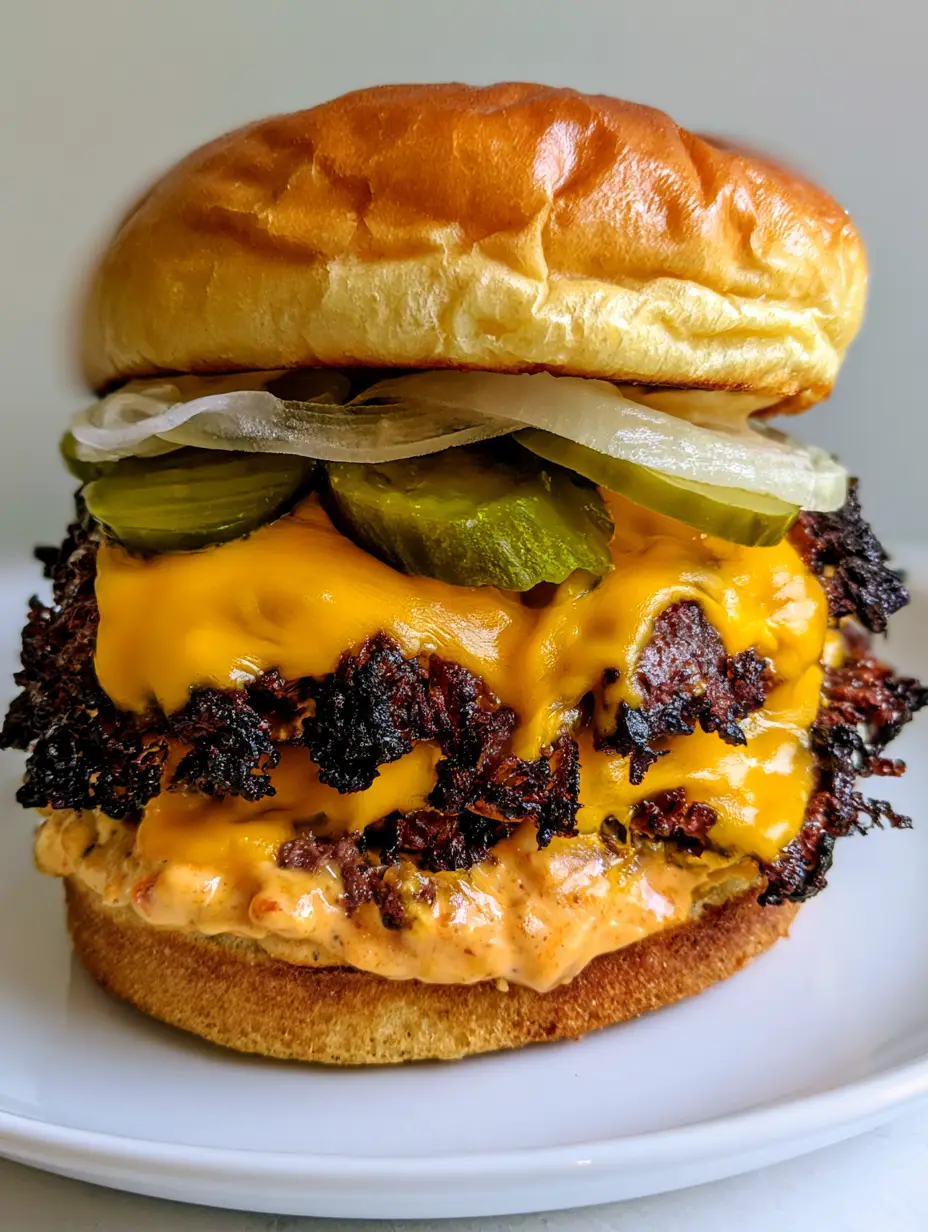
Smash Burger: The Ultimate Guide to Achieving Crispy, Lacy Edges
Ingredients
Equipment
Method
- In a small bowl, whisk together mayonnaise, mustard, and smoked paprika until a smooth, creamy orange sauce forms.
- Using a mandoline, slice the white onions into paper-thin, translucent rounds.
- Heat a cast iron skillet over medium-high heat until it begins to smoke slightly.
- Place cold beef balls in the pan. Use a burger press to flatten them into thin patties. Hold for 10 seconds to create the charred, lacy edges.
- Season with salt and pepper. Press the translucent onions into the raw side of the beef.
- Scrape the crust from the pan and flip. Top each patty with a slice of American cheese and cook for 30 seconds until melted.
Notes
Use parchment paper under your press to prevent sticking.
Closing & Call to Action
Mastering the Smash Burger is a rite of passage for any home cook. The combination of the deeply charred beef, the translucent onions, and that signature orange sauce creates a profile that is far superior to any fast-food alternative. Once you see those lacy edges forming in your own kitchen, you will never look back.
If you made this recipe and loved the crunch, please leave a comment below and let us know! Don’t forget to share your gorgeous burger photos with us on Pinterest. For more culinary inspiration, sign up for our newsletter to get elite recipes delivered straight to your inbox.


