There is nothing quite as satisfying as the look of a professionally decorated cookie that you actually made in your own kitchen. This Powdered Sugar Icing transforms humble, golden-brown sugar cookies into bakery-style masterpieces with just a few pantry staples.
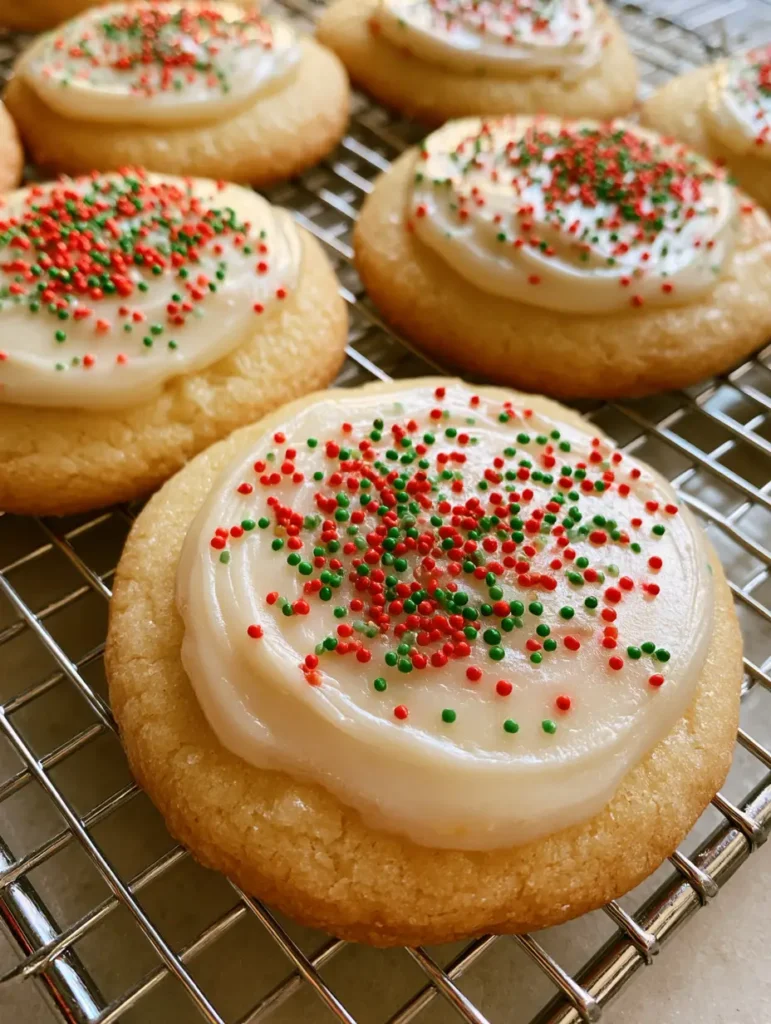
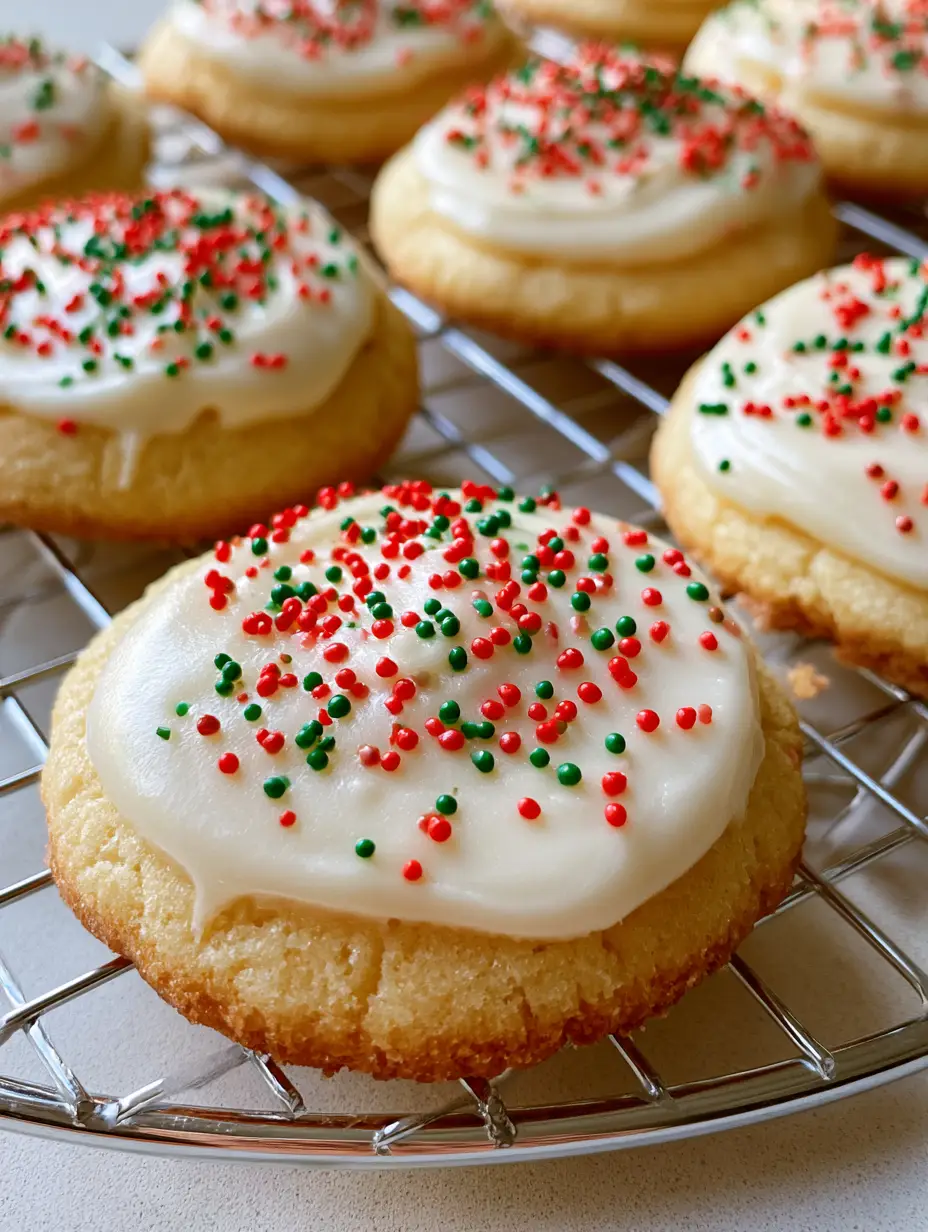
Imagine snapping a handheld smartphone photo of your latest batch: several round, golden-brown sugar cookies resting on a silver metallic wire cooling rack. The soft natural daylight catches the perfectly smooth, opaque white glaze, highlighting that sought-after satin finish that looks almost too perfect to eat.
Whether you are prepping for a holiday exchange or just want a reliable glaze that dries hard and shiny, this recipe is your new gold standard. It provides the ideal canvas for a vibrant scattering of tiny red and green round nonpareil sprinkles, ensuring your treats pop against any neutral kitchen backdrop.
Why This Is the Best Powdered Sugar Icing You Will Ever Make
- Perfectly Opaque Coverage: Unlike thin glazes that disappear into the cookie, this recipe creates a thick, brilliant white layer that stays put.
- Professional Satin Finish: Thanks to a secret ingredient, the icing dries with a soft sheen rather than a dull, chalky look.
- Stackable & Durable: Once set, these cookies can be stacked without ruining the design, making them perfect for gifting.
- Visual Precision: Designed to look exactly like high-end food photography, with sharp edges and a smooth, self-leveling surface.
Essential Components for a High-Gloss Cookie Finish
To achieve the visual result of thick, smooth icing on round sugar cookies, you need ingredients that balance structure with flow. Here is what you will need for the icing and the presentation described in our blueprint.
Confectioners’ Sugar (Powdered Sugar): 3 cups (360g). This provides the bulk and sweetness of the icing; ensure it is finely sifted to avoid any lumps in your smooth satin finish.
Whole Milk: 2 to 3 tablespoons (30-45ml). This acts as your liquid base to reach the “ribbon stage” of consistency; start with less and add a teaspoon at a time.
Light Corn Syrup: 2 tablespoons (30ml). This is the professional secret for that glossy, satin finish and the elasticity that prevents the icing from cracking when dry.
Clear Vanilla Extract: 1 teaspoon (5ml). Using clear extract ensures the icing remains a stark, brilliant white rather than taking on a beige tint.
Salt: A tiny pinch. A forensic necessity to balance the intense sweetness of the sugar and enhance the flavor of the golden-brown cookies.
Red and Green Nonpareil Sprinkles: 2 tablespoons (30g). These tiny round spheres provide the classic festive texture and vibrant color contrast seen in the visual blueprint.
Baked Sugar Cookies: 12-18 round cookies. Ensure they are baked until just golden-brown on the edges and completely cooled on a silver wire rack before icing.
Tools Required for Picture-Perfect Decorating
To replicate the authentic lifestyle photography look, you don’t need expensive equipment, but the right tools make a massive difference. You will need a silver metallic wire cooling rack to allow the cookies to set properly and provide that industrial-chic aesthetic.
A flat-bottomed shallow bowl is best for the “dipping technique,” while a small offset spatula helps refine the edges for that perfectly smooth, opaque layer. If you are serving these alongside a fresh peach cake at a party, a beautiful display is key.

Step-by-Step Guide to the Perfect Powdered Sugar Icing
1. Sifting for Smoothness
Begin by sifting your 3 cups (360g) of powdered sugar into a large mixing bowl. This is a non-negotiable step; even tiny clumps will ruin the “perfectly smooth” visual we are aiming for.
2. Emulsifying the Base
Whisk in the 2 tablespoons (30ml) of light corn syrup, 1 teaspoon (5ml) of clear vanilla, and the initial 2 tablespoons (30ml) of milk. Stir slowly at first to avoid a sugar cloud, then briskly until the mixture is uniform.
3. Achieving the “10-Second Consistency”
Lift your whisk; the icing should drizzle down and disappear back into the bowl in exactly 10 seconds. If it’s too thick, add milk by the drop; if too thin, add a tablespoon of sugar. This ensures the Powdered Sugar Icing levels itself into a smooth satin finish without running off the sides.
4. The Dipping Technique
Hold a round, golden-brown sugar cookie by its edges and dip the top flat into the icing. Lift it straight up, give it a small swirl to break the surface tension, and turn it upright.
5. The Garnish Cues
While the icing is still wet and glossy, immediately scatter the red and green nonpareil sprinkles over the top. The wet icing will “grab” the sprinkles, anchoring them into the surface for that vibrant, scattered look.
6. The Setting Phase
Place the cookies back onto the silver wire cooling rack. Let them sit undisturbed in a cool, dry area for at least 4-6 hours (or overnight) until the surface is firm to the touch and the satin finish has fully developed.
Expert Tips for Bakery-Quality Results
- Avoid Air Bubbles: After mixing, let the icing sit for 5 minutes, then gently pop any bubbles that rise to the surface with a toothpick before dipping.
- Temperature Matters: Ensure your cookies are 100% cool. If they are even slightly warm, the icing will thin out and become translucent rather than opaque.
- Humidity Control: If it is a very humid day, use slightly less milk, as the sugar will absorb moisture from the air, potentially preventing a hard set.
- Whiteness Hack: If your icing looks slightly yellow from the butter in the cookies, a tiny drop of violet food coloring can neutralize the yellow and make the white pop.
Storage and Make-Ahead Advice
You can prepare the Powdered Sugar Icing up to 3 days in advance. Store it in an airtight container with a piece of plastic wrap pressed directly against the surface to prevent a crust from forming.
Once the iced cookies are fully set and dry, store them in a single layer or separated by parchment paper in an airtight container at room temperature for up to one week. Do not refrigerate, as the condensation can cause the nonpareil colors to bleed into the white icing.
What to Serve With These Festive Treats
These cookies are the perfect sweet finish to a hearty meal. Consider serving them after a dinner of garlic butter steak pasta or a light steak and avocado bowl.
If you’re hosting a dessert brunch, they pair beautifully with a rustic rhubarb galette (coming soon) or even some strawberry cheesecake wonton bites (coming soon) for a variety of textures and colors on your dessert table.
Frequently Asked Questions
Yes! Once the icing has fully cured (usually 6-8 hours or overnight), it dries hard to the touch, allowing you to stack the cookies in airtight containers without damaging the smooth surface.
The secret to the satin finish is light corn syrup. It adds elasticity and a professional sheen that prevents the icing from looking dull or chalky once it dries.
Avoid over-whisking the icing at high speeds. Once mixed, let the bowl sit for a few minutes so bubbles can rise to the top, then pop them with a toothpick or gently stir them out before dipping your cookies.
Bleeding usually occurs due to moisture. Ensure the cookies are stored at room temperature in a dry place. Do not refrigerate decorated cookies, as the condensation will melt the sugar dye in the sprinkles.
This usually happens if the icing is too thin or if the cookies were still warm when dipped. To fix this, whisk in more sifted powdered sugar until you reach a thick, ribbon-like consistency that holds its shape for 10 seconds.
The Ultimate Glossy Powdered Sugar Icing Recipe

Powdered Sugar Icing for Cookies: The Ultimate Glossy Glaze Recipe
Ingredients
Equipment
Method
- Sift the powdered sugar into a large bowl to remove all lumps.
- Add corn syrup, clear vanilla, salt, and 2 tablespoons of milk. Whisk until smooth.
- Check for the 10-second ribbon consistency. Add more milk by the teaspoon if needed to reach a thick but flowable state.
- Dip the top of each cooled golden-brown cookie into the icing. Lift and swirl slightly.
- While the icing is wet, scatter red and green nonpareils over the top.
- Place cookies on a silver metallic wire cooling rack and let dry for 4-6 hours until a hard satin finish forms.
Notes
Do not skip the corn syrup; it is essential for the satin shine and prevents cracking.
Closing & Call to Action
Mastering this Powdered Sugar Icing is a game-changer for any home baker. It provides that high-end, professional look with minimal effort, ensuring your round sugar cookies are the star of any silver wire cooling rack. The combination of the opaque white base and festive red and green sprinkles is a timeless classic that never fails to impress.
Did you try this recipe? We’d love to see your glossy creations! Leave a comment below and tell us how your cookies turned out. Don’t forget to follow us on Pinterest and pin this recipe to your favorite dessert board for later!


