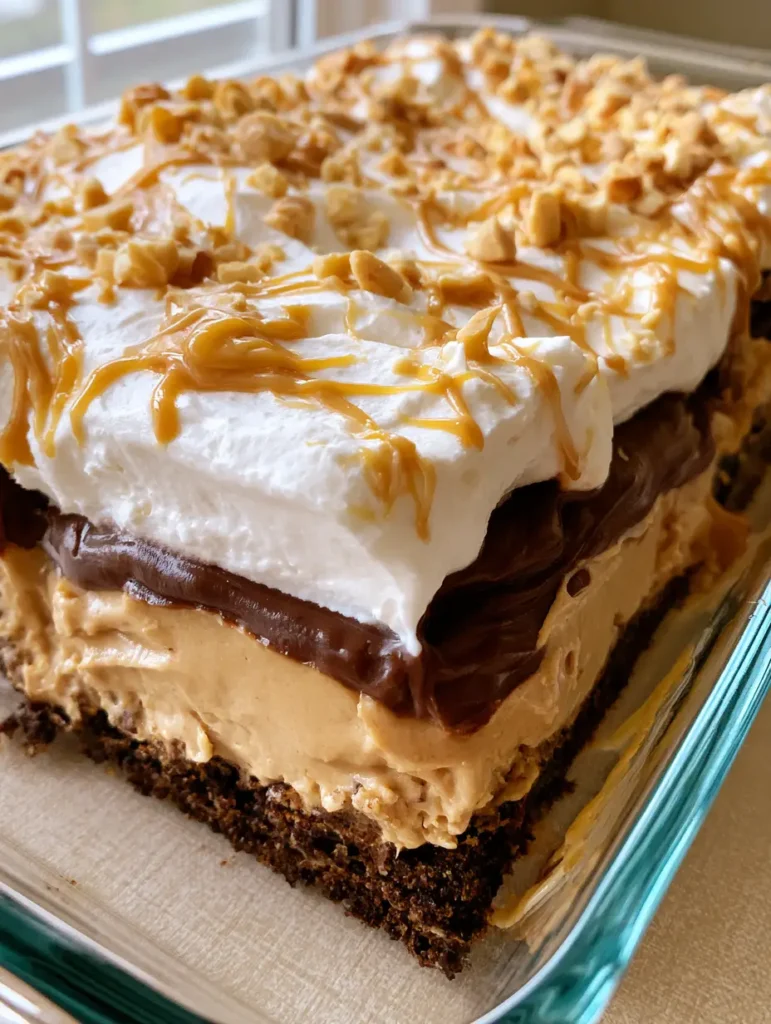
The No-Bake Peanut Butter Lasagna is a decadent, multi-layered marvel that strikes the perfect balance between salty peanut butter and deep, dark chocolate. This isn’t just a dessert; it is a visual and textural symphony, traditionally served in a glass dish to showcase its distinct, architectural layers.
Imagine a foundation of crunchy dark chocolate graham crackers, a cloud-like peanut butter mousse, and a silky chocolate pudding, all crowned with airy whipped cream. The final touch—a messy, golden peanut butter drizzle and toasted peanuts—creates a handheld-photo-ready finish that tastes even better than it looks.
Whether you are hosting a summer potluck or looking for a stress-free weekend treat, this No-Bake Peanut Butter Lasagna delivers high-impact flavor with zero oven time. It is a sophisticated evolution of the classic no-bake peanut butter trifle but with a more stable, sliceable structure.
Why This Layered Peanut Butter Lasagna Recipe Works
- Textural Contrast: You get the crunch of crushed dark chocolate graham crackers against the velvet-smooth chocolate pudding and fluffy mousse.
- Perfect Salt-to-Sweet Ratio: By using roasted peanuts and high-quality peanut butter, we balance the sugar with essential saltiness.
- Visual Showstopper: The high-angle view of the layers through a glass baking dish makes it an instant center-piece for any dessert table.
- No-Bake Ease: This recipe relies on refrigeration for structural integrity, keeping your kitchen cool while producing professional results.
The Anatomy of a Perfect Peanut Butter Lasagna Crust
The base of our No-Bake Peanut Butter Lasagna requires a sturdy yet crumbly foundation to support the heavy layers above. We use dark chocolate graham crackers to provide a bitter-sweet counterpoint to the creamy filling.
2 cups (200g) Dark Chocolate Graham Cracker Crumbs: These provide the deep brown color and essential cocoa base that mimics a rich brownie floor. If you cannot find dark chocolate versions, standard chocolate graham crackers or even crushed Oreo cookies work beautifully.
1/2 cup (115g) Unsalted Butter, Melted: This acts as the “glue” for your crust. Ensure the butter is completely melted and evenly distributed so the crust doesn’t crumble when sliced.
1/4 cup (50g) Granulated Sugar: A small amount of sugar helps bind the crumbs through caramelization as it sets in the fridge. This ensures your slices maintain that sharp, rectangular edge seen in our visual blueprint.
Essential Ingredients for the Creamy Mousse and Pudding Layers
To achieve that thick, tan peanut butter mousse and the dark, glossy chocolate layer, you need the right stabilizers. This recipe uses a combination of dairy and high-fat nut butters to create a “lasagna” that doesn’t sag.
8 oz (225g) Full-Fat Cream Cheese: It must be softened to room temperature. This provides the tangy structure that makes the peanut butter layer “mousse-like” rather than just a heavy spread.
1 cup (250g) Creamy Peanut Butter: Use a standard commercial brand (like Jif or Skippy) rather than natural oil-separating varieties for the best emulsion. This ensures the messy, golden peanut butter drizzle on top holds its shape.
1 cup (120g) Powdered Sugar: This sweetens the mousse without the grittiness of granulated sugar. It dissolves instantly into the cream cheese for a perfectly smooth mouthfeel.
2 packages (3.9 oz each) Instant Chocolate Pudding Mix: This provides the dark, smooth middle layer. Ensure it is “instant” and not “cook and serve,” or the layers will not set correctly.
3 cups (720ml) Whole Milk: Cold milk is essential for the instant pudding to thicken properly. Using whole milk creates a richer, more professional dark chocolate pudding layer.
The Final Flourish: Whipped Topping and Garnishes
The top layer of our No-Bake Peanut Butter Lasagna should be airy, white, and pristine. This provides the canvas for the golden drizzles and toasted nut pieces.
2 cups (480ml) Heavy Whipping Cream: Beaten to stiff peaks, this provides a much more sophisticated flavor than store-bought tubs. It should look like a thick, airy layer of white clouds in your glass dish.
1/2 cup (65g) Roasted Peanuts, Chopped: These provide the necessary “snap” when you bite through the soft layers. Toasted peanuts offer a deeper, more savory aroma that elevates the entire dish.
1/4 cup (65g) Melted Peanut Butter: For that “messy zig-zag drizzle,” simply microwave peanut butter for 20 seconds. This creates the golden, unedited realistic aesthetic described in our visual prompt.
Professional Equipment for the Best Dessert Lasagna
To replicate the handheld smartphone photo aesthetic, you need the right tools for clean lines and even distribution. A 9×13 inch rectangular glass baking dish is non-negotiable, as it allows you to see the beautiful tan and dark brown layers from the side.
An electric hand mixer is vital for whipping the peanut butter mousse until it is fluffy and light. You will also find an offset spatula helpful for smoothing the chocolate pudding and whipped cream into perfectly level tiers without mixing them together accidentally.

How to Construct Your No-Bake Peanut Butter Lasagna
Step 1: Fabricating the Dark Chocolate Foundation
Begin by crushing your dark chocolate graham crackers into fine crumbs. Mix them with the melted butter and sugar until the texture resembles wet sand. Press the mixture firmly into the bottom of your glass dish.
Listen for the sound of the crumbs compacting—you want a solid, unyielding base. Place this in the freezer for 15 minutes to set while you prepare the next layer. This prevents the mousse from pulling up crumbs.
Step 2: Whipping the Tan Peanut Butter Mousse
In a large bowl, beat the softened cream cheese and powdered sugar until completely smooth. Fold in the creamy peanut butter until the color is a consistent light tan. Use a spatula to scrape the sides, ensuring no white streaks of cream cheese remain.
Spread this mixture over the chilled crust. Use your offset spatula to push the mousse all the way to the edges of the glass dish. This creates that iconic layered look visible from the side.
Step 3: Preparing the Dark Chocolate Pudding Layer
Whisk the two boxes of instant chocolate pudding with the 3 cups of cold milk for exactly two minutes. You will see it transform from a liquid to a thick, glossy dark brown cream. Let it sit for 5 minutes to fully firm up before spreading.
Gently pour the pudding over the peanut butter mousse. Spread it carefully to avoid disturbing the tan layer beneath. The goal is a clean horizontal line between the tan mousse and dark chocolate pudding.
Step 4: The Airy Whipped Cream Topping
Whip your heavy cream until it forms stiff peaks that hold their shape. Spread this thick, airy white layer over the pudding. It should look soft and voluminous, contrasting with the dense layers below.
For a truly professional look, use a spoon to create small “swirls” in the cream before adding the garnishes. This captures the light beautifully in photos, especially in natural daylight.
Step 5: Garnish and The Golden Drizzle
Sprinkle the chopped roasted peanuts evenly across the top. Finally, take your melted peanut butter and use a spoon to create messy, thin zig-zag drizzles. Allow the drizzle to fall naturally; the “messy” look is what gives it an artisanal, handheld aesthetic.
Chill the entire dish for at least 4 hours, or ideally overnight. This allows the graham cracker crust to soften slightly and the mousse to become firm enough to slice cleanly.
Expert Tips for Success
- The Temperature Rule: Ensure your cream cheese is truly at room temperature. If it is cold, you will end up with tiny white lumps in your tan peanut butter mousse.
- Cold Milk is King: If your milk is even slightly warm, the instant pudding will not set, leading to a “soupy” lasagna that bleeds into the other layers.
- Clean Slices: To get the perfect rectangular squares, wipe your knife with a warm, damp cloth between every single cut. This prevents the chocolate pudding from smearing into the white whipped cream.
- Crust Compression: Use the bottom of a flat measuring cup to press the crust down. A firm crust is the difference between a “lasagna” and a “messy crumble.”
Pairing and Serving Suggestions
This No-Bake Peanut Butter Lasagna is a rich, heavy dessert that benefits from being paired with lighter fare. If you are serving this at a dinner party, consider a savory main like garlic butter steak pasta or a refreshing chickpea and black bean salad (coming soon) to balance the meal.
If you love the combination of fruit and cream, you might also enjoy serving this alongside a fresh peach cake for a variety of textures at your dessert bar. For those who can’t get enough of the whipped texture, our banana pudding fluff salad (coming soon) makes a great companion dish.
Storage and Make-Ahead Instructions
This is the ultimate make-ahead dessert. You can prepare the entire No-Bake Peanut Butter Lasagna up to 48 hours in advance. In fact, it often tastes better on day two as the flavors have time to meld.
Storage: Keep the dish tightly covered with plastic wrap or a lid in the refrigerator. It will stay fresh for up to 5 days. We do not recommend freezing the entire dish, as the pudding layer can become watery upon thawing.
Frequently Asked Questions
While the crust and mousse freeze well, the chocolate pudding layer can change texture and become watery when thawed. It is best enjoyed fresh from the refrigerator within 5 days.
It is not recommended. Natural peanut butter often separates, which can cause the mousse layer to become oily or fail to set properly. Stick to commercial creamy brands like Jif or Skippy.
Ensure the pudding has set for at least 5 minutes after whisking before spreading. Also, make sure the pudding is completely cold. Spatula-leveling the pudding and then chilling it for 15 minutes before adding the cream helps significantly.
For the best slices, chill the lasagna for at least 4 hours. However, letting it set overnight in the refrigerator provides the most stable structure and best flavor development.
You can substitute with standard chocolate graham crackers, Oreo cookie crumbs (without the filling), or even crushed chocolate digestive biscuits.
The Ultimate No-Bake Peanut Butter Lasagna Recipe Card
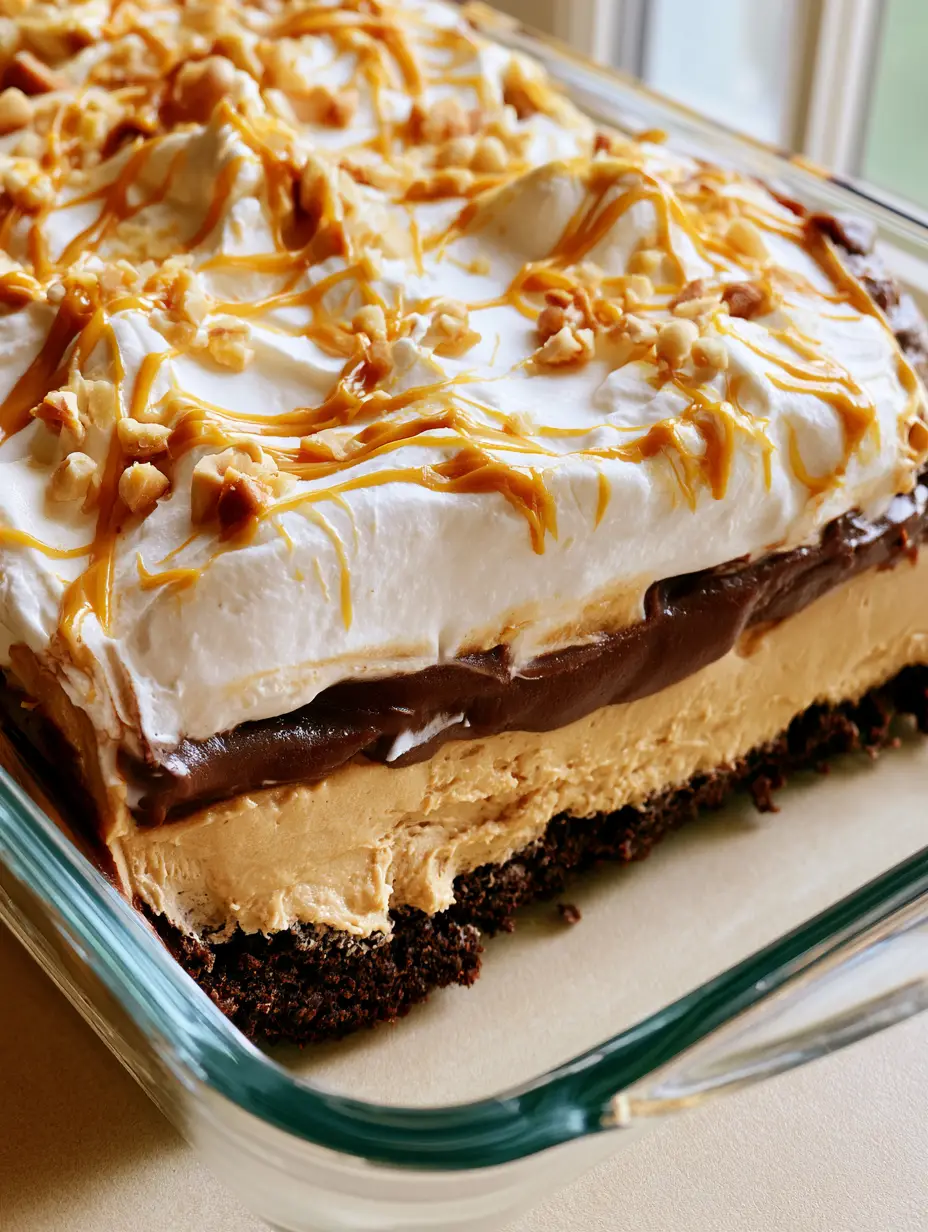
No-Bake Peanut Butter Lasagna: The Ultimate Layered Dessert Masterpiece
Ingredients
Equipment
Method
- Combine dark chocolate graham cracker crumbs, melted butter, and sugar. Press firmly into a 9x13 glass dish and freeze for 15 minutes.
- Beat softened cream cheese, powdered sugar, and creamy peanut butter until smooth and tan. Spread evenly over the chilled crust.
- Whisk instant pudding mix and cold milk for 2 minutes until thick. Spread over the peanut butter mousse layer.
- Whip heavy cream to stiff peaks and layer over the pudding. Top with chopped peanuts and a messy zig-zag drizzle of melted peanut butter.
- Refrigerate for at least 4 hours before slicing into rectangular bars.
Notes
Use full-fat ingredients for the best structural integrity.
Conclusion: A Dessert Worth Sharing
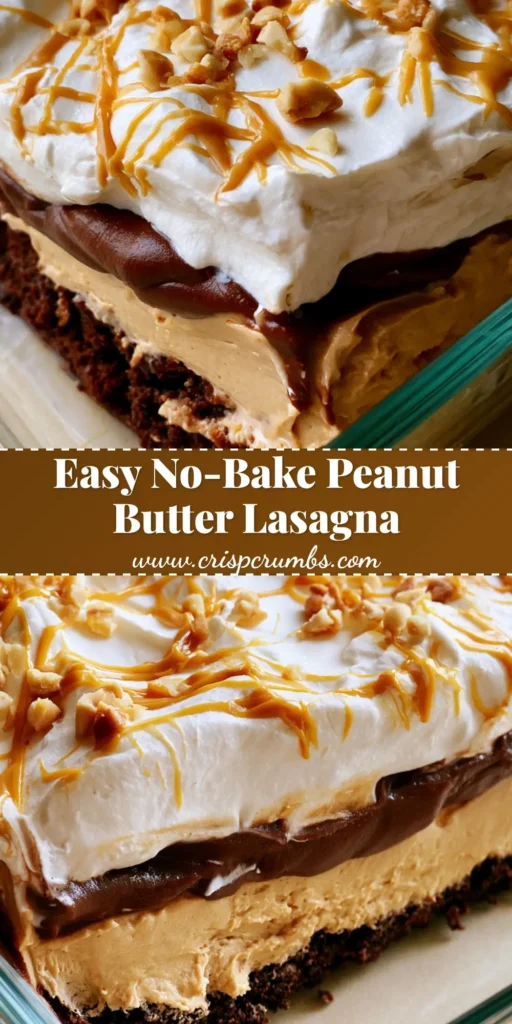
The No-Bake Peanut Butter Lasagna is a testament to the fact that you don’t need an oven to create a gourmet, visually stunning dessert. From the compressed dark chocolate graham cracker crust to the golden peanut butter drizzle, every bite offers a perfect balance of flavors and textures.
If you enjoyed this recipe, please leave a comment below and let us know how your layers turned out! Don’t forget to follow us on Pinterest and share your creations with the CrispCrumbs community.


