Imagine a frosting so cloud-like and ethereal that it feels like biting into a sweetened mist, yet it remains sturdy enough to hold deep, majestic swirls on a towering layer cake. This Marshmallow Buttercream Frosting is the answer to every baker’s quest for the perfect balance between a traditional American buttercream and a fluffy marshmallow cloud.
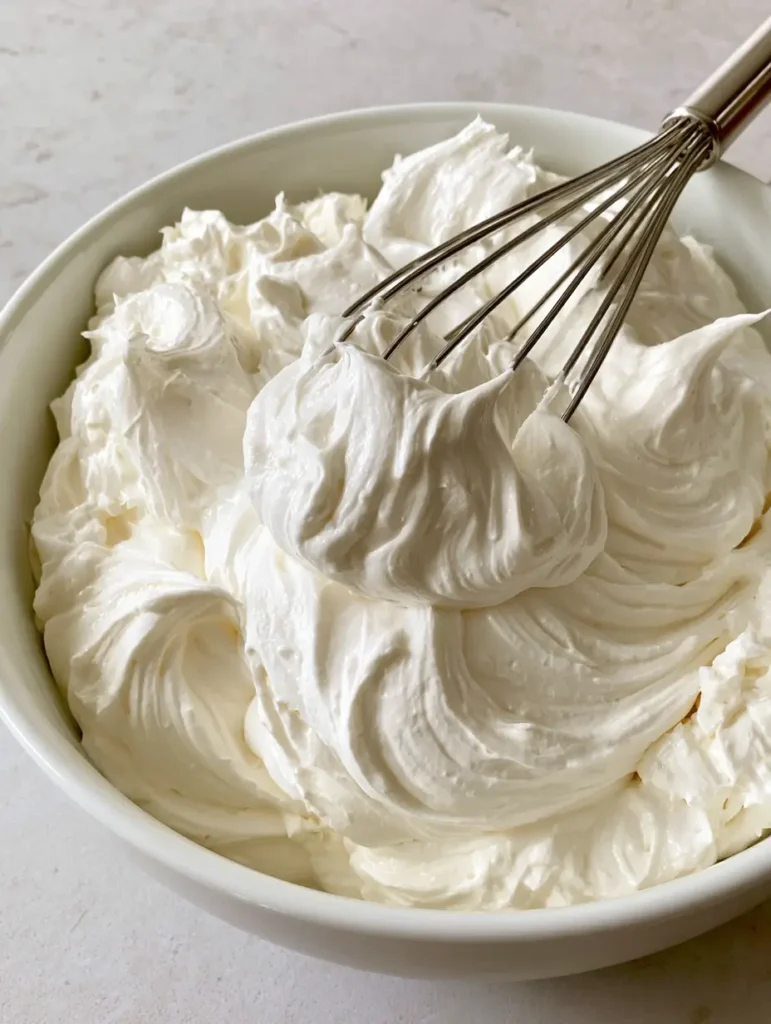
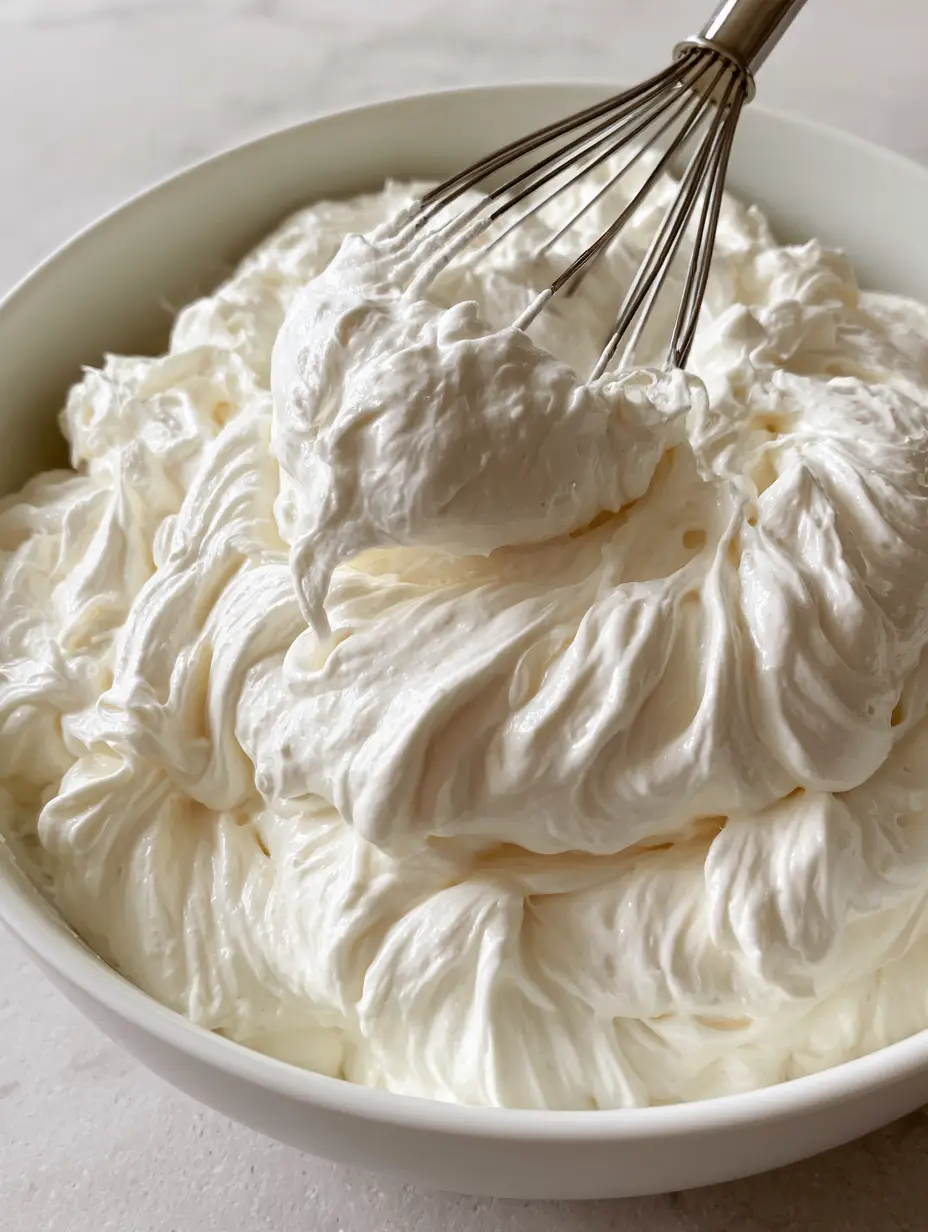
When you look into that white ceramic bowl, you aren’t just seeing sugar and fat; you are seeing a thick, glossy marshmallow buttercream frosting that boasts a velvety finish and a texture that is simultaneously dense and airy. It is the kind of frosting that clings to a stainless steel whisk in a large, fluffy dollop, promising a sensory experience that is as visual as it is delicious.
This recipe is designed to replicate the exact professional results seen in high-end patisseries, using soft natural daylight to highlight the silky sheen of the icing. Whether you are piping delicate rosettes or spreading a thick layer over a decadent sponge, this marshmallow-infused delight will transform your desserts into edible art.
The Irresistible Appeal of This Velvety Marshmallow Masterpiece
- Unmatched Glossy Finish: Unlike standard gritty frostings, this version uses marshmallow creme to achieve a brilliant, light-reflecting sheen that looks stunning under any lighting.
- Structural Integrity: Engineered to reach stiff peaks, this frosting is stable enough for intricate piping while maintaining a soft-peak swirl aesthetic.
- Textural Contrast: We achieve a “dense yet airy” profile by high-speed aeration, ensuring it feels light on the tongue but substantial on the cake.
- Professional Aesthetics: The white-on-white visual of a ceramic bowl filled with bright white frosting creates a clean, sophisticated look for any celebration.
The Essential Components for a Flawless Marshmallow Emulsion
High-Quality Unsalted Butter: You will need 2 cups (452g) of high-quality unsalted butter, softened to exactly 65°F (18°C). This provides the necessary fat structure to suspend the air bubbles and create that signature “velvety finish” described in our visual blueprint.
Premium Marshmallow Creme: One jar (7 oz / 198g) of marshmallow creme or “fluff” is the secret to the gloss. This ingredient introduces pre-emulsified egg whites and corn syrup, which prevents the sugar from recrystallizing and ensures a smooth, non-gritty mouthfeel.
Sifted Confectioners’ Sugar: Use 4 cups (500g) of powdered sugar to provide sweetness and body. Sifting is non-negotiable here; to achieve the “smooth, velvety finish” seen in the close-up shots, we must eliminate every single sugar clump before it hits the bowl.
Pure Vanilla Bean Paste or Extract: 2 teaspoons (10ml) of vanilla adds depth to the white-on-white flavor profile. If you want to maintain the stark white color of the white ceramic bowl aesthetic, use a clear vanilla extract.
Heavy Whipping Cream: 2-3 tablespoons (30-45ml) of heavy cream are used to adjust the final viscosity. This allows the stainless steel whisk to pull up those “large, fluffy dollops” without the frosting feeling heavy or greasy.
Fine Sea Salt: A generous pinch (approx. 1/4 tsp) of fine salt is the invisible hero. It cuts through the intense sweetness of the marshmallow creme, highlighting the buttery notes and making the flavor more complex.
The Professional Toolset for Stiff Peak Success
To achieve the “thick, glossy marshmallow buttercream frosting” featured in our visuals, you need a high-decibel stand mixer equipped with a whisk attachment. The stainless steel whisk is essential for incorporating the specific volume of air required for that “dense yet airy” texture.
A white ceramic bowl is preferred for temperature stability, as ceramic holds a cool temperature better than plastic, preventing the butter from melting during the high-speed whipping process. You will also need a wide silicone spatula to hand-fold the frosting at the very end to remove any large air pockets.
Step-by-Step Evolution of the Perfect Swirl
Phase 1: Creating the Aerated Butter Base
Begin by placing your softened butter into the white ceramic bowl of your stand mixer. Using the stainless steel whisk attachment, beat the butter on medium-high speed for a full 5 minutes.
You are looking for a specific visual cue: the butter should turn from a pale yellow to a nearly stark white color. This indicates that you have successfully beaten enough air into the fat cells to support the heavy marshmallow creme that follows.
Phase 2: Integrating the Marshmallow Gloss
Stop the mixer and scrape down the sides of the bowl with your spatula. Add the entire jar of marshmallow creme and the vanilla extract.
Turn the mixer back to medium speed and whip for another 2 minutes. During this stage, you will see the mixture transform into a thick, glossy marshmallow buttercream frosting that begins to resemble the silky sheen of the professional photos.
Phase 3: The Slow Sugar Incorporation
Turn the mixer to the lowest possible setting to avoid a “sugar cloud” in your kitchen. Gradually add the sifted confectioners’ sugar one cup at a time.
Once all the sugar is added, increase the speed to medium-high. Whip for an additional 3-4 minutes until the frosting is piled high with deep, soft-peak swirls.

Phase 4: Refining the Texture and Viscosity
Add the heavy whipping cream one tablespoon at a time while the mixer is running. Watch the frosting closely; you want it to reach a state where it is dense yet airy.
Perform the “Whisk Test” by stopping the mixer and lifting the stainless steel whisk straight up. It should pull up a large, fluffy dollop of the white frosting that holds its shape without drooping, indicating perfect structural integrity.
Mastering the Science of Marshmallow Stability
Temperature is the most common pitfall when making this Marshmallow Buttercream Frosting. If your kitchen is too warm, the butter will lose its ability to hold air, and your “glossy stiff peaks” will turn into a soupy mess.
If the frosting feels too soft, place the entire ceramic bowl in the refrigerator for 10-15 minutes. Once chilled, re-whip it for 2 minutes; this “shocks” the fat back into a solid state, restoring the velvety finish and the thick consistency.
Another expert secret is the final hand-mix. After the machine is done, use a spatula to stir the frosting by hand for 60 seconds. This removes the “sponge-like” air bubbles, creating the smooth, professional look seen in the handheld smartphone photo style of our blueprint.
Preserving the Velvety Finish: Storage and Reheating
This frosting can be made in advance, which is perfect for busy event schedules. Store it in an airtight container in the refrigerator for up to one week.
When you are ready to use it, let it come to room temperature naturally on the counter for about 2 hours. Do not microwave it, as this will destroy the “dense yet airy” emulsion. Once softened, give it a quick whip with a whisk to restore the glossy sheen.
For long-term storage, you can freeze this frosting for up to three months. Thaw it overnight in the refrigerator before following the room-temperature softening process described above.
What to Serve With This Cloud-Like Frosting
While this Marshmallow Buttercream Frosting is a star on its own, it truly shines when paired with high-contrast flavors and textures. It is the perfect crowning glory for a fresh peach cake, where the creaminess of the marshmallow complements the acidity of the fruit.
If you are hosting a summer gathering, consider using this frosting as a dip for strawberry cheesecake wonton bites (coming soon). The “thick, glossy” texture provides a beautiful dip-ability that children and adults alike will love.
For a whimsical dessert table, this frosting captures the same nostalgic essence as a banana pudding fluff salad (coming soon). Its versatile nature also makes it an excellent filling for macarons or a topping for deep, dark chocolate cupcakes.
If you are looking for a slightly more technical challenge after mastering this, you might enjoy comparing the textures with a traditional Italian Meringue Buttercream, which offers a similar gloss but with a different structural base.
Frequently Asked Questions
Yes! Because this recipe reaches stiff peaks, it is incredibly stable for piping flowers, borders, and deep swirls while remaining dense yet airy.
Marshmallow creme is preferred for the glossy sheen and smooth texture. Melted marshmallows contain gelatin, which can cause the frosting to set too firmly and lose its velvety finish.
While the sugar and fat provide some stability, it is best to refrigerate cakes frosted with this buttercream if they won’t be consumed within 24 hours to preserve the fluffy dollop texture.
To achieve the stark white look seen in our white ceramic bowl photos, use clear vanilla extract and whip the butter for at least 5 minutes before adding other ingredients.
Graininess usually occurs if the confectioners’ sugar wasn’t sifted or if the butter was too cold. Ensure your butter is 65°F (18°C) and always sift your sugar to maintain that velvety finish.
The Ultimate Marshmallow Buttercream Frosting Recipe
Marshmallow Buttercream Frosting: The Ultimate Glossy Whipped Recipe
Ingredients
Equipment
Method
- Place softened butter in a white ceramic bowl. Whip using a stainless steel whisk attachment on medium-high for 5 minutes until nearly white.
- Add marshmallow creme and vanilla. Whip for 2 minutes until thick and glossy.
- Gradually add sifted powdered sugar on low speed. Increase to medium-high and whip for 4 minutes to create stiff peaks.
- Add heavy cream and salt. Whip for 1 minute. Finish by stirring with a spatula to remove large air bubbles for a velvety finish.
Notes
If the frosting is too soft for piping, chill it for 15 minutes before re-whipping.
Bring the Magic of Marshmallows to Your Kitchen
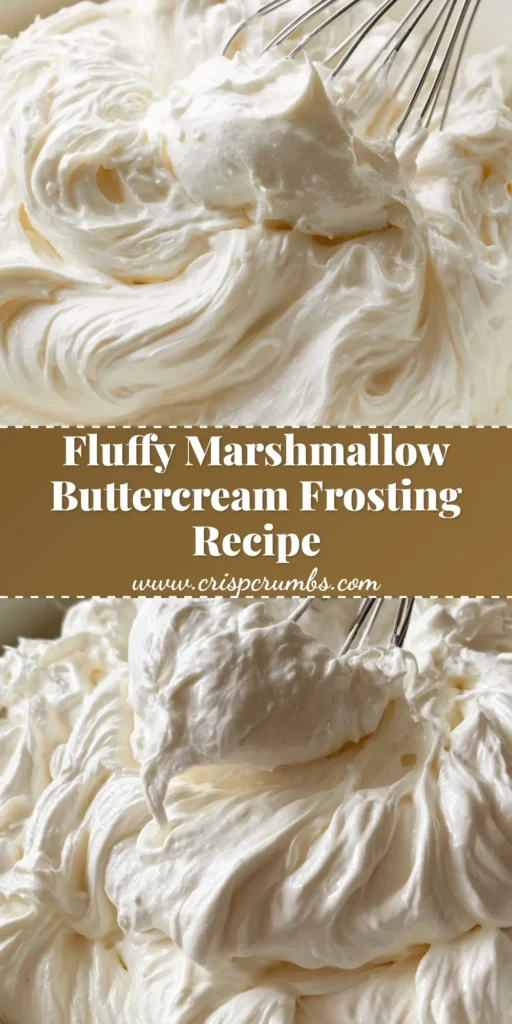
The journey to the perfect frosting ends here. With its glossy stiff peaks and velvety finish, this Marshmallow Buttercream Frosting is more than just a topping—it is the centerpiece of your dessert. The way it catches the light on a light grey stone surface makes every cake look like it was styled by a professional.
We invite you to try this recipe and see the “dense yet airy” results for yourself. Did your whisk pull up that perfect fluffy dollop? Let us know in the comments below! Don’t forget to follow us on Pinterest and share your glossy frosting creations with the community.


