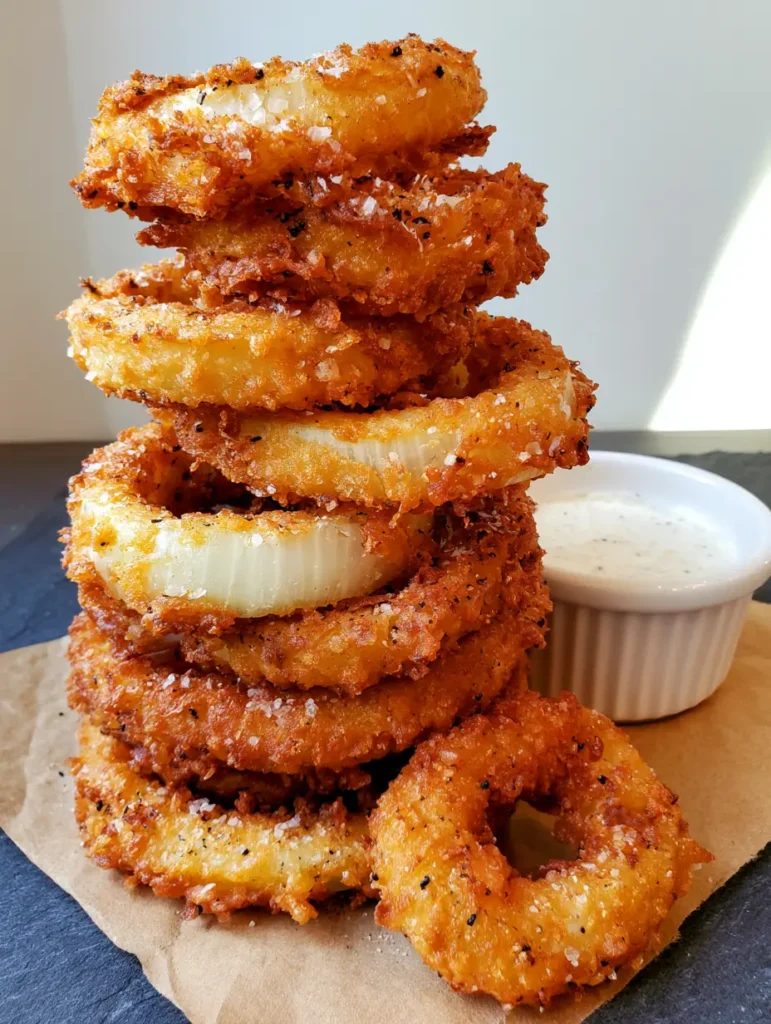
There is a profound, almost primal satisfaction in the perfect crunch of Homemade Onion Rings. Imagine a tall, architectural stack of thick-cut rings, their surfaces a landscape of craggy, golden-brown ridges that shatter upon the first bite. These aren’t your standard, smooth-breaded fast-food rings; these are artisanal masterpieces, seasoned with visible grains of coarse sea salt and pungent specks of cracked black pepper.
When you pull these rings from the hot oil, the batter has transformed into a textured armor, protecting the juicy, softened white onion layers within. Served on rustic brown parchment paper with a side of chilled, creamy dipping sauce, they represent the pinnacle of home-cooked comfort. Whether you’re serving them alongside garlic butter steak pasta or as a standalone star, the visual appeal is as undeniable as the flavor.
Why This Craggy Batter Technique Outperforms Every Restaurant
- The Shattered Crust: By using a specific ratio of cornstarch to flour and ice-cold carbonation, we create a batter that creates microscopic air pockets for a “shattered” glass-like texture.
- High-Definition Seasoning: We don’t just season the flour; we finish the rings with coarse sea salt and cracked black pepper so the flavor hits your palate instantly.
- Thick-Cut Integrity: Using 1/2-inch (1.25cm) thick white onion slices ensures the vegetable doesn’t disappear inside the crust, maintaining a sweet, juicy interior.
- Visual Forensics: Every step is designed to mimic that “handheld smartphone photo” aesthetic—rustic, real, and incredibly appetizing.
The Anatomy of the Ultimate Crispy Onion Ring
To achieve the visual and textural results seen in professional culinary photography, every ingredient serves a structural purpose. We aren’t just making a batter; we are engineering a crispness that lasts long after the rings leave the fryer.
Large White Onions: We choose white onions specifically for their sharp bite and high water content, which softens beautifully under high heat while maintaining a bright white contrast against the golden crust. Slice them into 1/2-inch (1.25cm) rounds for that signature “thick-cut” look.
All-Purpose Flour and Cornstarch: This duo is non-negotiable. The flour provides the structure, while the cornstarch interferes with gluten development, ensuring the “craggy” texture doesn’t become chewy or bread-like.
Baking Powder and Sparkling Water: The chemical leavening of the powder combined with the CO2 in the sparkling water (or light beer) creates an immediate expansion in the hot oil. This is how you get those “grains” and “specks” of texture across the surface.
Visible Finishing Spices: Coarse sea salt and freshly cracked black pepper are applied immediately after frying. The residual oil acts as a glue, making these seasoning elements pop visually and texturally.
The Creamy Dipping Sauce: A blend of mayonnaise, sour cream, and a hint of prepared horseradish provides the necessary acidic fat to cut through the richness of the deep-fried batter.
Essential Tools for Your Home Fry Station
Achieving a restaurant-quality fry at home requires the right heat management. A heavy-bottomed Dutch oven or a deep cast-iron skillet is preferred because they retain heat better than thin stainless steel pots, preventing the oil temperature from plummeting when the onions are added.
You will also need a digital deep-fry thermometer. Precision is the difference between a greasy, oil-soaked ring and a light, shattered crust. Aim for a consistent 375°F (190°C) throughout the process. Finally, a wire cooling rack set over a baking sheet is vital—never drain your rings on flat paper towels, as the trapped steam will turn the bottom of the rings soggy within seconds.

Step-by-Step Instructions for the Perfect Craggy Crunch
Phase 1: Preparing the Thick-Cut Onion Rounds
Peel 2 large (approx. 600g) white onions and slice them into thick 1/2-inch (1.25cm) rounds. Carefully separate the rings, discarding the very small inner cores (save those for French onion pork chops later!).
Place the rings in a large bowl of ice water for 15 minutes. This “shocks” the onions, removing the harsh sulfurous bite and ensuring they stay juicy and white during the high-heat frying process.
Phase 2: The Three-Stage Dredging Process
Set up three shallow bowls. In the first, place 1 cup (125g) of all-purpose flour. In the second, whisk together 1 cup (125g) flour, 1/2 cup (64g) cornstarch, 1 tsp (5g) baking powder, 1 tsp (5g) smoked paprika, and 1 tsp (5g) garlic powder. Slowly whisk in 1 1/2 cups (355ml) of ice-cold club soda until the batter is the consistency of heavy cream.
In the third bowl, keep your finishing seasonings ready: 1 tbsp (15g) coarse sea salt and 1 tsp (5g) coarsely cracked black pepper. This setup ensures a seamless workflow once the oil reaches temperature.
Phase 3: The Science of the Deep Fry
Heat 1 quart (1L) of neutral oil (vegetable or canola) in your Dutch oven to 375°F (190°C). Working in small batches, take an onion ring from the ice water, pat it dry, and dredge it in the plain flour. Dip it into the wet batter, allowing the excess to drip off for just a second, then carefully lower it into the oil.
Watch for the sensory cues: the oil should sizzle aggressively, and the batter should immediately puff up into craggy, irregular shapes. Fry for 2-3 minutes per side until the rings are a deep, vibrant golden-brown. Use a slotted spoon to transfer them to your wire rack.
Phase 4: Finishing and Assembly
While the rings are still glistening with hot oil, immediately shower them with the coarse sea salt and cracked black pepper. This is what creates that “textured grains” look described in the visual blueprint. Pile them into a tall, chaotic stack on a sheet of brown parchment paper to absorb any stray droplets of oil while maintaining that rustic, handheld aesthetic.
Expert Tips for Success
- Keep it Cold: The colder the batter and the onions, the more “shattered” the crust will be. The temperature differential between the ice-cold batter and the 375°F (190°C) oil creates the ultimate steam-puffed texture.
- Don’t Overcrowd: Adding too many rings at once drops the oil temperature, leading to greasy rings. Fry only 4-5 rings at a time.
- The “Dry Hand/Wet Hand” Method: Use your left hand for the dry flour dredge and your right hand for the wet batter to avoid “club hand” (thick batter buildup on your fingers).
- Double Seasoning: If you want that extra punch, season the flour dredge *and* the final rings. This creates layers of flavor.
Creative Pairings: What to Serve with Onion Rings
These Homemade Onion Rings are versatile enough to be a side dish or a gourmet snack. For a classic pub-style dinner, serve them alongside Amish onion fritters for an onion-themed feast. If you’re looking for something lighter to balance the fried indulgence, a chickpea and black bean salad (coming soon) provides a refreshing, acidic contrast.
For the ultimate steakhouse experience at home, pair these rings with a steak and avocado bowl. The creamy avocado and rich beef are the perfect partners for the shattered, salty crust of the onions. Don’t forget a side of homemade coleslaw for that essential vinegary crunch.
Frequently Asked Questions
Absolutely! A light lager is excellent for onion rings. The carbonation provides the lift for a craggy texture, while the malt adds a subtle depth of flavor and helps with the golden-brown browning.
The secret is using a wire cooling rack instead of paper towels. Paper towels trap steam under the ring, which quickly softens the batter. A wire rack allows air to circulate, keeping the ‘shattered’ crust intact.
Large white onions are the gold standard. They have a higher water content which allows them to steam and soften inside the crust, and their bright white color provides a beautiful visual contrast to the golden-brown batter.
Maintain a consistent oil temperature of 375°F (190°C). If the oil is too cold, the rings will absorb oil and become greasy. If it’s too hot, the outside will burn before the onion inside has softened.
This usually happens because the onions were too wet or not properly dredged in plain flour first. Always soak onions in ice water, pat them completely dry, and then coat them in a thin layer of dry flour before dipping them into the wet batter.
The Ultimate Homemade Onion Rings Recipe
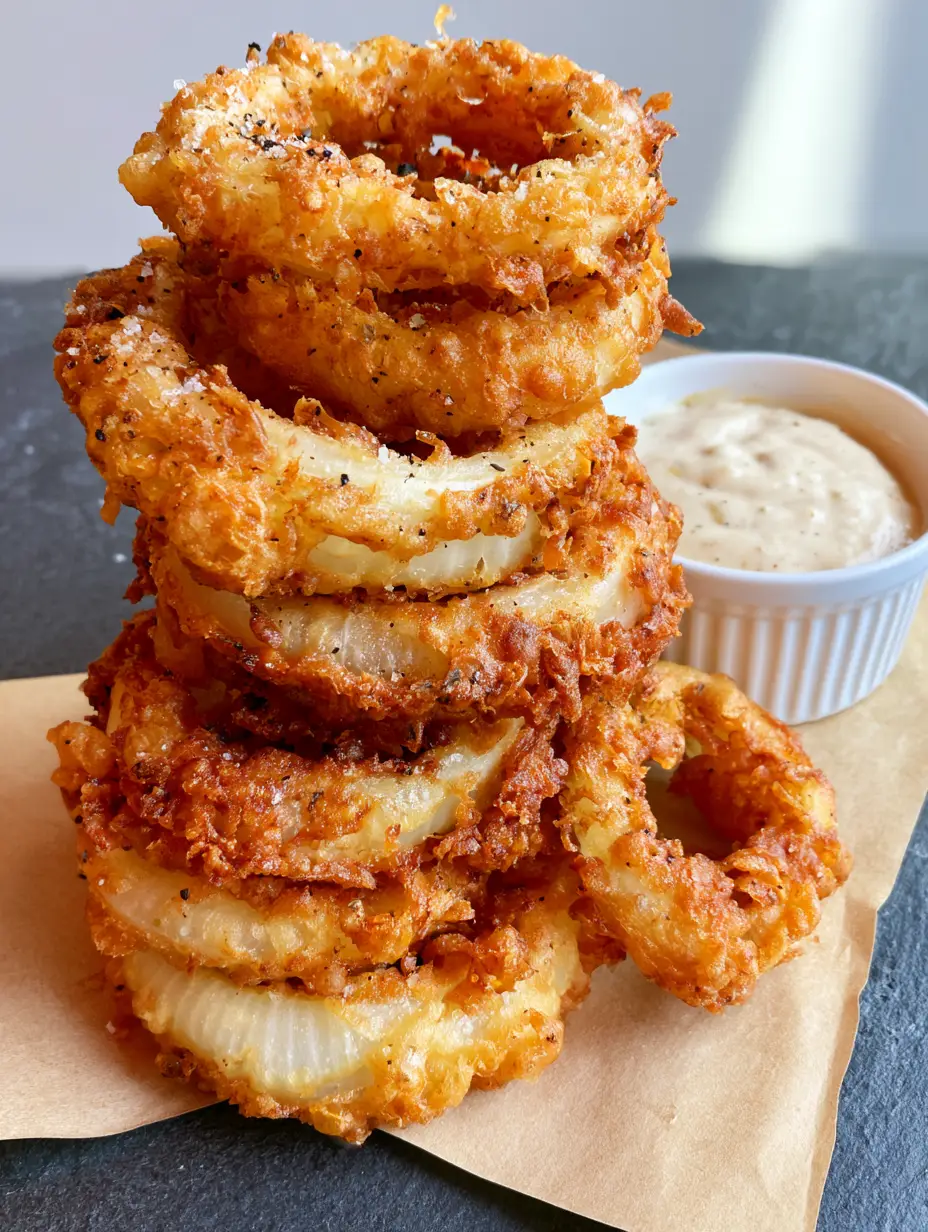
Homemade Onion Rings with a Craggy Shattered Crust and Creamy Dipping Sauce
Ingredients
Equipment
Method
- Slice white onions into thick 1/2-inch rings and soak in ice water for 15 minutes to remove harshness.
- Dredge dry rings in flour, then dip into the cold club soda and flour batter.
- Fry in 375°F (190°C) oil for 2-3 minutes per side until craggy and golden-brown.
- Remove to a wire rack and immediately sprinkle with coarse sea salt and cracked black pepper. Serve on brown parchment paper with dipping sauce.
Notes
Always use a wire rack for draining to ensure maximum crispness.
Conclusion: Master the Crunch
Mastering Homemade Onion Rings is a rite of passage for any serious home cook. By focusing on the craggy texture of the batter and the visual contrast of the coarse salt and pepper, you create a dish that is as beautiful as it is delicious. The thick-cut white onion remains the star, encased in a shattered crust that stays crispy until the very last bite.
If you enjoyed this deep-dive into crispy perfection, please leave a comment below and share your results! For more visual recipe inspiration and crispy treats, be sure to follow us on Pinterest and save this recipe to your “Ultimate Comfort Foods” board.


