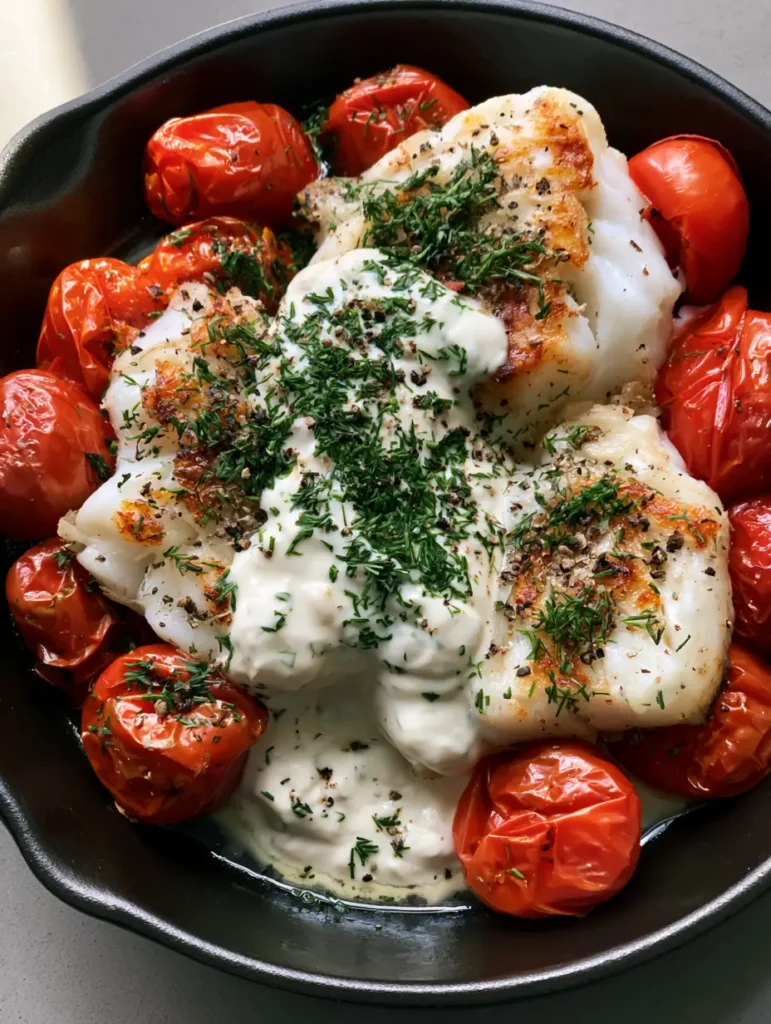
There is a specific kind of magic that happens when a cold piece of fresh fish hits a ripping-hot cast iron surface. This Grilled Cod Recipe isn’t just a meal; it is a sensory experience that brings restaurant-quality technique directly into your home kitchen. From the audible sizzle of the sear to the visual pop of vibrant red cherry tomatoes collapsing under the heat, every element of this dish is designed for maximum impact.
Capturing the essence of a handheld smartphone photo, this recipe emphasizes the authentic, unedited beauty of real food. We are talking about opaque, flaky fillets with deep golden-brown sear marks, nestled in a rugged black skillet. This is the kind of dinner that looks as good as it tastes, bathed in soft natural light and finished with a heavy hand of fresh herbs and cracked pepper.
Why This Pan-Grilled Cod Recipe Works Every Single Time
- The Perfect Flake: By using thick-cut cod fillets, we achieve that elusive opaque, tender interior while maintaining a sturdy, caramelized crust.
- Blistered Tomato Depth: These aren’t just raw garnishes; we blister the cherry tomatoes until their skins collapse, releasing a concentrated, sweet acidity that cuts through the rich sauce.
- Velvety Dill Emulsion: The rich, thick white creamy dill sauce is drizzled generously over the center, pooling around the base to create a luxurious mouthfeel in every bite.
- Cast Iron Conductivity: Utilizing a cast iron skillet ensures even heat distribution, which is the secret to getting those professional-grade sear marks without overcooking the delicate fish.
If you love the charred, smoky notes of outdoor cooking but want the control of a stovetop, this recipe is your new best friend. It pairs beautifully with light, fresh sides like an Asian Cabbage Salad for a refreshing crunch.
The Essential Ingredients for a Gourmet Skillet Cod
Fresh Cod Fillets: Look for fillets that are at least 1.5 inches (3.8cm) thick. This thickness allows the exterior to develop a golden-brown sear while the inside remains moist and flaky.
Cherry Tomatoes: These “vibrant red” gems are essential for both color and flavor. As they hit the hot oil, their skins blister and “slightly collapse,” creating a built-in sauce of sweet juices.
Fresh Dill: We use this twice—once whisked into the sauce and again as a “heavy sprinkle” of finely chopped green garnish. It provides that signature bright, grassy finish that defines the dish.
Heavy Cream or Full-Fat Greek Yogurt: This forms the base of our “rich, thick white creamy dill sauce.” It needs enough body to be “drizzled generously” without running off the fish immediately.
Avocado Oil or Grapeseed Oil: You need a high-smoke-point oil for the cast iron. This ensures you can get the pan hot enough for sear marks without the oil breaking down or smoking out your kitchen.
Coarse Cracked Black Pepper: Don’t use the fine stuff from a shaker. You want “heavy” visible flecks of pepper to provide a sharp, pungent bite against the creamy sauce.
Lemon Juice: A splash of acidity in the sauce balances the fat and brightens the natural sweetness of the cod.
Must-Have Equipment for the Ultimate Sear
To achieve the specific visual result described in our blueprint, you cannot skip the 12-inch Cast Iron Skillet. The heat retention of cast iron is unmatched, allowing the fish to develop those “golden-brown sear marks” instantly upon contact. Unlike non-stick pans, cast iron encourages the Maillard reaction, which is the chemical process that creates flavor and color on the surface of proteins.
You will also need a Fish Spatula. These thin, flexible metal spatulas are designed to slide under delicate fillets without breaking them. A standard kitchen spatula is often too thick and can cause the cod to flake apart prematurely in the pan.
Mastering the Sear: A Step-by-Step Culinary Guide
Preparing the Fish for Maximum Crispness
First, pat your cod fillets completely dry with paper towels. Moisture is the enemy of a good sear; if the fish is damp, it will steam rather than grill. Season both sides generously with kosher salt and a bit of that coarse cracked black pepper.
Allow the fish to sit at room temperature for about 10 minutes. This prevents the “thermal shock” of putting ice-cold fish into a hot pan, which can lead to uneven cooking and sticking.
The Art of the Blistered Tomato Side
Heat your cast iron skillet over medium-high heat until a drop of water flicked onto the surface dances and evaporates instantly. Add 1 tbsp (15ml) of oil. Drop in the cherry tomatoes. Let them sit undisturbed for 2 minutes until the skins begin to char and “blister.”
Once they start to “slightly collapse,” push them to the outer edges of the skillet. This makes room for the cod while allowing the tomatoes to continue softening in the residual heat and oil.

Achieving the Golden-Brown Sear Marks
Place the cod fillets into the center of the hot skillet. Press down gently with your spatula for the first 10 seconds to ensure total surface contact. Grill for 3-4 minutes without moving the fish. You are looking for those “golden-brown sear marks” to develop.
Flip the fillets carefully. The fish should release easily from the pan once a crust has formed. Cook for another 2-3 minutes until the cod is “opaque and flaky.” The internal temperature should reach 145°F (63°C).
Whisking the Rich Creamy Dill Sauce
While the fish rests for a moment, whisk together your cream or yogurt base with 2 tbsp (30g) of finely chopped dill, 1 tsp (5ml) of lemon juice, and a pinch of garlic powder. It should be thick and luscious, capable of being “drizzled generously.”
Taste the sauce and adjust the salt. Remember, this sauce is the bridge between the savory charred fish and the sweet, acidic tomatoes.
Pro Tips for Professional Results
- Cold Sauce, Hot Fish: For the best texture, keep your dill sauce slightly chilled or at room temperature. The contrast against the hot cod creates a wonderful sensory experience.
- Don’t Overcrowd: If your skillet is small, cook the fish in batches. Overcrowding drops the pan temperature and prevents the “blistered” effect on the tomatoes.
- The “Flake” Test: Use a fork to gently press the side of the fillet. If the layers slide apart easily, it’s done. If it resists, it needs another minute.
- Fresh Over Dried: Never use dried dill for the garnish. The “fresh green dill” look is central to the visual appeal and provides a flavor profile that dried herbs simply cannot match.
Storage, Reheating, and Meal Prep
This Grilled Cod Recipe is best enjoyed immediately while the tomatoes are plump and the fish is crisp. However, you can store leftovers in an airtight container in the refrigerator for up to 2 days. To reheat, avoid the microwave, which will make the fish rubbery. Instead, place the fillets in a pan over low heat with a splash of water and cover with a lid for 3-4 minutes.
The creamy dill sauce should be stored separately and added after reheating the fish to maintain its thick, drizzly consistency. Note that the tomatoes will soften further upon reheating, becoming almost jam-like.
What to Serve With Your Grilled Cod
To keep this meal light and healthy, serve it alongside a crisp Vietnamese Noodle Salad or some vibrant Grilled Shrimp Skewers if you are hosting a seafood feast. The acidity in these sides cuts through the creaminess of the dill sauce perfectly.
For a heartier dinner, a side of roasted fingerling potatoes or a scoop of jasmine rice is ideal for soaking up the “pools of sauce” at the base of the tomatoes. If you’re looking for more citrus-forward flavors, you might also enjoy our Key West Grilled Chicken as a secondary protein option.
Frequently Asked Questions
Absolutely. You can use full-fat Greek yogurt or sour cream for a tangier, thicker sauce that still provides that beautiful ‘drizzled’ visual effect.
Yes, but it must be completely thawed and thoroughly dried before cooking to ensure you get those essential golden-brown sear marks.
Cod is cooked when it becomes opaque and the flesh flakes easily when pressed with a fork. It should reach an internal temperature of 145°F (63°C).
Ensure the cod fillets are completely dry by patting them with paper towels and make sure your cast iron skillet is preheated until very hot before adding the oil and fish.
High heat causes the moisture inside the tomato to expand, stretching the skin until it chars and eventually breaks down, creating a sweet and concentrated flavor.
The Ultimate Grilled Cod Recipe
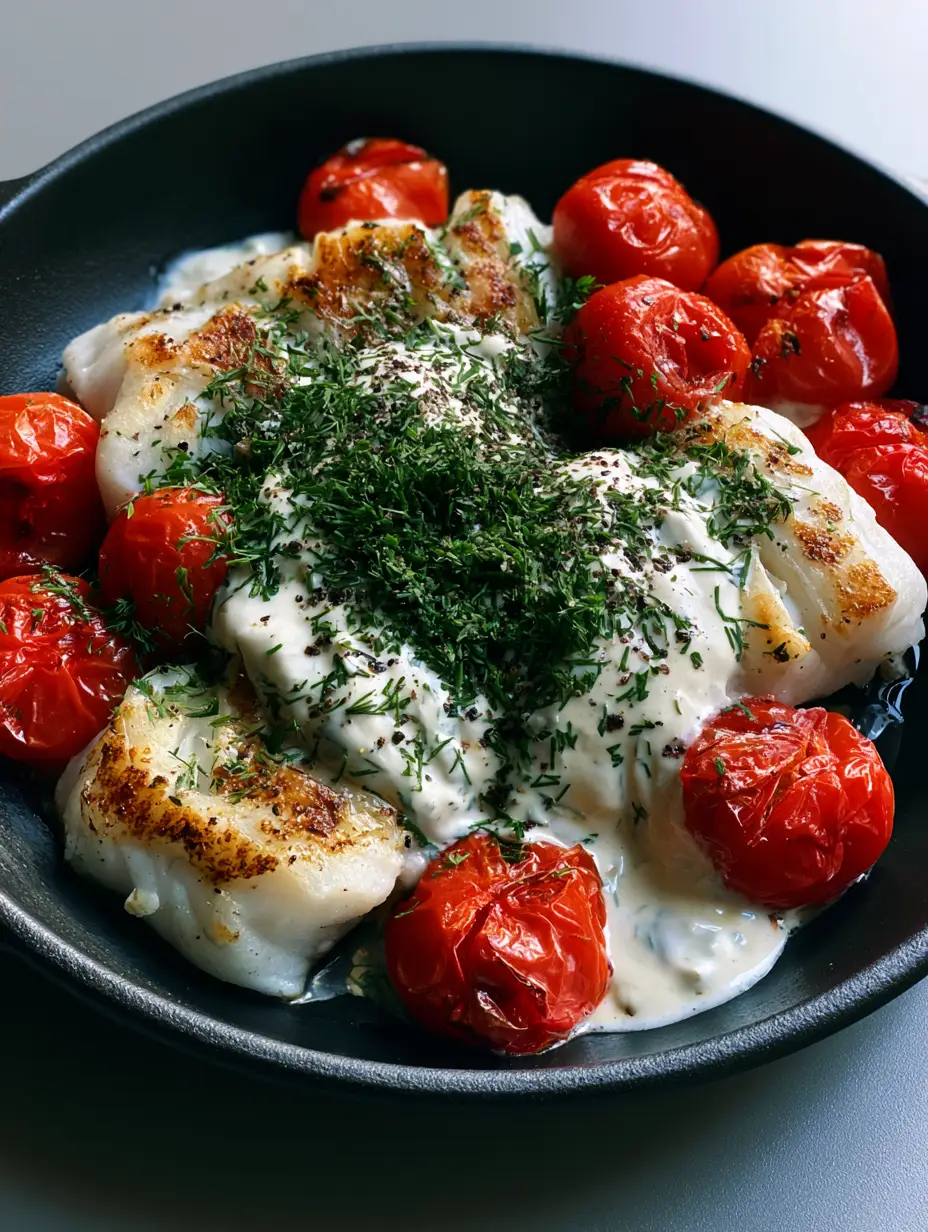
Grilled Cod Recipe with Blistered Tomatoes and Creamy Dill Sauce
Ingredients
Equipment
Method
- Pat the cod fillets completely dry with paper towels to ensure a good sear. Season both sides with salt and coarse black pepper.
- In a small bowl, whisk together the heavy cream (or yogurt), 2 tablespoons of chopped dill, lemon juice, and garlic powder until thick and creamy. Set aside.
- Heat oil in the cast iron skillet over medium-high heat. Add cherry tomatoes and cook for 2-3 minutes until the skins blister and start to collapse. Push to the edges of the pan.
- Place cod fillets in the center of the skillet. Grill for 3-4 minutes undisturbed until golden-brown sear marks appear. Flip and cook for another 2-3 minutes until opaque and flaky.
- Drizzle the creamy dill sauce over the center of the fish fillets. Garnish with the remaining fresh dill and an extra sprinkle of cracked black pepper.
Notes
Ensure the cod is at room temperature for 10 minutes before cooking to prevent sticking.
Closing & Call to Action
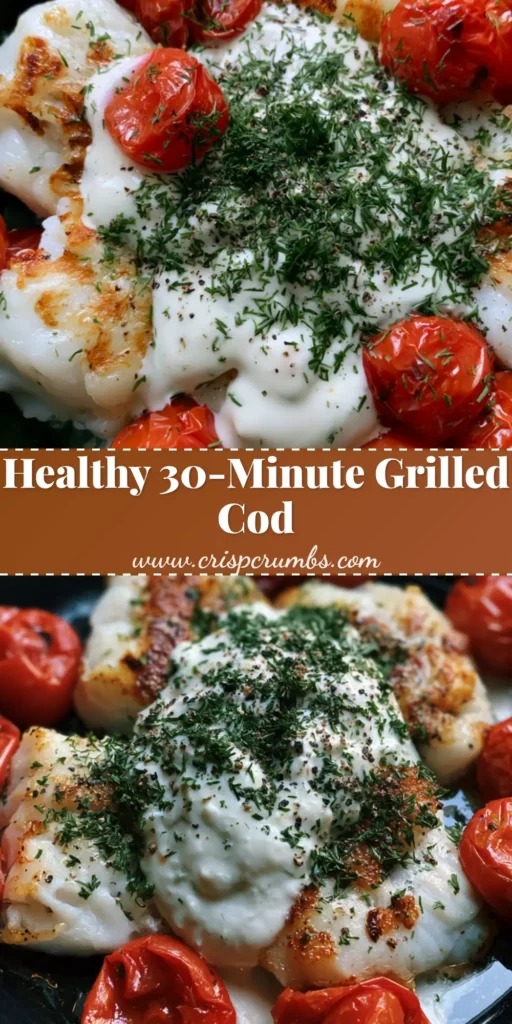
This Grilled Cod Recipe is a testament to the power of simple, high-quality ingredients and proper technique. The combination of the opaque, flaky fish, the sweet blistered tomatoes, and that rich, thick white creamy dill sauce creates a dish that is both comforting and sophisticated. It’s a 20-minute meal that feels like a celebration of fresh flavors.
If you made this recipe and loved it, please leave a comment below and let us know! We love seeing your kitchen successes. Don’t forget to follow us and share your creations on Pinterest for more culinary inspiration.


