There is a specific kind of culinary magic that happens when high-heat searing meets the velvety embrace of tropical fats. This Creamy Coconut Garlic Shrimp isn’t just a meal; it is a visual and sensory experience designed to bring restaurant-quality aesthetics into your home kitchen. From the moment the plump, pink-orange shrimp hit the hot cast iron to the final sprinkle of vibrant green cilantro, every step is a masterclass in texture and flavor balance.
Inspired by the coastal flavors of Southeast Asia and the Caribbean, this dish relies on the stark contrast between a shallow black skillet and a thick, snow-white sauce. The result is a handheld-photo-worthy dinner that looks just as good as it tastes. Whether you are looking for a quick weeknight escape or a sophisticated centerpiece for a weekend dinner, this recipe delivers on every promise of decadence and simplicity.
Why This Velvety Skillet Shrimp Will Become Your New Go-To
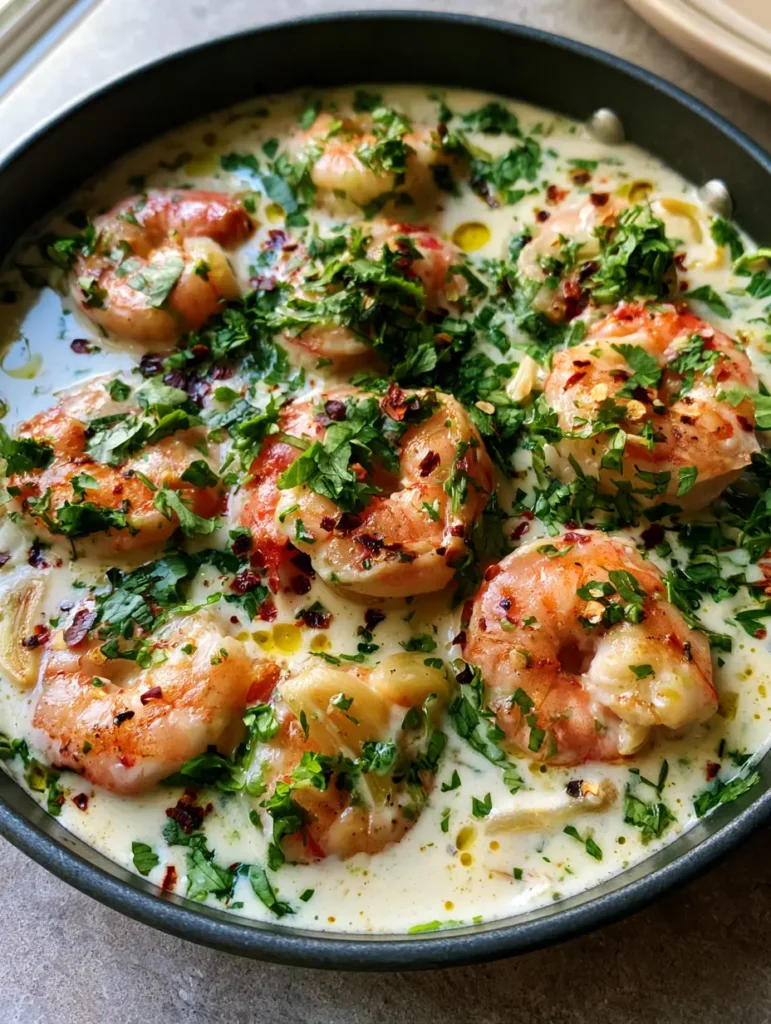
- Visual Contrast: The “plump pink-orange” seared shrimp create a stunning focal point against the “thick, velvety white” coconut milk base.
- Textural Harmony: You get the snap of perfectly seared seafood paired with the “softened garlic slices” that melt into the sauce.
- Garnish-Heavy Profile: We utilize a heavy hand with fresh cilantro and dried red chili flakes to provide a pop of color and a heat-to-herbaceous balance.
- One-Pan Efficiency: Everything happens in a single shallow black cast iron skillet, ensuring maximum flavor retention and minimal cleanup.
- Dietary Friendly: Naturally dairy-free and keto-compatible without sacrificing a shred of luxury or richness.
The Anatomy of Ingredients for the Perfect Coconut Garlic Sauce
Large Shrimp (16/20 Count): You need “large, plump” shrimp to hold up against the richness of the sauce. We recommend tail-on for the most professional visual presentation and to provide a “handle” for the cook to flip them during the sear.
Full-Fat Canned Coconut Milk: To achieve that “thick, velvety white” sauce described in our visual blueprint, you must use canned coconut milk, not the carton version used for cereal. The high fat content is what creates the “tiny droplets of golden oil” on the surface as it reduces.
Fresh Garlic Cloves: Unlike many recipes that call for minced garlic, we are using “thinly sliced garlic cloves.” This allows the garlic to soften into the sauce without burning, providing visible texture and a mellowed, sweet aromatic profile.
High-Smoke Point Oil: To get that deep “pink-orange” sear on the shrimp, you need an oil like avocado or grapeseed. This ensures the shrimp develop a crust before the coconut milk is even introduced to the pan.
Dried Red Chili Flakes: These provide the “small red flakes” seen in the final dish. They offer a controlled heat that cuts through the fatty coconut milk, keeping the palate excited.
Fresh Cilantro: The “heavily garnished green cilantro” isn’t just for show; it provides a necessary brightness. The citrusy notes of the herb lift the heavier fats of the coconut milk for a rounded finish.
Kosher Salt and Cracked Pepper: These foundational “invisible” ingredients are essential for layering flavor. We season the shrimp directly and the sauce separately to ensure every component is balanced.
Essential Equipment for a Professional Sear
To replicate the “shallow black cast iron skillet” look from our visual guide, a 12-inch (30cm) cast iron pan is non-negotiable. Cast iron provides superior heat retention, which is critical for searing shrimp quickly without overcooking the centers.
A sharp chef’s knife is also required to get those “thin slices” of garlic and “finely chopped” cilantro. Dull blades will bruise the cilantro, turning it dark instead of the vibrant green required for the high-contrast garnish.
The Culinary Blueprint: Step-by-Step Instructions
Phase 1: Achieving the Perfect Forensic Sear
Dry your 1.5 lbs (680g) of peeled and deveined shrimp thoroughly with paper towels. Any moisture on the surface of the shrimp will create steam, preventing the “pink-orange” crust from forming. Season liberally with salt and a touch of paprika for color.
Heat 2 tbsp (30ml) of oil in your black cast iron skillet over medium-high heat. Once the oil begins to shimmer—a key sensory cue—add the shrimp in a single layer. Sear for 90 seconds per side until they are opaque and “plump,” then remove them from the pan immediately to avoid rubbery texture.
Phase 2: Infusing the Aromatics
Lower the heat to medium and add 1 tbsp (15g) of neutral oil. Toss in your 5-6 “thinly sliced garlic cloves.” You are looking for a specific sensory cue here: the garlic should become fragrant and translucent within 60 seconds, but do not let it brown.
The goal is “softened garlic” that blends into the white sauce. If the garlic turns dark brown, it will become bitter and ruin the “velvety white” aesthetic of the final dish.
Phase 3: Building the Velvety Coconut Base
Pour in 1 can (13.5 oz / 400ml) of full-fat coconut milk. Use a wooden spoon to scrape the bottom of the skillet, releasing the “fond” (the brown bits from the shrimp sear). This integrates the golden shrimp flavor into the white sauce, creating those “tiny droplets of golden oil” on the surface.
Let the sauce simmer and reduce for 3-5 minutes. You will watch the texture transform from watery to “thick and velvety.” It should be thick enough to coat the back of a spoon comfortably.
Phase 4: The Final Assembly and Garnish
Nestle the seared shrimp back into the sauce. Allow them to warm through for just 30 seconds. The “pink-orange” of the shrimp against the “white sauce” is your signal that the dish is nearly ready.
Turn off the heat. This is where the visual blueprint comes to life. Generously scatter the “finely chopped green cilantro” and the “small dried red chili flakes” over the entire surface of the skillet. Serve directly in the black skillet for that rustic, home-cooked aesthetic.

Expert Tips for Success with Creamy Coconut Garlic Shrimp
- Room Temperature Coconut Milk: Shake the can vigorously before opening. If the cream has separated from the water, whisk it in a bowl before adding it to the pan to ensure a smooth, emulsified sauce.
- Don’t Crowd the Pan: If your skillet isn’t large enough, sear the shrimp in two batches. Overcrowding drops the pan temperature, resulting in grey, boiled shrimp instead of the “seared pink-orange” look we want.
- The Garlic Slice: Use a mandoline or a very sharp knife to get the garlic slices as thin as possible. Thicker slices won’t soften in time and will provide an unpleasant raw bite.
- Acid Balance: If the sauce feels too heavy, a tiny squeeze of fresh lime juice (not in the visual blueprint but scientifically helpful) can brighten the flavors without changing the appearance.
Mastering Storage and Reheating
This dish is best enjoyed immediately due to the delicate nature of the shrimp. However, you can store leftovers in an airtight container for up to 2 days in the refrigerator. The coconut milk will solidify when cold; this is normal fat behavior.
To reheat, place the mixture back into a small skillet over low heat. Add a splash of water or broth to loosen the sauce. Heat only until the “droplets of oil” reappear and the shrimp are warmed through. Do not microwave on high, as the shrimp will become tough and the sauce may break.
What to Serve With This Velvety Skillet Dish
To maintain the low-carb profile of the Creamy Coconut Garlic Shrimp, consider serving it alongside a crunchy jalapeno slaw (coming soon). The acidity and crunch of the slaw provide a perfect foil to the rich, creamy coconut base.
If you prefer a more substantial meal, this dish is incredible over jasmine rice or rice noodles. For a fusion-style spread, you could even pair it with a fresh Thai chickpea salad to keep the tropical theme going throughout the meal.
If you love the garlic-forward profile of this dish but want something with a butter-based sauce next time, check out our classic garlic butter shrimp scampi (coming soon) for a Mediterranean twist. For those who enjoy creamy textures with a bit more spice, our creamy Cajun chicken rotini is another fantastic skillet option.
Frequently Asked Questions
If you are not a fan of cilantro, fresh Thai basil or flat-leaf parsley can be used, though it will slightly alter the traditional flavor profile.
Yes, but ensure they are completely thawed and patted dry with paper towels. Excess moisture will prevent the shrimp from getting that signature golden-pink sear.
Avoid boiling the sauce vigorously. A gentle simmer is all you need. Also, using full-fat coconut milk makes the sauce more stable than light versions.
It has a mild warmth from the dried red chili flakes. If you prefer more heat, increase the flakes or add a sliced Thai bird’s eye chili to the garlic sauté.
Canned coconut milk has a higher fat content and contains coconut cream, which is essential for a thick, velvety sauce. Carton coconut milk is mostly water and will result in a thin, runny dish.
The Ultimate Creamy Coconut Garlic Shrimp Recipe Card
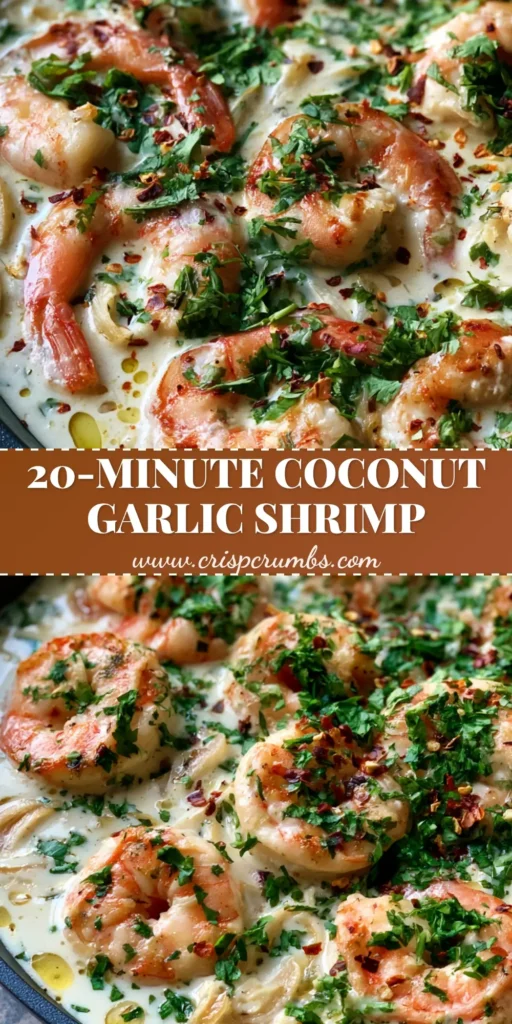
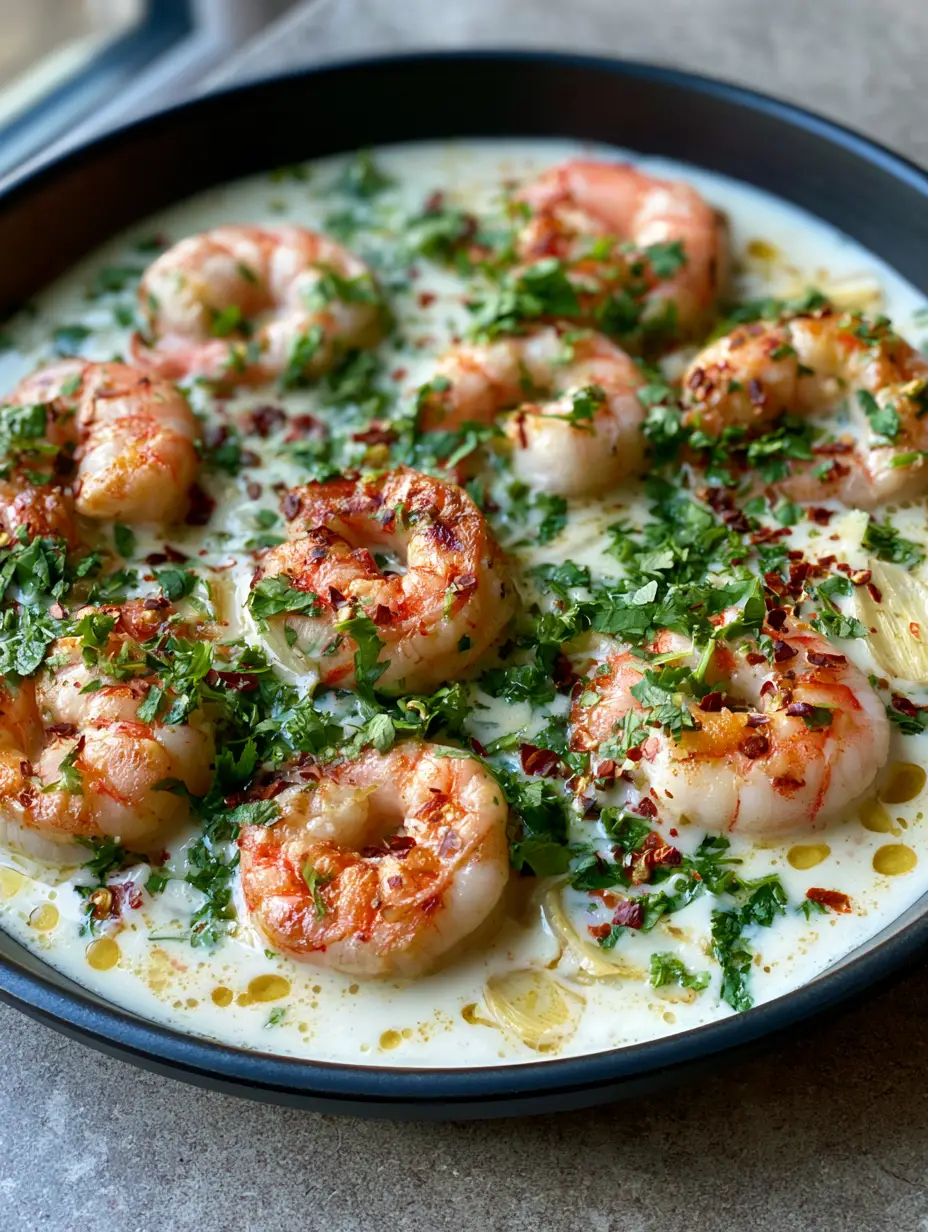
Creamy Coconut Garlic Shrimp: A 20-Minute Skillet Masterpiece
Ingredients
Equipment
Method
- Pat shrimp dry and season with salt. Heat oil in a black cast iron skillet over medium-high heat. Sear shrimp for 90 seconds per side until pink-orange and plump. Remove and set aside.
- Reduce heat to medium. Add a splash of oil and the sliced garlic. Cook for 1 minute until softened and fragrant, ensuring the garlic does not brown.
- Pour in the canned coconut milk. Scrape the bottom of the pan to release golden oil droplets. Simmer for 3-5 minutes until the sauce is thick and velvety.
- Return shrimp to the pan to warm through. Turn off heat. Garnish heavily with fresh chopped cilantro and dried red chili flakes before serving.
Notes
Pat the shrimp completely dry before searing to get that perfect pink-orange crust.
Closing & Call to Action
The beauty of this Creamy Coconut Garlic Shrimp lies in its contrast—the heat of the chili flakes against the cool coconut milk, and the rustic black skillet against the vibrant garnish. It is a dish that proves you don’t need hours in the kitchen to produce something visually stunning and culinary sound. We hope this becomes a staple in your home-cooked repertoire!
If you enjoyed this recipe, please leave a comment and a star rating below! Your feedback helps us continue to develop high-quality, visually-aligned recipes. Don’t forget to save this to your favorite boards on Pinterest for easy access later.


