There is a specific kind of magic found in a classic Creamy Cheddar Pasta Salad. It’s the dish that disappears first at every backyard barbecue and the one leftovers everyone fights over the next day.
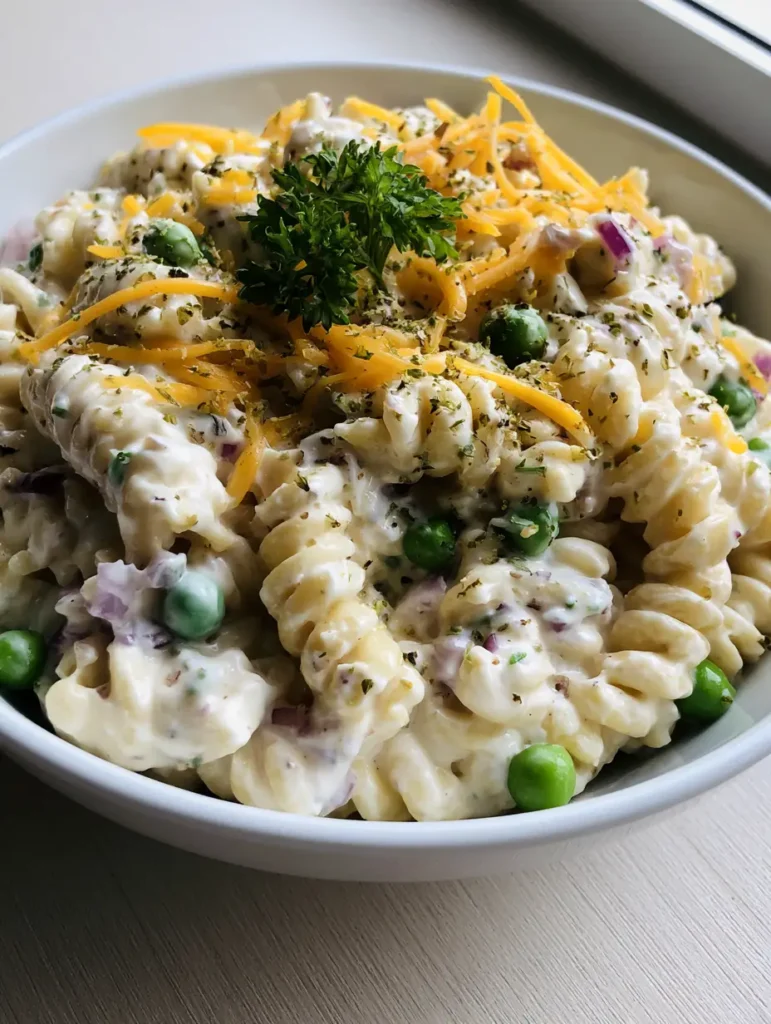
This isn’t just another deli-counter imitation; it’s a masterclass in texture and balance. Imagine tender rotini spirals hugged by a thick, opaque, and glossy white dressing that hits every note of tang and creaminess.
By combining sharp orange cheddar strands with the snap of bright green peas, we create a visual and culinary contrast that is as stunning as it is delicious. Let’s dive into how to achieve that perfect handheld-photo-worthy finish.
Why This Cold Pasta Side Dish Always Steals the Show
- The Ultimate Glossy Texture: Our signature sour cream and mayonnaise blend ensures a thick, opaque coating that clings to every spiral without turning watery.
- Vibrant Visual Contrast: The pops of bright green sweet peas and vibrant orange cheddar strands make this a centerpiece-worthy side dish.
- Perfectly Balanced Bite: Finely diced red onions provide a sharp, crisp contrast to the rich, savory cheese and creamy dressing base.
- Make-Ahead Mastery: This salad actually improves as it sits, making it the ideal candidate for stress-free meal prepping or potluck planning.
The Anatomy of the Perfect Creamy Cheddar Pasta Salad Base
16 oz (454g) Dry Rotini Pasta: The spiral shape is non-negotiable here. The deep grooves are scientifically designed to trap and hold the maximum amount of creamy dressing.
1 cup (240ml) High-Quality Mayonnaise: This provides the rich, oil-based foundation that gives our dressing its signature glossy sheen and body.
1/2 cup (120ml) Full-Fat Sour Cream: Sour cream introduces a necessary lactic tang that cuts through the richness of the mayo and cheese.
8 oz (225g) Sharp Orange Cheddar Cheese: Hand-shredding your cheese into thin strands ensures it integrates perfectly into the salad rather than clumping together.
1.5 cups (200g) Sweet Green Peas: These provide a burst of natural sweetness and a “plump” texture that contrasts beautifully with the soft pasta.
1/2 cup (75g) Red Onion: Finely dicing the onion is crucial. You want the sharp flavor distributed evenly so it complements the cheddar without overwhelming a single bite.
1 tsp (5g) Dried Herb Flakes: A blend of dried parsley, dill, and chives adds an earthy complexity to the creamy profile.
Foundational Seasonings: You will need 1 tsp (5g) Kosher salt, 1/2 tsp (2g) black pepper, and 1/2 tsp (2g) garlic powder to elevate the base flavors.
Essential Culinary Tools for Professional Results
To achieve the authentic, handheld-photo texture shown in our guide, you’ll need a large stockpot for boiling the rotini. A fine-mesh strainer is essential for shocking the peas to maintain that bright green hue.
You will also need a sharp chef’s knife for the red onion and a box grater for the cheddar. Finally, use a large white ceramic bowl for mixing; the neutral background makes the orange and green ingredients pop.
The Science of Boiling and Chilling Your Rotini
Mastering the Al Dente Spiral
Bring a large pot of heavily salted water to a rolling boil. Add your rotini and cook for exactly one minute less than the package directions. This “firm-to-the-tooth” texture prevents the pasta from becoming mushy once it absorbs the dressing.
Immediately drain the pasta and rinse under cold running water. This stops the cooking process and removes excess starch, which prevents the spirals from sticking together into a glutenous mass.

Prepping the Plump Sweet Peas
While the pasta boils, steam your frozen peas for just 2-3 minutes until they are bright green and tender. Immediately plunge them into an ice-water bath to lock in that vibrant color you see in the photos.
Pat the peas completely dry before adding them to the mix. Any excess moisture on the peas or the pasta will thin out your dressing, ruining that thick, opaque, glossy finish we are striving for.
Constructing the Glossy Opaque Dressing
The Secret to the Emulsion
In a medium mixing bowl, whisk together the mayonnaise, sour cream, garlic powder, salt, and pepper. You are looking for a completely smooth, heavy consistency that looks like white velvet.
Fold in the dried herb flakes. Letting the herbs sit in the dressing for a few minutes before mixing with the pasta allows the dried oils to rehydrate and perfume the entire base.
Folding for Structural Integrity
Add the cooled rotini, shredded cheddar, diced red onions, and steamed peas to your large white ceramic bowl. Pour the dressing over the top and use a wide silicone spatula to fold from the bottom up.
Continue folding until every rotini spiral is thoroughly coated in a thick layer of dressing. You should see thin orange strands of cheese peeking through the white gloss, creating an authentic, rustic texture.
Expert Tips for a Picture-Perfect Side Dish
- Hand-Shred the Cheese: Avoid pre-shredded bagged cheese. It is coated in cellulose to prevent clumping, which prevents it from melding smoothly with the dressing.
- The “Resting” Phase: Cover and chill the salad for at least 30 minutes before serving. This allows the pasta to absorb the flavors while maintaining its structural snap.
- Garnish with Intention: Just before serving, add a light sprinkle of extra dried herb flakes and a single, small sprig of fresh green parsley for that professional finishing touch.
- Temperature Control: If the salad seems too thick after chilling, fold in 1 tablespoon of milk or additional sour cream to loosen the emulsion without losing the opacity.
Optimal Storage and Refreshing Advice
This Creamy Cheddar Pasta Salad can be stored in an airtight container in the refrigerator for up to 4 days. It is not suitable for freezing, as the mayonnaise and sour cream emulsion will break and become oily upon thawing.
If you are serving this at an outdoor event, keep the ceramic bowl nestled in a larger bowl of ice. This maintains the food safety of the dairy components and keeps the flavors crisp and refreshing.
What to Serve with Creamy Pasta Salad
This salad is incredibly versatile. It provides a cooling contrast to spicy dishes like our crunchy jalapeno slaw (coming soon) or a side of crispy air fryer green beans.
For a full meal, pair it with protein-heavy mains. It stands up beautifully alongside a Huli Huli chicken stack or even some spicy garlic beef croquettes (coming soon).
Common Questions About This Recipe
While rotini is best for trapping the creamy dressing in its spirals, shells or fusilli are excellent alternatives that provide similar nooks and crannies for the sauce.
Yes! If using fresh peas, blanch them in boiling water for 2-3 minutes until tender-crisp, then immediately shock them in ice water to maintain their bright green color.
If you prefer a milder onion flavor, soak the diced red onions in cold water for 10 minutes, then drain and pat dry before adding them to the salad.
Use the medium-sized holes on a box grater. Hand-shredding creates thinner, more flexible strands that meld into the dressing better than pre-shredded cheese.
Pasta naturally absorbs liquid as it sits. If it seems dry, fold in a tablespoon of milk or an extra dollop of sour cream just before serving to restore the glossy texture.
The Ultimate Creamy Cheddar Pasta Salad Recipe
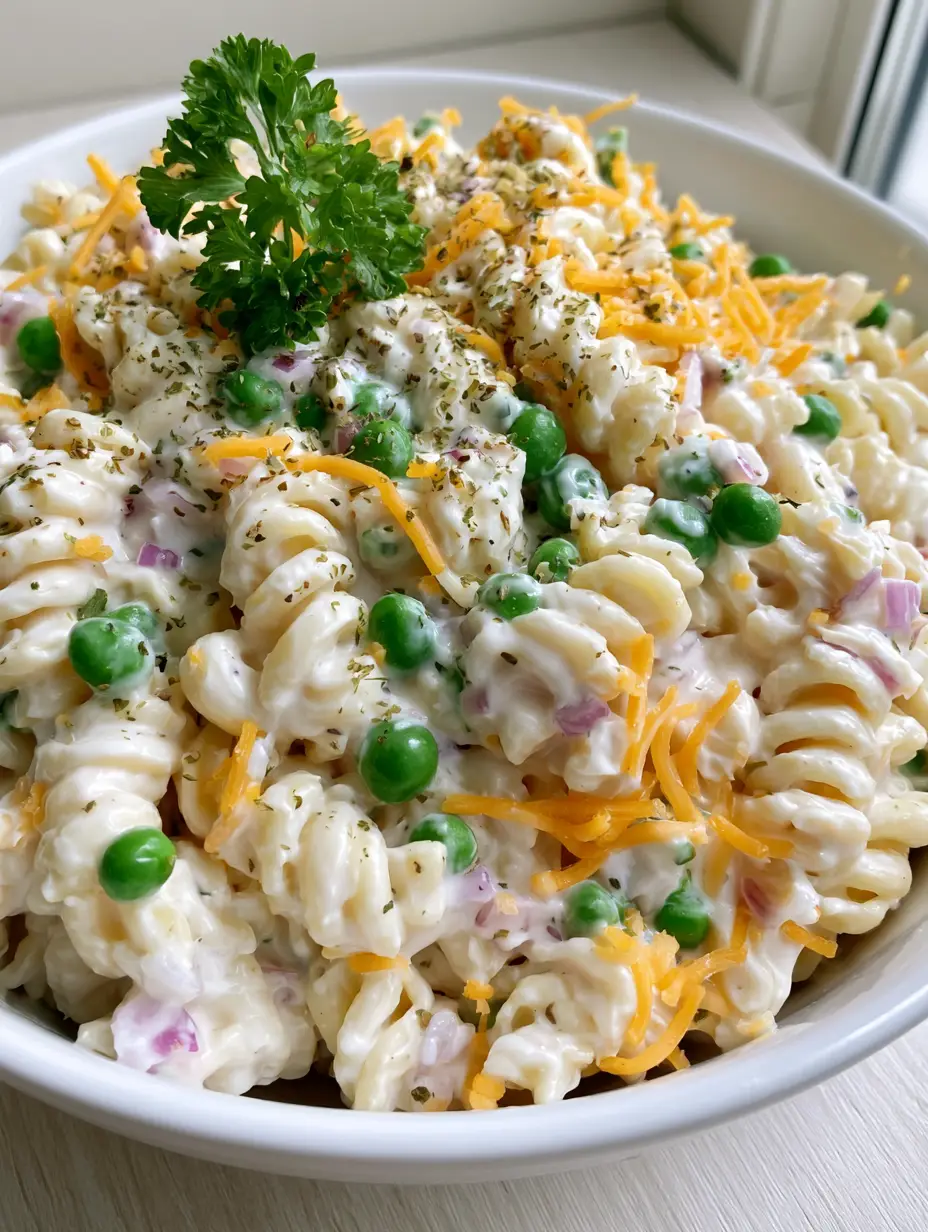
Creamy Cheddar Pasta Salad with Sweet Peas and Red Onion
Ingredients
Equipment
Method
- Boil rotini in salted water until al dente. Drain and rinse under cold water to stop the cooking and remove starch.
- Steam peas for 2 minutes until bright green. Immediately shock in an ice bath and pat dry to maintain plumpness.
- In a bowl, combine mayonnaise, sour cream, garlic powder, salt, and pepper until thick, glossy, and opaque.
- In a large ceramic bowl, fold together the pasta, shredded cheddar, diced onions, and peas with the dressing until thoroughly coated.
- Top with a sprinkle of dried herbs and a fresh sprig of parsley. Chill for 30 minutes before serving.
Notes
Shocking the peas in ice water keeps them from turning grey.
Share Your Culinary Masterpiece!
Ready to level up your next picnic? This Creamy Cheddar Pasta Salad is the reliable, crowd-pleasing recipe you’ve been looking for. If you enjoyed this guide, please leave a comment below and tell us how yours turned out!
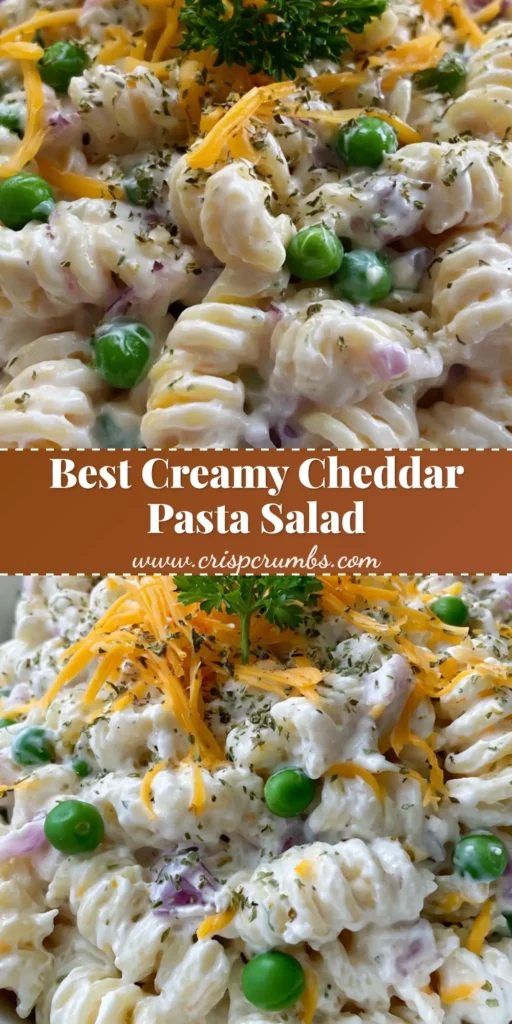
Don’t forget to snap a photo and tag us! For more visual recipe inspiration, follow our boards on Pinterest and save this pin for your next gathering.


