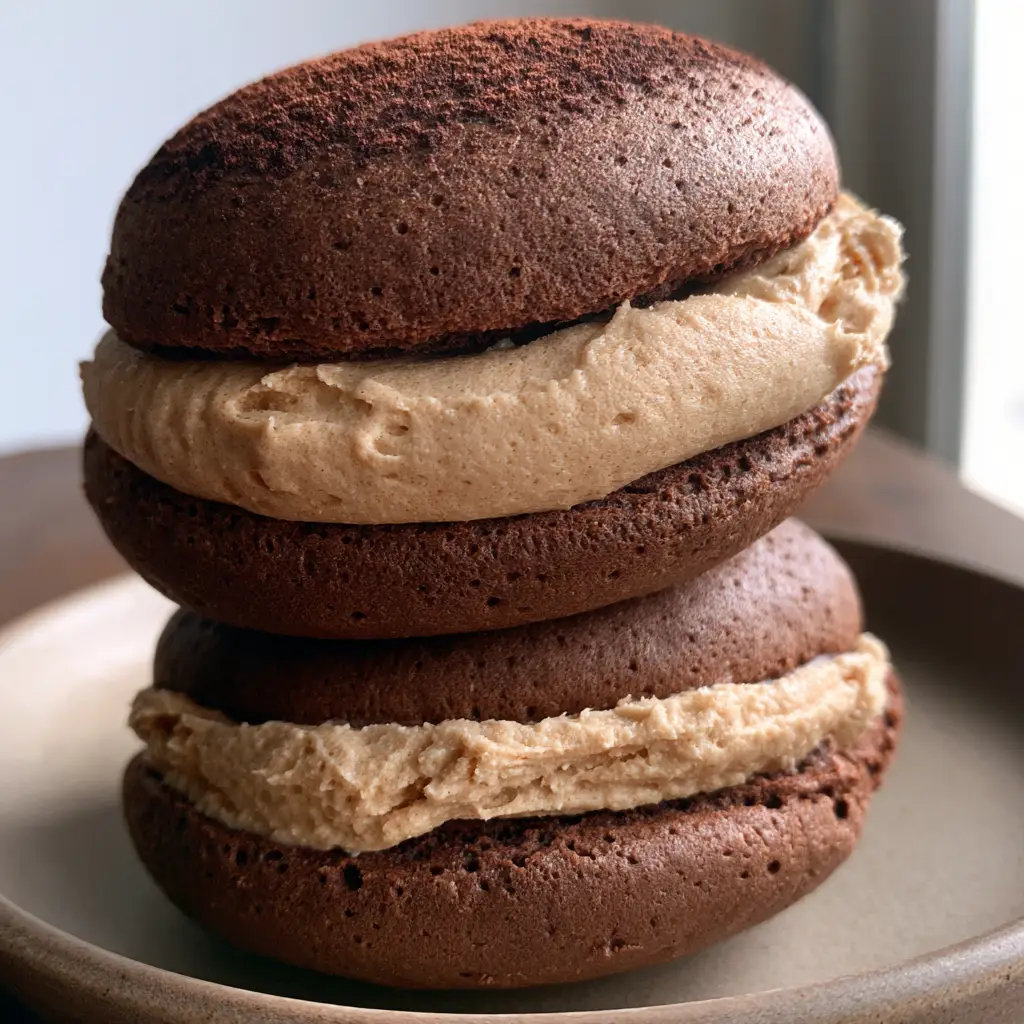
Chocolate Coffee Whoopie Pies are the ultimate handheld indulgence for anyone who believes chocolate and coffee are a match made in heaven. These aren’t your average cookies; imagine two soft chocolate coffee cakes with a delicate, porous crumb texture, hugging a cloud of smooth espresso buttercream filling. Every bite delivers a deep, dark cocoa punch balanced perfectly by the sophisticated bitterness of premium coffee.
If you have been searching for a dessert that looks like it came from a high-end bakery but feels like a cozy home-style treat, these Chocolate Coffee Whoopie Pies are it. The tops are finished with a fine cocoa powder dusting, adding a matte elegance that makes them pop on any dessert table. Whether you are a fan of chewy cookies or decadent cakes, this hybrid dessert satisfies every craving.
Why You Will Crave These Espresso-Infused Treats
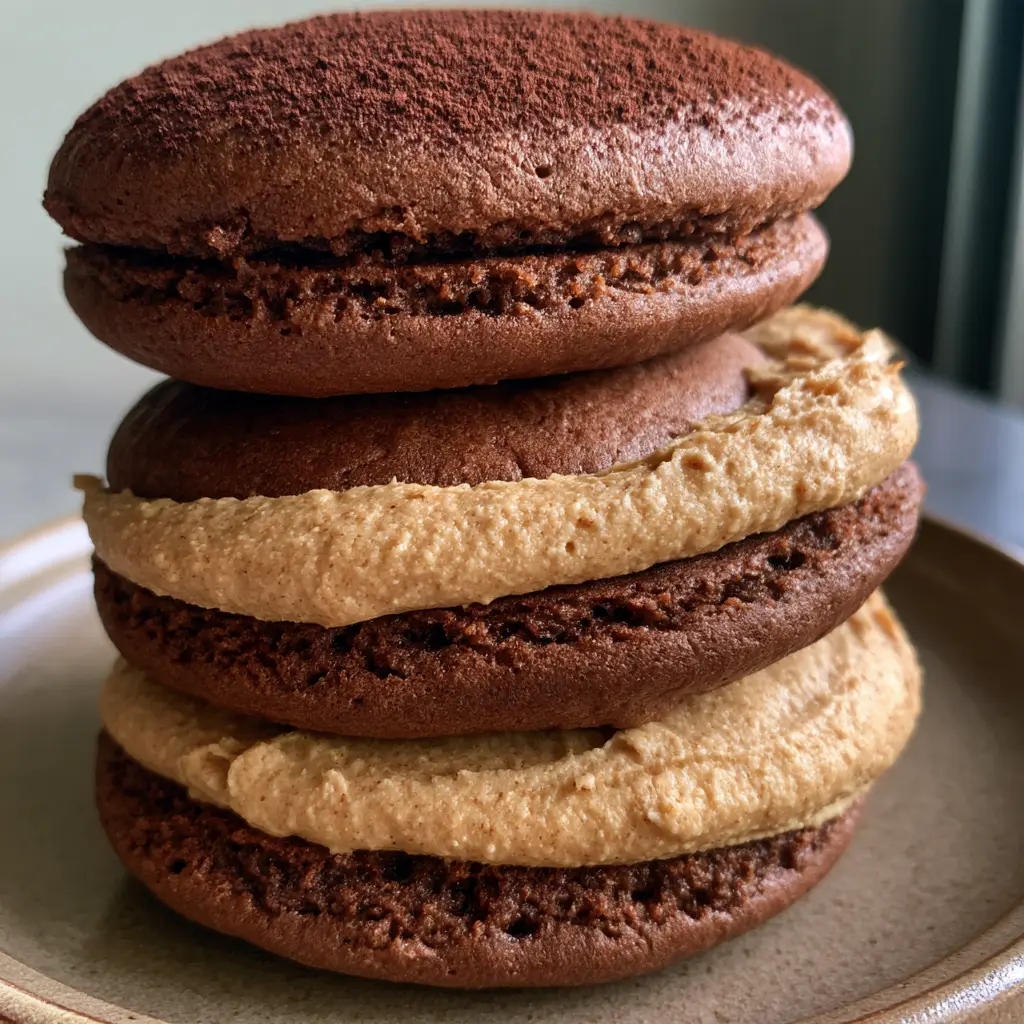
- Perfect Texture Contrast: The cakes are thick, dark brown, and dome-shaped with a soft, porous crumb that melts in your mouth.
- Clean, Matte Finish: A generous, even layer of light tan coffee-infused buttercream provides a smooth visual appeal with clean, slightly rounded edges.
- Sophisticated Flavor Profile: The interaction between Dutch-processed cocoa and high-quality espresso creates a professional-grade flavor depth.
- Pinterest-Ready Aesthetic: The fine layer of dark cocoa powder on top creates a stunning, unedited smartphone photo look that captures natural light beautifully.
Essential Ingredients for the Best Whoopie Pies
To achieve that specific Visual Recipe Blueprint, every ingredient serves a culinary purpose. We aren’t just making cookies; we are engineering Chocolate Coffee Whoopie Pies that stay soft for days.
Dutch-Processed Cocoa Powder: This is non-negotiable for that “thick, dark brown” look. It provides a smoother, deeper chocolate flavor than natural cocoa.
Strong Brewed Coffee (Room Temperature): Instead of just water, we use coffee to hydrate the batter, which blooms the cocoa powder and intensifies the chocolate notes.
Buttermilk: The acid in buttermilk reacts with the leavening agents to create that signature soft, porous crumb texture mentioned in our blueprint.
Instant Espresso Powder: This goes into the smooth espresso buttercream filling to give it that distinct light tan color and bold caffeine kick.
Unsalted Butter: Ensure your butter is properly softened to achieve a matte finish in the frosting without it becoming greasy or oily.
How to Make the Perfect Soft Chocolate Coffee Cakes
Step 1: Creaming for Volume and Structure
Start by beating 1/2 cup (113g) of softened unsalted butter with 1 cup (200g) of brown sugar. You want to cream these until the mixture is pale and fluffy. This process incorporates air, which is vital for creating those dome-shaped cakes that aren’t too dense.
Step 2: Sifting the Dry Ingredients
In a separate bowl, whisk together 2 cups (250g) of all-purpose flour, 1/2 cup (45g) of dark cocoa powder, 1 teaspoon (5g) of baking soda, and 1/2 teaspoon (3g) of salt. Sifting the cocoa is critical to avoid lumps and ensure a fine cocoa powder dusting later on isn’t ruined by a grainy cake base.
Step 3: The Alternating Mix Method
To maintain the soft chocolate coffee cakes‘ integrity, alternate adding the dry ingredients and 1/2 cup (120ml) of buttermilk to the butter mixture. Finish by stirring in 1/4 cup (60ml) of strong coffee. The batter should be thick, resembling a stiff mousse rather than a runny cake batter.
Step 4: Piping for Professional Domes
Use a large round piping tip or a cookie scoop to drop mounds of batter onto a parchment-lined sheet. Space them at least 2 inches (5cm) apart. This ensures they rise upward into a thick, dark brown, dome-shaped silhouette rather than spreading flat like a standard cookie.
Step 5: The Bake and Cool
Bake at 350°F (175°C) for 10-12 minutes. You are looking for the tops to spring back when lightly touched. Once out of the oven, let them cool completely. A warm cake will melt your smooth espresso buttercream filling, destroying those clean, rounded edges we want.
Creating the Silky Espresso Buttercream Filling
The secret to a light tan coffee-infused buttercream is a high-quality espresso concentration. Dissolve 1 tablespoon (5g) of espresso powder into 1 tablespoon (15ml) of heavy cream before adding it to your whipped butter and powdered sugar.
Beat the mixture on high for at least 5 minutes. This aeration creates the smooth, matte finish and ensure the edges of the filling look clean and professionally piped. If you love this flavor, you’ll also enjoy our maple-infused treats for another depth of sweetness.
Assembling Your Chocolate Coffee Whoopie Pies
Pair up your cakes by size. Flip one cake over so the flat side faces up. Pipe or scoop a generous, even layer of the light tan filling onto the center. Press the second cake on top gently until the filling reaches the edges, creating that clean and slightly rounded look.
For the final touch, use a fine-mesh sieve to apply a fine layer of dark cocoa powder over the tops. This adds a bitter contrast to the sweet filling and completes the “handheld smartphone photo” aesthetic that performs so well on social media.
Expert Tips for Whoopie Pie Success
- Room Temperature Ingredients: Ensure your eggs, buttermilk, and butter are all at room temerature. This prevents the batter from curdling and ensures a porous crumb texture.
- Don’t Overbake: These cakes can go from “soft” to “dry” in sixty seconds. Take them out when they are just set.
- The “Chill” Factor: If your kitchen is warm, chill the assembled Chocolate Coffee Whoopie Pies for 15 minutes before serving to set the edges of the buttercream.
- Cocoa Selection: Using a “Black Cocoa” or high-fat Dutch process cocoa will give you the dark, moody look seen in the Visual Recipe Blueprint.
Storage, Freezing, and Make-Ahead Instructions
Storage: Store these pies in an airtight container at room temperature for up to 2 days, or in the refrigerator for up to 5 days. If refrigerated, let them sit out for 20 minutes before eating to soften the buttercream.
Freezing: You can freeze these! Wrap individual Chocolate Coffee Whoopie Pies in plastic wrap and store in a freezer bag for up to 3 months. Thaw in the fridge overnight.
What to Serve with Espresso Whoopie Pies
These pies are quite rich, so they pair beautifully with a cold glass of milk or a sharp double espresso. If you are hosting a brunch, serve them alongside a savory dish like shakshouka toast or a batch of savory muffins to balance the sugar.
Frequently Asked Questions
Yes, you can substitute the liquid coffee with water and omit the espresso powder in the filling for a standard chocolate whoopie pie, though the coffee vastly enhances the chocolate flavor.
Yes, because it uses instant espresso powder, it contains a small amount of caffeine. You can use decaffeinated espresso powder if you are sensitive to caffeine.
Use a large round piping tip and apply even pressure while piping from the center outward. Chilling the assembled pies for 15 minutes also helps set the edges.
Flat cakes usually result from over-mixing the batter or using batter that is too warm. Ensure your butter is softened but not melted, and pipe the batter immediately after mixing.
The Ultimate Chocolate Coffee Whoopie Pies Recipe
Share Your Results and Save to Pinterest!
Did you make these Chocolate Coffee Whoopie Pies? We want to see those stacks! Take a photo of your thick, dome-shaped cakes and share it in the comments below. Don’t forget to hit the “Save” button on the