The Cheesy Ground Beef Melt is more than just a sandwich; it is a masterclass in texture, salt, and fat. This handheld delight captures the essence of a gourmet burger but reimagines it between two thick slices of artisan sourdough.
Imagine biting into a uniform golden-brown crust that shatters under your teeth, revealing a center of deeply caramelized, seared beef crumbles. The heavy, viscous layer of melted orange cheddar cheese acts as the culinary glue, dripping down the sides in a decadent display of comfort food excellence.
Every element of this recipe is designed to mirror the authentic, rustic appeal of high-end mobile food photography. We are focusing on visible grains of cracked black pepper and sea salt that sit atop the meat, providing a sharp contrast to the rich, buttery bread.

The Architecture of the Perfect Griddled Melt
To achieve the visual and structural integrity seen in our blueprint, we must focus on the “foundation” first. A Cheesy Ground Beef Melt requires a bread that can withstand the weight of heavy beef crumbles and molten cheese without collapsing.
We use thick-cut sourdough because its tight crumb and natural acidity provide the perfect counterpoint to the savory beef. When buttered and toasted, the sourdough develops a crisp texture that remains rigid even as the cheese begins its inevitable drip.
The beef itself isn’t a flat patty but rather loosely crumbled and seared at high heat. This creates maximum surface area for the Maillard reaction, ensuring every morsel of meat is packed with umami and a visible, browned crust.
- Textural Contrast: Shatter-crisp sourdough meets tender, juicy seared beef.
- Visual Appeal: Bright orange cheddar provides a striking color contrast against the neutral tones of the bread.
- Symphonic Seasoning: Coarse sea salt and cracked black pepper are added late in the process to maintain their visual identity and punchy flavor.
- Structural Glue: The viscous cheddar is strategically melted to bind the loose beef crumbles to the bread foundation.
Essential Components for This Gourmet Melt
Thick-Cut Sourdough Bread: Use two slices per sandwich, approximately 3/4 inch (1.9cm) thick. The fermentation of the sourdough ensures the bread doesn’t become a “sponge” for the beef fats, maintaining that essential golden-brown crispness.
80/20 Ground Beef: 1/2 lb (227g) of high-quality ground chuck is ideal for a single sandwich. The 20% fat content is necessary to achieve the deep caramelization and seared edges described in our visual blueprint.
Sharp Orange Cheddar Cheese: 3-4 thick slices or 1 cup (113g) of freshly grated cheddar. This specific cheese provides the “heavy, viscous” melt and the vibrant color that defines the sandwich’s aesthetic.
Unsalted Butter: 2 tbsp (30g) at room temperature for the bread. Using unsalted butter allows us to control the final sodium levels, focusing on the visible sea salt grains for the final seasoning.
Neutral Searing Oil: 1 tbsp (15ml) of avocado or grapeseed oil. A high smoke point oil is an “invisible” essential to get the pan hot enough for a professional sear without burning the beef.
Coarse Sea Salt and Cracked Black Pepper: These are not just for taste; they are visual landmarks. Use 1/2 tsp (3g) of each, ensuring the pepper is freshly cracked for a visible, grainy texture on the meat.
Tools Required for Professional Results
To recreate the “handheld smartphone photo” quality of this dish, you need a heavy-bottomed cast iron skillet. Cast iron retains heat better than stainless steel, which is critical for getting that uniform golden-brown sourdough crust.
A weighted sandwich press or a second heavy pan is also helpful. This ensures even contact between the bread and the heat source, creating that perfectly flat, buttery surface seen in the visual prompt.
Finally, a flexible metal spatula is required to handle the crumbled beef. You need to be able to scrape the “fond” (the brown bits) off the bottom of the pan and fold them into the cheese for maximum flavor density.
The Culinary Process: Searing and Assembly
Achieving the Deep Beef Sear
Heat your skillet over medium-high heat until the oil begins to shimmer and a light wisp of smoke appears. This is your sensory cue that the pan is ready for the “crumbled” beef texture.
Add the ground beef to the pan but do not stir it immediately. Let it sit for 3 minutes to develop a dark, caramelized crust on the bottom, then use your spatula to break it into large, rustic crumbles.
Once the beef is deeply browned, sprinkle with half of the sea salt and cracked black pepper. Transfer the beef to a small bowl and wipe the skillet clean to prepare for the bread toasting phase.

Toasting the Sourdough Foundation
Spread the softened butter generously from edge to edge on one side of each sourdough slice. This ensures the entire surface area achieves that “uniform golden-brown” look from the blueprint.
Place one slice of bread, butter-side down, in the skillet over medium heat. You should hear a gentle sizzle immediately—if not, your pan is too cold and the bread will absorb the butter rather than toasting in it.
The Melting Sequence
Layer half of the orange cheddar onto the bread in the pan, followed by the seared beef crumbles. Top with the remaining cheese and the second slice of sourdough, butter-side up.
The cheese at the bottom and top will melt into the beef, creating a heavy, viscous bond. Use a lid to cover the pan for 60 seconds; this traps steam and ensures the cheese begins “dripping down the sides” before the bread burns.
The Final Golden Flip
Carefully flip the sandwich once the bottom is a perfect golden brown. Press down lightly with your spatula to encourage the cheese to flow through the beef crumbles.
Remove the sandwich from the heat once both sides are crisp. Sprinkle the remaining cracked black pepper and sea salt over the exposed beef at the edges for that final visual “pop” of seasoning.
Expert Tips for Success
- Avoid the Soggy Bottom: Never place your hot Cheesy Ground Beef Melt directly onto a flat plate for more than a minute. Elevate it on a wire rack for 30 seconds to allow steam to escape, preserving the sourdough’s crunch.
- The Cheese Blend: If you want an even more “viscous” melt, mix the sharp cheddar with a small amount of American cheese, though the blueprint’s orange cheddar is the flavor anchor.
- Temperature Control: If the bread is browning too fast before the cheese melts, lower the heat. A “low and slow” approach for the final 2 minutes is the secret to a professional melt.
- Fresh Grating: Always grate your cheddar from a block. Pre-shredded cheeses are coated in potato starch, which prevents that beautiful “dripping” texture we are aiming for.
Practical Storage and Reheating Advice
This sandwich is best enjoyed immediately to appreciate the contrast between the hot beef and the crisp sourdough. However, if you have leftovers, store the beef and cheese mixture separately from the bread.
To reheat a fully assembled melt, avoid the microwave at all costs; it will turn the sourdough into a rubbery mess. Instead, use a toaster oven or an air fryer at 350°F (175°C) for 5 minutes to restore the crispness.
The seared beef crumbles can be frozen in an airtight container for up to 3 months. This makes it easy to whip up a Cheesy Ground Beef Melt on a busy weeknight by simply thawing the meat and following the toasting steps.
What to Pair with Your Beef Melt
A sandwich this rich requires a side dish that offers acidity or brightness to cleanse the palate. We highly recommend serving this with a zesty jalapeno slaw (coming soon) for a spicy, crunchy contrast.
If you are looking for a more traditional “pub-style” meal, pair it with smoky easy canned baked beans. The sweetness of the beans complements the sharp cheddar perfectly.
For those who love a beef-centric spread, consider serving these alongside some spicy garlic beef croquettes (coming soon) for a variety of textures. Or, if you enjoy this flavor profile, you will definitely want to try our Oklahoma onion smash burger which uses similar searing techniques.
Frequently Asked Questions
While sharp orange cheddar is traditional for its color and melt, you can use Gruyere or Swiss. However, ensure it is a good ‘melting’ cheese to maintain the dripping texture.
Use room temperature butter and spread it edge-to-edge. Toast in a cast iron skillet over medium heat, using a weight or press to ensure even contact with the pan.
The secret is using a heavy, viscous layer of melted cheddar on both the top and bottom of the beef. This acts as a culinary glue to bind the crumbles to the bread.
Thick-cut sourdough is the best choice because its structure holds up against the heavy beef and cheese, while the buttery crust provides a superior golden-brown crunch.
Crumbles increase the surface area for searing, which creates more caramelized bits (the Maillard reaction) and a more rustic, artisan feel than a standard patty melt.
The Ultimate Cheesy Ground Beef Melt Recipe
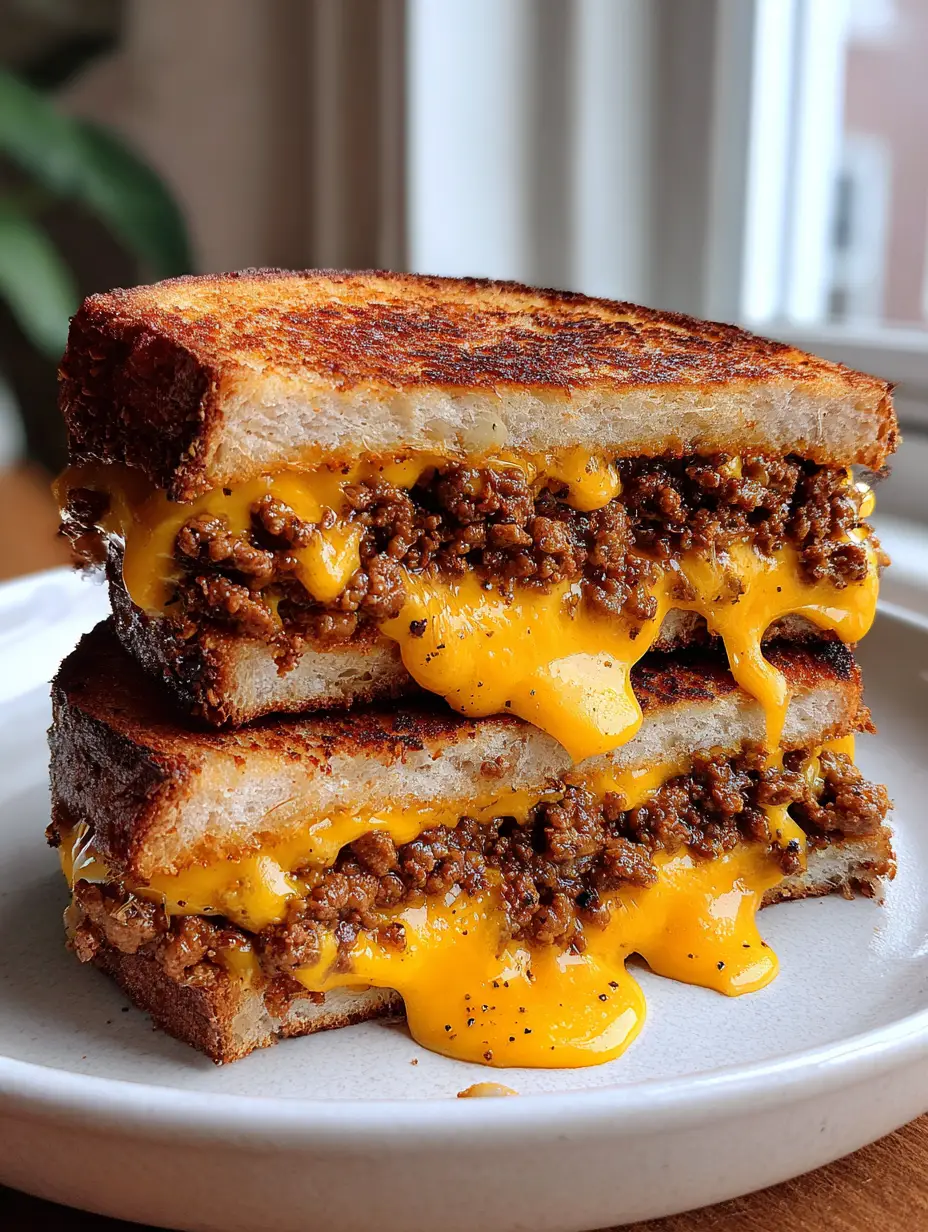
Cheesy Ground Beef Melt with Crispy Buttered Sourdough
Ingredients
Equipment
Method
- Add oil to a cast iron skillet over medium-high heat until shimmering and lightly smoking.
- Add ground beef in a thin layer; sear undisturbed for 3 minutes until a deep brown crust forms. Break into rustic crumbles.
- Spread butter edge-to-edge on one side of each sourdough slice. Place one slice butter-side down in the cleaned pan.
- Layer half the cheddar, the seared beef, and the remaining cheddar. Top with second bread slice, butter-side up.
- Grill for 3-4 minutes per side until the bread is uniform golden-brown and cheese is dripping down the sides. Season with sea salt and pepper.
Notes
Always grate cheese from a block for a better melt.
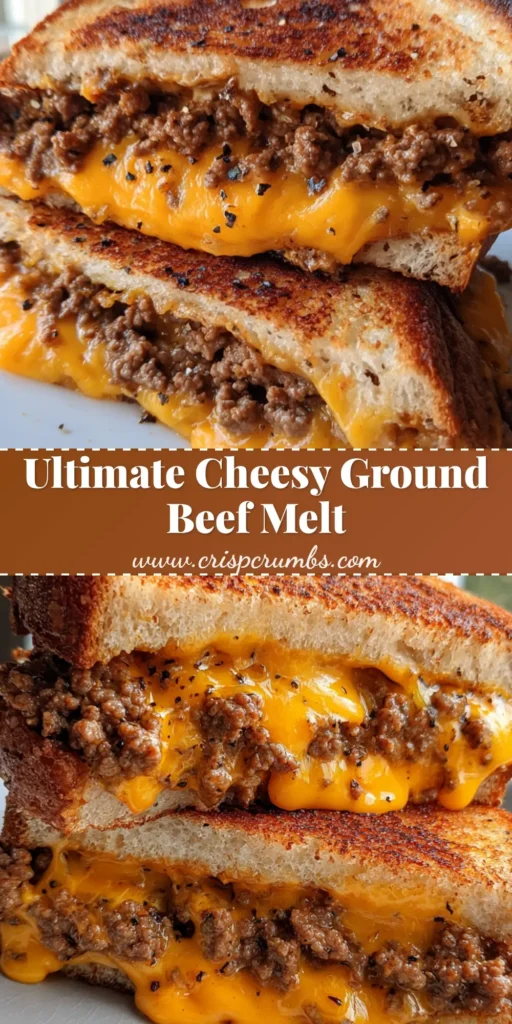
The Verdict: Why This Melt Wins
The Cheesy Ground Beef Melt is a testament to the power of simple, high-quality ingredients. By focusing on the “Maillard reaction” of the beef and the “caramelization” of the sourdough, we create a sandwich that is visually stunning and culinarily superior.
Whether you are making this for a quick lunch or a decadent dinner, the key is the sear. Don’t be afraid of the high heat—that deep brown crust is where all the flavor lives. We hope you enjoy the crunch, the drip, and the savory satisfaction of this recipe.
If you loved this recipe, please leave a comment below and share your photos with us! Don’t forget to follow Pinterest for more gourmet comfort food inspiration.


