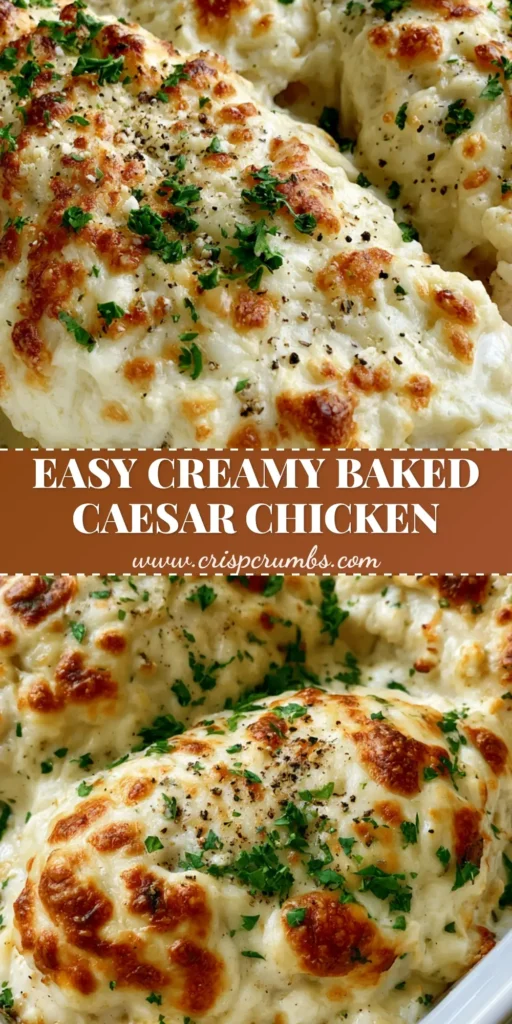
Baked Caesar Chicken is the ultimate solution for those busy weeknights when you crave a gourmet-style meal without the hours of preparation. This recipe transforms humble chicken breasts into a succulent, restaurant-quality masterpiece using a rich ivory-colored sauce and a golden-brown toasted cheese crust. If you have been searching for a dish that is both comforting and visually stunning, this is the one that will earn you a permanent spot in the family recipe rotation.
The beauty of this Baked Caesar Chicken lies in its simplicity and the scientific way the ingredients interact under heat. By combining a high-quality Caesar dressing with freshly grated parmesan, we create a protective barrier that locks in moisture while the oven’s convection works its magic on the exterior. The result is a bubbly, slightly broken texture that mimics the look of high-end bistro cooking, all achieved within the comfort of your own kitchen.
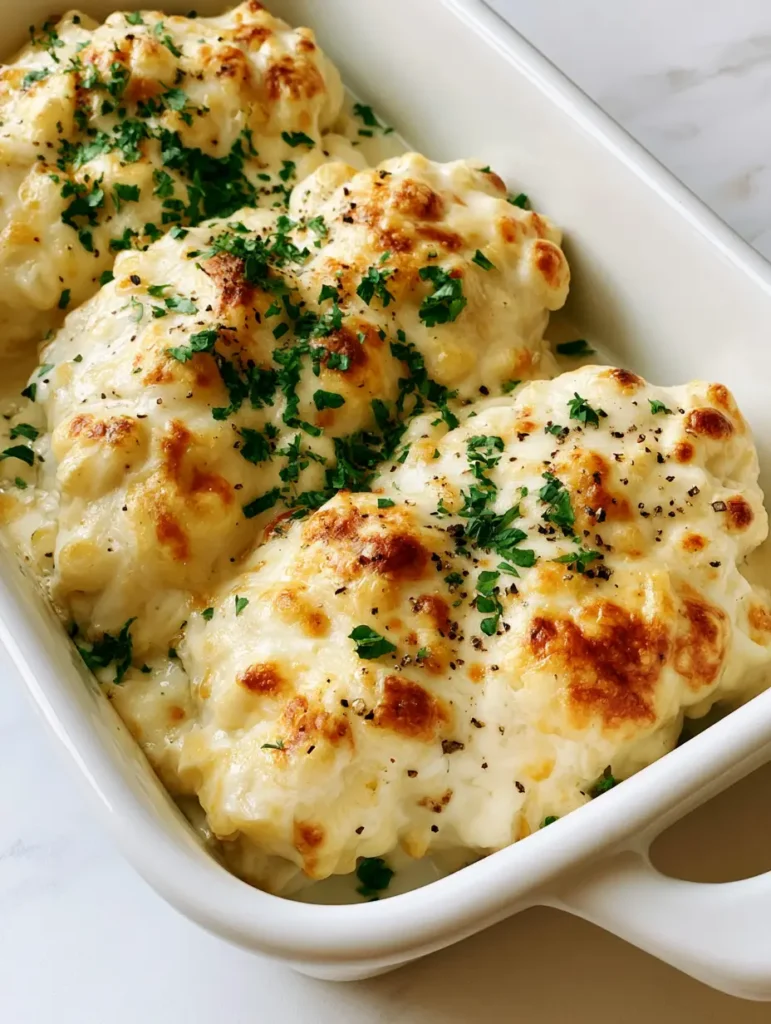
The Science of the Perfect Melted Parmesan Topping
- Succulent Texture: The thick Caesar sauce acts as a marinade and a moisture trap, ensuring the chicken breasts remain tender and never dry out.
- Golden-Brown Visuals: The high protein and fat content in the parmesan cheese allow for perfect browning, creating those iconic toasted spots.
- Rich Ivory Palette: The combination of creamy dressing and melted cheese creates a sophisticated ivory-toned sauce that looks incredible against a white ceramic dish.
- Aromatic Finish: Freshly cracked black pepper and minced parsley provide a bright, herbal contrast to the salty, savory depth of the Caesar base.
The Secret Components of This Creamy Caesar Chicken Crust
Boneless Skinless Chicken Breasts: We use three large breasts, approximately 1.5 lbs (680g). For the most even cooking, ensure they are pounded to a uniform thickness of about 1 inch (2.5cm).
Creamy Caesar Dressing: 1 cup (240ml) of a high-quality, oil-based Caesar dressing provides the foundational flavor. Look for one with visible bits of garlic and anchovy for maximum depth.
Sour Cream or Greek Yogurt: 1/2 cup (120ml) acts as a stabilizer. This ensures the sauce has that “slightly broken” texture mentioned in our visual profile without becoming too oily or thin during the baking process.
Freshly Grated Parmesan Cheese: 1 cup (100g) is divided between the sauce and the topping. Freshly grated is non-negotiable here; pre-shredded cheese is coated in cellulose, which prevents the bubbly, toasted cheese spots we desire.
Garlic Powder & Onion Powder: 1/2 tsp (2.5g) each of these “invisible” ingredients reinforces the savory notes of the dressing. They bridge the gap between the chicken and the sauce.
Fresh Parsley: 2 tbsp (30g) of finely minced bright green parsley provides the essential color pop. It cuts through the richness of the dairy for a balanced bite.
Coarse Black Pepper: 1 tsp (5g) of freshly cracked pepper adds heat and visual texture. The large grains stand out beautifully against the rich ivory sauce.
Essential Kitchen Tools for Success
To achieve the authentic, handheld smartphone photo aesthetic, you will need a 9×13 inch (23x33cm) white ceramic baking dish. Ceramic is preferred over glass because it retains heat more evenly, which helps in creating the bubbly sauce texture. You will also need a meat thermometer to ensure the chicken reaches exactly 165°F (74°C) for maximum succulence. A microplane or fine grater is vital for processing the parmesan into a snow-like consistency that melts perfectly into a golden-brown crust.

Step-by-Step Instructions to Achieve Visual Perfection
Preparing the Chicken and the Ceramic Vessel
Preheat your oven to 375°F (190°C). Lightly grease your ceramic baking dish with a neutral oil or cooking spray. Pat the chicken breasts completely dry with paper towels; this is a critical step because any surface moisture will steam the sauce rather than letting it bake into a thick, bubbly coating.
Whipping the Creamy Caesar Parmesan Base
In a medium mixing bowl, whisk together the Caesar dressing, sour cream, and half of the parmesan cheese. Add the garlic and onion powder. The mixture should be thick and hold its shape. If the dressing is too thin, the sauce will run off the chicken, preventing the “completely coated” look we are aiming for in the final presentation.
The Coating and Baking Process
Nestle the three chicken breasts into the prepared dish. Slather the Caesar mixture generously over each breast, ensuring the sides are also covered. Sprinkle the remaining parmesan cheese over the top. Bake for 22-25 minutes. Look for the sauce to begin bubbling at the edges and the chicken to feel firm to the touch.
The Broil for the Golden-Brown Toasted Spots
To achieve those distinct toasted cheese spots, turn your oven to the “Broil” setting for the final 2-3 minutes. Watch closely! You want the cheese to transition from a pale ivory to a rich gold with dark brown flecks. This creates the “rich ivory color” and “toasted spots” that signify a professionally developed Baked Caesar Chicken.
The Final Garnish and Resting Phase
Remove the dish from the oven and let it rest for 5 minutes. This allows the juices to redistribute and the sauce to set slightly. Just before serving, scatter the finely minced parsley and several cracks of coarse black pepper across the top. This adds the “fresh scatter” look that makes the dish pop against a neutral light-colored marble background.
Expert Tips for the Best Baked Caesar Chicken
- Temperature Control: Always use a meat thermometer. Pull the chicken at 160°F (71°C), as carry-over cooking while resting will bring it to the safe 165°F (74°C) without drying it out.
- Cheese Selection: Use Parmigiano-Reggiano if possible. The higher salt and protein content results in a more dramatic toasted crust.
- Avoid Overcrowding: Ensure there is at least an inch of space between each chicken breast. This allows the heat to circulate, creating that bubbly, creamy texture rather than a soggy one.
- Sauce Stability: If your sauce separates too much, it usually means the oven temperature was too high. Stick to 375°F (190°C) for the bulk of the cooking time.
Optimal Storage and Reheating Methods
Leftover Baked Caesar Chicken can be stored in an airtight container in the refrigerator for up to 3 days. To reheat, place the chicken in a covered dish with a splash of water or chicken broth at 325°F (165°C) until warmed through. Avoid the microwave if possible, as it can cause the sauce to separate and the chicken to become rubbery. This dish does not freeze well due to the high dairy content in the sauce, which may break upon thawing.
What to Serve with This Creamy Masterpiece
To balance the richness of the Caesar sauce, we recommend serving this dish alongside some light, vibrant sides. A batch of crispy air fryer green beans provides a wonderful textural contrast. If you want to keep the flavor profile bold, consider adding a side of zesty jalapeno slaw (coming soon) to cut through the creaminess of the parmesan. For those who love a bit of extra decadence, a drizzle of roasted garlic cowboy butter over steamed potatoes completes the meal perfectly.
Common Questions About Baked Caesar Chicken
This recipe is naturally low-carb and keto-friendly. Just ensure your Caesar dressing has no added sugars or thickeners like cornstarch.
Yes, boneless skinless chicken thighs work beautifully. Increase the bake time by 5-10 minutes to ensure they reach an internal temperature of 175°F for the best texture.
No marination is required. The thick sauce acts as a protective barrier during baking, keeping the meat moist while infusing it with flavor.
Use a thick, creamy, oil-based dressing (often found in the refrigerated section). Avoid ‘lite’ or vinaigrette-style dressings as they will separate and become oily.
This usually happens if the chicken wasn’t patted dry or if a low-fat dressing was used. Ensure the chicken surface is dry and use full-fat sour cream or Greek yogurt.
Baked Caesar Chicken Recipe Card
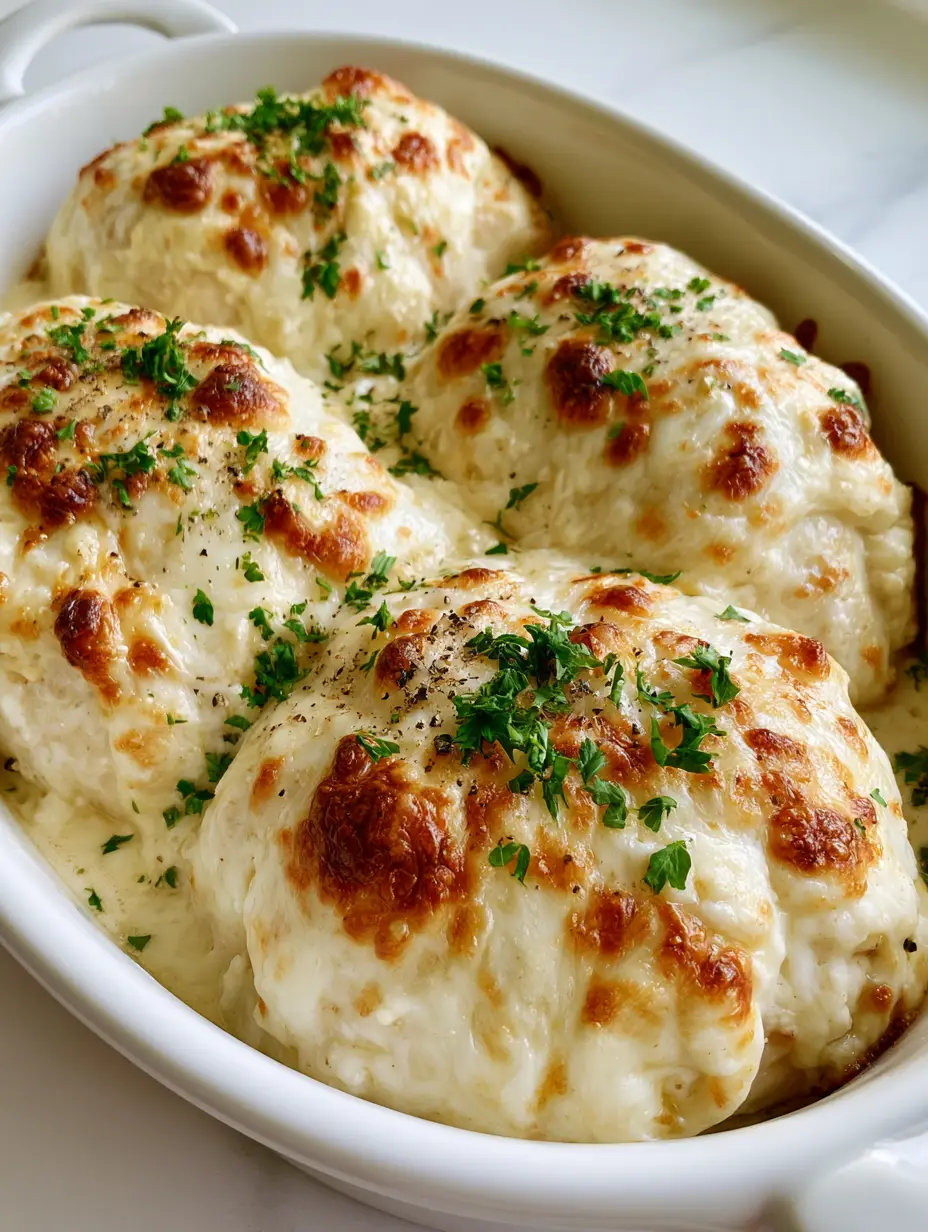
Baked Caesar Chicken: The Ultimate Creamy Parmesan Crust Dinner
Ingredients
Equipment
Method
- Preheat oven to 375°F (190°C) and grease a ceramic baking dish.
- Whisk Caesar dressing, sour cream, garlic powder, and 1/2 cup (50g) of parmesan in a bowl until thick.
- Place chicken in the dish and coat generously with the sauce. Sprinkle remaining parmesan on top.
- Bake for 22-25 minutes until chicken reaches 160°F (71°C).
- Broil for 2-3 minutes until the cheese is bubbly with golden-brown toasted spots.
- Scatter minced parsley and cracked black pepper over the dish. Let rest for 5 minutes before serving.
Notes
Pat the chicken dry before adding the sauce to prevent it from sliding off.
This Baked Caesar Chicken is the perfect intersection of easy preparation and high-end results. Whether you are cooking for a weeknight family dinner or hosting friends, the bubbly cheese crust and succulent chicken are guaranteed to impress. Don’t forget to take a photo of your creation and share it with us! For more kitchen inspiration and visual recipe guides, follow us on Pinterest and join our community of home cooks.