This Hash Brown Casserole is the quintessential comfort dish that every home cook needs in their repertoire. Whether you are hosting a holiday brunch or looking for the perfect side dish for a weeknight dinner, this recipe delivers a creamy, cheesy center topped with an unbeatable crunchy cornflake crust. It is the kind of dish that disappears in minutes, leaving everyone asking for the recipe.
Our version of the classic Hash Brown Casserole focuses on achieving the perfect textural contrast. We use a rich sour cream base and a homemade melted cheddar cheese sauce to ensure every shred of potato is enveloped in velvety goodness. The final touch—a generous scattering of freshly chopped chives—cuts through the richness with a burst of color and mild onion flavor that elevates the entire experience.
Why This Is The Best Hash Brown Casserole You Will Ever Make
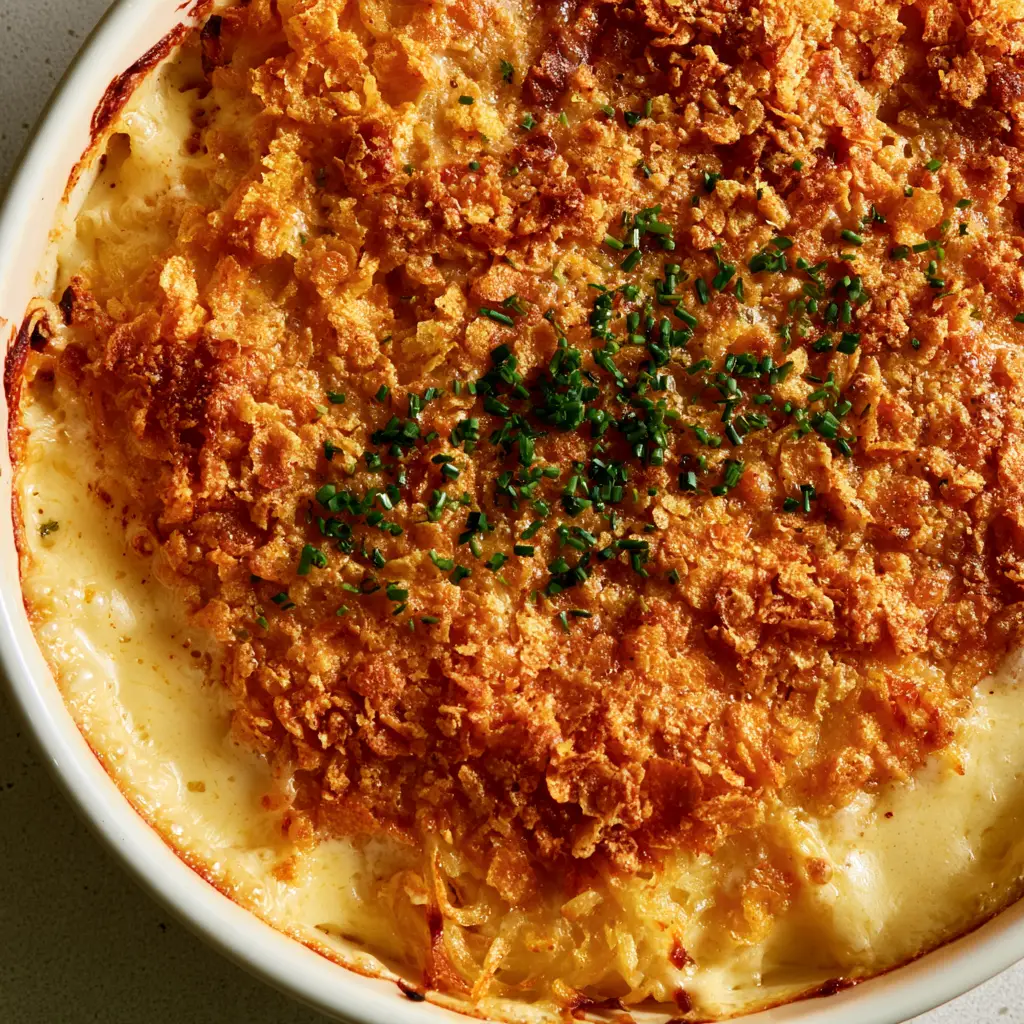
- The Ultimate Crunch: We use a specific ratio of melted butter to crushed cornflakes to create a dense, golden-brown crust that stays crispy even after cooling.
- Velvety Cheese Sauce: Unlike recipes that rely solely on canned soups, we incorporate a thick, pale yellow cheddar base that provides a professional, molten texture.
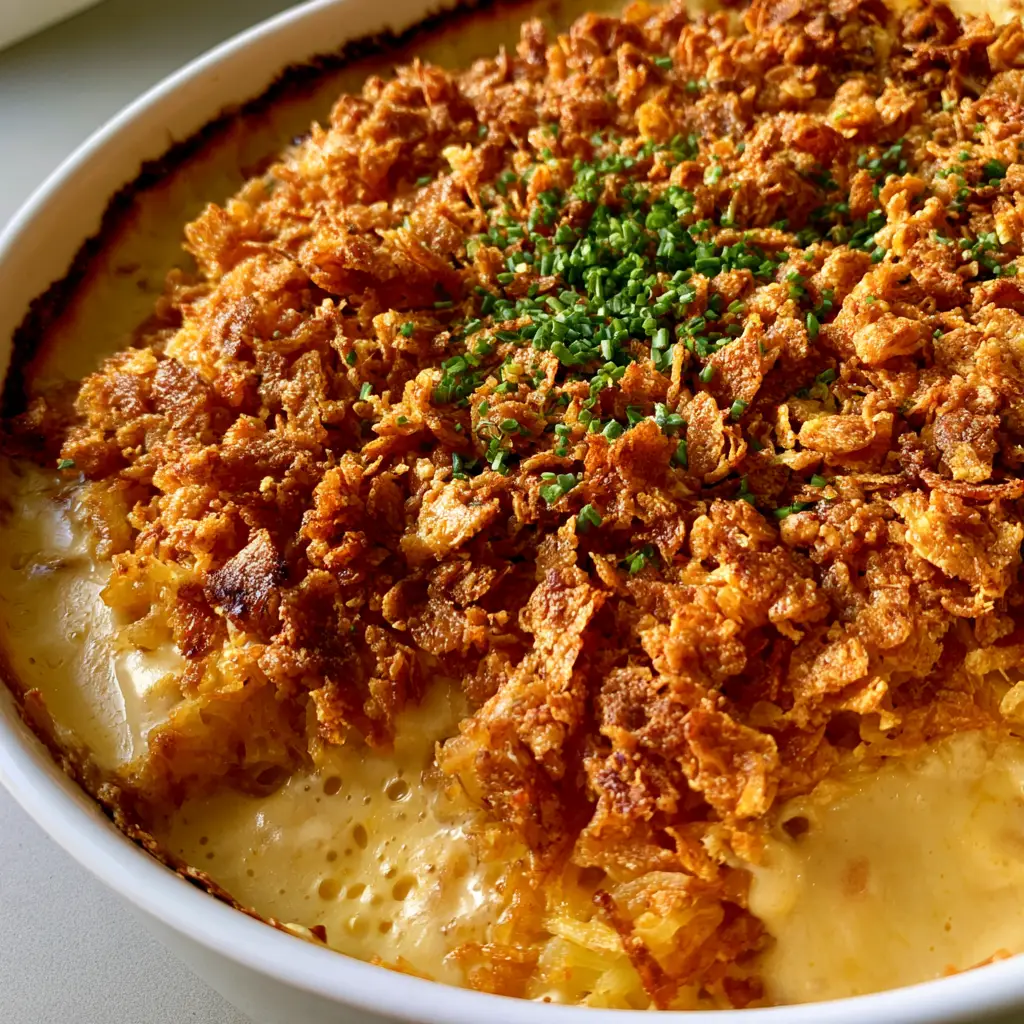
- Visual Appeal: Presented in a white ceramic baking dish, the contrast between the toasted golden edges and the bright green chives makes this a Pinterest-viral sensation.
- Make-Ahead Friendly: This dish is a lifesaver for busy mornings; simply assemble and refrigerate until you are ready to bake.
The Essential Ingredients for Cheesy Perfection
To achieve the forensic visual accuracy of a world-class Hash Brown Casserole, you need high-quality ingredients. Each component serves a specific culinary purpose to ensure the final dish matches our Visual Recipe Blueprint.
- Shredded Hash Brown Potatoes: 30 oz (850g). Use frozen shredded potatoes that have been thawed and patted dry to prevent a watery casserole.
- Sour Cream: 1 cup (240ml). This provides the signature tang and creamy mouthfeel that balances the heavy cheese.
- Sharp Cheddar Cheese: 2 cups (225g). Freshly grated cheese melts much smoother than pre-shredded bags, contributing to that molten cheese sauce look.
- Unsalted Butter: 1/2 cup (115g), melted. Half goes into the potato mixture for richness, and half is tossed with the topping for that deep golden-brown crust.
- Cornflakes: 2 cups (60g), crushed. These provide the structural integrity for the “dense, crunchy crust” specified in our blueprint.
- Cream of Chicken Soup: 1 can (10.5 oz / 298g). Acts as the binder, ensuring the potatoes don’t dry out during the long bake.
- Fresh Chives: 2 tbsp (10g), finely chopped. These are added at the very end for visual pop and a fresh finish.
- Aromatic Spices: 1 tsp (5g) onion powder and 1/2 tsp (2.5g) garlic powder to enhance the savory profile.
If you love hearty potato dishes, you might also enjoy our Kielbasa and Potato Casserole for a full-meal variation of these flavors.
How to Prep Your Potatoes for Maximum Creaminess
Step 1: The Flavor Foundation
Preheat your oven to 350°F (175°C). In a large mixing bowl, combine the thawed shredded hash browns with the sour cream, cream of chicken soup, onion powder, and garlic powder. Stir gently to ensure you don’t break the potato shreds, maintaining that distinct “shredded” texture visible in the Midjourney Prompt.
Step 2: Crafting the Melted Cheddar Cheese Sauce
In a small saucepan over low heat, combine the freshly grated cheddar cheese with 1/4 cup (60ml) of milk or heavy cream. Stir constantly until you have a thick, pale yellow cheese sauce. Fold this molten mixture into the potatoes. This step is the secret to getting those bubbling corners of cheese that look so tempting in photos.
Step 3: Creating the Iconic Cornflake Topping
Place your cornflakes in a zip-top bag and crush them gently with a rolling pin. You want a mix of small crumbs and larger flakes for optimal crunch. Mix these with the remaining 1/4 cup (57g) of melted butter. The cornflakes should be thoroughly coated to ensure they bake to a “deep golden-brown with toasted edges.”
For another comforting oven-baked favorite, check out our Beef Lombardi Casserole, which features a similar cheesy, baked profile.
Baking to Golden-Brown Perfection
Step 4: Assembly and The First Bake
Transfer the potato mixture into a white ceramic baking dish. Smooth the top with a spatula, then distribute the buttered cornflakes in an even, dense layer across the surface. This layer acts as an insulator, keeping the potatoes moist while the top crisps up.
Step 5: The Visual & Sensory Cues
Bake for 45-50 minutes. You are looking for two specific cues: the cheese sauce should be bubbling vigorously at the edges of the dish, and the cornflake topping must reach a rich, toasted mahogany brown. The smell of toasted butter and sharp cheddar should fill your kitchen.
Step 6: The Finishing Touch
Once removed from the oven, let the casserole rest for 5 minutes. This allows the sauce to set so you get clean scoops. Just before serving, scatter the finely chopped fresh chives across the center. The bright green against the golden crust provides the “handheld smartphone photo” aesthetic that Pinterest users love.
If you’re looking for a lighter vegetable-based side, our Ground Turkey and Zucchini Casserole is a fantastic alternative for meal prep.
Expert Tips for the Ultimate Hash Brown Casserole
- Avoid Sogginess: If using frozen hash browns, ensure they are completely thawed. Use a clean kitchen towel to squeeze out any excess moisture before mixing.
- The Cheese Factor: For the most “molten” look, use Sharp or Extra Sharp Cheddar. The higher fat content and stronger flavor stand up better to the starch of the potatoes.
- Crushing the Flakes: Do not pulse the cornflakes in a food processor; it turns them into dust. Hand-crushing ensures the “sharply defined texture” required for the perfect visual.
- The Dish Matters: Using a ceramic dish rather than glass provides more even heat distribution, helping to achieve those toasted edges without burning the bottom.
What to Serve With This Cheesy Delight
This Hash Brown Casserole is incredibly versatile. For a powerhouse breakfast, serve it alongside our Sausage Gravy Breakfast Pizza. If you are serving this as a dinner side, it pairs beautifully with roasted chicken or a hearty steak. The creamy texture also makes it a great companion for spicy dishes like Street Corn Chicken Casserole.
Storage, Reheating, and Freezing Instructions
To Store: Keep leftovers in an airtight container in the refrigerator for up to 4 days. Note that the cornflake topping will lose some crunch over time.
To Reheat: For the best results, reheat in a 350°F (175°C) oven for 10-15 minutes to re-crisp the topping. Microwaving is faster but will result in a soft crust.
To Freeze: You can freeze the potato mixture (without the topping) for up to 3 months. When ready to bake, thaw overnight, add the fresh cornflake/butter topping, and bake as directed.
Frequently Asked Questions
Absolutely! Assemble the potato mixture in the dish, cover, and refrigerate. Add the fresh buttered cornflake topping just before you put it in the oven to ensure maximum crispiness.
Yes, but ensure they are completely thawed and patted dry with a paper towel first. If you add them frozen, they will release too much moisture, resulting in a soggy casserole.
The secret is melting the cheese with a small amount of milk before mixing it with the potatoes. This creates a cohesive sauce rather than just separate strands of melted cheese.
Avoid the microwave if possible. Reheat individual portions in an air fryer at 320°F for 5 minutes, or the whole dish in a 350°F oven for 15 minutes.
Cornflakes provide a much larger surface area and a sturdier crunch that stands up better to the creamy cheese sauce. They offer a nostalgic flavor and a superior ‘shatter’ texture compared to fine breadcrumbs.
The Official Hash Brown Casserole Recipe
Join the CrispCrumbs Community!
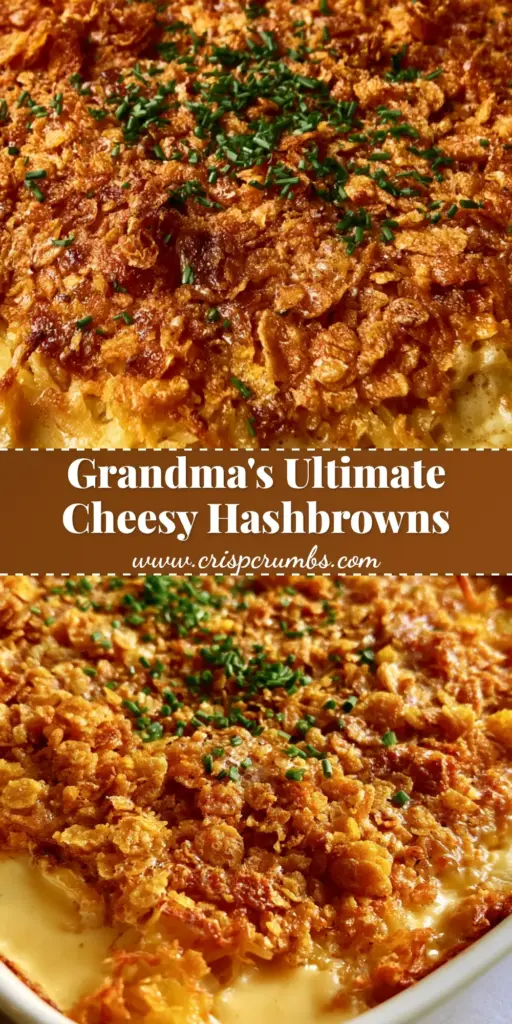
Did this Hash Brown Casserole bring back childhood memories? We want to see your results! Save this recipe to your “Comfort Food” board on Pinterest so you never lose it. If you made it, please leave a 5-star rating in the recipe card above and upload a photo of your golden-brown crust in the comments below. For more crispy, crunchy, and cheesy inspiration, follow @CrispCrumbs!