There is something inherently nostalgic about the sweet, pillowy texture of a Hawaiian roll, but when you transform them into Mini Grilled Cheese Hawaiian Rolls, they become a gourmet experience. This recipe takes the classic slider and reimagines it as a handheld vessel for molten, bubbling cheese and a perfectly crisped, buttery exterior.
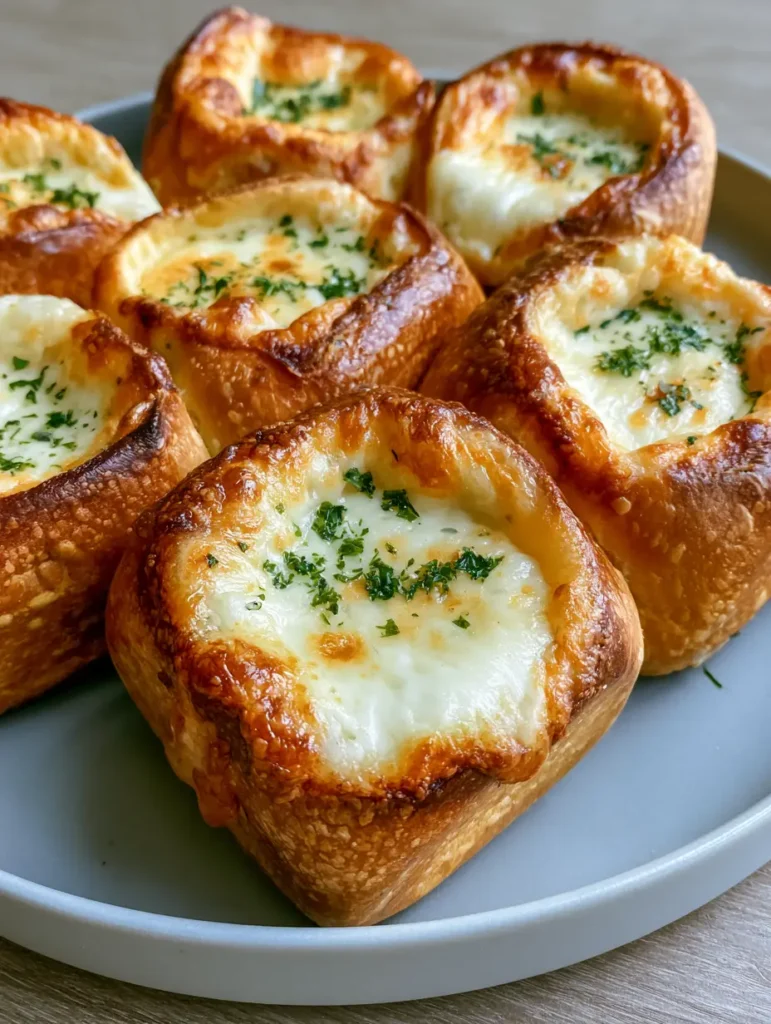
Imagine biting into a toasted square roll that shattered slightly under your teeth, revealing a hollowed-out center overflowing with a blend of melted white mozzarella and sharp provolone. The contrast between the golden-brown crust and the fresh, vibrant green parsley garnish makes these a visual showstopper for any gathering.
Whether you are looking for a quick lunch or the star of your next game-day spread, these Mini Grilled Cheese Hawaiian Rolls deliver on every sensory level. They are designed to be served warm, straight from the oven, where the cheese is at its peak elasticity and the salted butter has fully permeated the crumb of the bread.
Why These Cheesy Hawaiian Roll Bites are a Total Game Changer
- The Perfect Texture Contrast: By hollowing out the centers, we create a deep well for cheese, ensuring every bite is dominated by a 50/50 ratio of crunchy bread to molten filling.
- Symphonic Cheese Blend: We use a specific combination of mozzarella for its iconic “pull” and provolone for its buttery, slightly tangy depth of flavor.
- Visual Brilliance: The rich golden-brown toasted crust, achieved through a precise application of salted butter, provides a stunning backdrop for the bubbling white cheese and fresh parsley flakes.
- Effortless Scaling: Whether you are making seven rolls for a personal snack or seventy for a party, the technique remains consistently simple and effective.
The Anatomy of the Perfect Mini Grilled Cheese Hawaiian Rolls
To achieve the specific visual and structural results seen in our professional culinary blueprint, each ingredient serves a scientific purpose. We aren’t just making a sandwich; we are engineering a masterpiece of heat and fat distribution.
Square Hawaiian Rolls: You need 7 rolls (approx. 200g) of the classic, sweet variety. Their high sugar content allows for rapid caramelization, which creates that “rich golden-brown” visual cue mentioned in our forensic blueprint.
Low-Moisture Mozzarella Cheese: Use 1/2 cup (60g) of shredded mozzarella. This provides the “bubbling” effect without releasing excess water, which would otherwise make the bottom of your rolls soggy.
Sharp Provolone Cheese: 1/2 cup (60g) of shredded provolone adds a necessary fat content that helps the cheese brown slightly on top under the heat. It also provides the structural “thick layer” of cheese required for the perfect handheld experience.
Salted Butter: You will need 3 tbsp (42g) of high-quality salted butter. The salt enhances the sweetness of the Hawaiian rolls, while the milk solids in the butter accelerate the browning of the crust.
Freshly Chopped Parsley: 1 tbsp (4g) of fresh Italian flat-leaf parsley is the essential finishing touch. It provides a “fine garnish” that cuts through the richness of the fats with a hit of herbaceous clarity.
Garlic Powder (Optional Foundational Ingredient): A pinch of garlic powder mixed into the butter provides an invisible layer of umami that bridges the gap between the sweet bread and the salty cheese.
Essential Tools for Achieving the Golden-Brown Crust
To recreate the exact “buttery texture on the crusts” and the “hollowed out” centers, you will need a few specific kitchen tools. Precision is the difference between a good snack and an elite recipe.
First, a serrated paring knife is non-negotiable. You need this to neatly hollow out the square centers of the rolls without crushing the delicate internal structure. A pastry brush is also vital for ensuring an even coating of melted butter over the tops and sides of the rolls.
Finally, a light-colored ceramic plate or a parchment-lined baking sheet is necessary for the final presentation and cooking process. Cooking on a light surface helps prevent the bottoms of the rolls from burning before the cheese has reached its bubbling state.
Step-by-Step Guide to the Perfect Cheesy Handheld Snack
Preparing the Hawaiian Roll Vessels
Start by preheating your oven to 375°F (190°C). Arrange your seven mini square Hawaiian rolls on a workspace. Using your serrated knife, cut a square into the top of each roll, leaving a 1/4-inch border around the edges.
Carefully press down the center of the roll or remove a small portion of the bread to create a “hollowed out” well. This cavity is what allows for the “thick, bubbling” layer of cheese that defines this recipe. Ensure the bottom of the roll remains intact to act as a seal for the melting cheese.
The Art of the Buttery Golden Crust
Melt your 3 tbsp (42g) of salted butter in a small microwave-safe bowl. Once liquid, use your pastry brush to generously coat the exterior walls and the top “rim” of each roll. Focus on the corners, as these will crisp up the fastest and provide that signature buttery texture.
The goal is to saturate the outer layer just enough so that the heat of the oven fries the surface of the bread, resulting in a “rich golden-brown” finish. If you want an extra flavor boost, this is the stage to serve these alongside a side of savory cowboy butter (coming soon) for dipping.
The Dual-Cheese Filling Technique
Mix your shredded mozzarella and provolone in a small bowl. This ensures that every roll gets an even distribution of both flavors. Stuff the hollowed centers of the rolls with the cheese mixture, packing it down slightly.
Don’t be afraid to mound the cheese slightly above the rim of the roll. As it melts, it will settle into the cavity and begin to bubble. Bake for 8-10 minutes. Watch for the visual cue: the cheese should be “slightly browned” and bubbling actively, while the bread reaches a deep toasted gold.

The Final Flourish: Parsley Garnish
Remove the rolls from the oven and immediately sprinkle the freshly chopped parsley across the top. The residual heat from the bubbling cheese will slightly “set” the parsley so it doesn’t fall off when the rolls are picked up.
Transfer the seven rolls to a light grey circular ceramic plate to match the minimalist aesthetic of our culinary vision. The contrast of the green flakes against the white cheese and brown bread is the hallmark of a professional-grade appetizer.
Expert Culinary Tips for Success
- Avoid Sogginess: If you are making these ahead of time, do not butter them until right before they go into the oven. Moisture is the enemy of the “rich golden-brown” crust.
- The “Bubbling” Secret: For the most dramatic bubbles, ensure your cheese is at room temperature before stuffing the rolls. Cold cheese takes longer to melt, which might lead to over-toasting the bread.
- Bread Selection: Ensure you are using fresh, soft Hawaiian rolls. If the bread is already stale, it will become too hard in the oven rather than achieving a “buttery texture.”
- Flavor Variations: While mozzarella and provolone are the visual standards, you can experiment with the flavor profile by using this technique for spicy grilled chicken ciabatta-style flavors.
The Best Pairings for Your Mini Grilled Cheese Rolls
These Mini Grilled Cheese Hawaiian Rolls are incredibly versatile. For a light lunch, they pair beautifully with a crisp chickpea and black bean salad (coming soon) to balance out the richness of the cheese and butter.
If you are serving these as part of a larger dinner spread, consider adding a protein element like Greek grilled chicken or a refreshing grilled shrimp bowl. The sweetness of the rolls complements charred, smoky meats perfectly.
For a themed “Hawaiian” night, these rolls are the perfect companion to a Hawaiian chicken sheet pan dinner, providing a cheesy side that echoes the tropical sweetness of the main course.
Storage, Reheating, and Make-Ahead Advice
While these are best served fresh for the maximum “bubbling” effect, you can store leftovers in an airtight container in the refrigerator for up to 3 days. To reheat, avoid the microwave, as it will make the Hawaiian rolls chewy and rubbery.
Instead, place the rolls back into a 350°F (175°C) oven or an air fryer for 3-5 minutes. This will re-crisp the buttery crust and return the mozzarella and provolone to their molten state. You can also freeze the “hollowed and stuffed” rolls (unbaked) for up to a month; simply bake from frozen, adding an extra 5 minutes to the cooking time.
Frequently Asked Questions
You can hollow and stuff the rolls up to 24 hours in advance. Keep them covered in the fridge and brush with melted butter only right before baking to maintain the crisp texture.
Yes! Air fry at 350°F (175°C) for 5-7 minutes. The air fryer is excellent for achieving that ‘buttery texture on the crusts’ even faster than a traditional oven.
Salted butter is recommended because the salt balances the natural sweetness of the Hawaiian rolls, creating a more complex and professional flavor profile.
A combination of mozzarella and provolone is best. Mozzarella provides the stretch, while the higher fat content in provolone creates those beautiful golden-brown bubbles.
Sogginess usually comes from using high-moisture fresh mozzarella. Stick to low-moisture shredded mozzarella and ensure you don’t cut all the way through the bottom of the roll.
The Master Recipe: Mini Grilled Cheese Hawaiian Rolls
Closing Thoughts: Your New Favorite Cheesy Snack
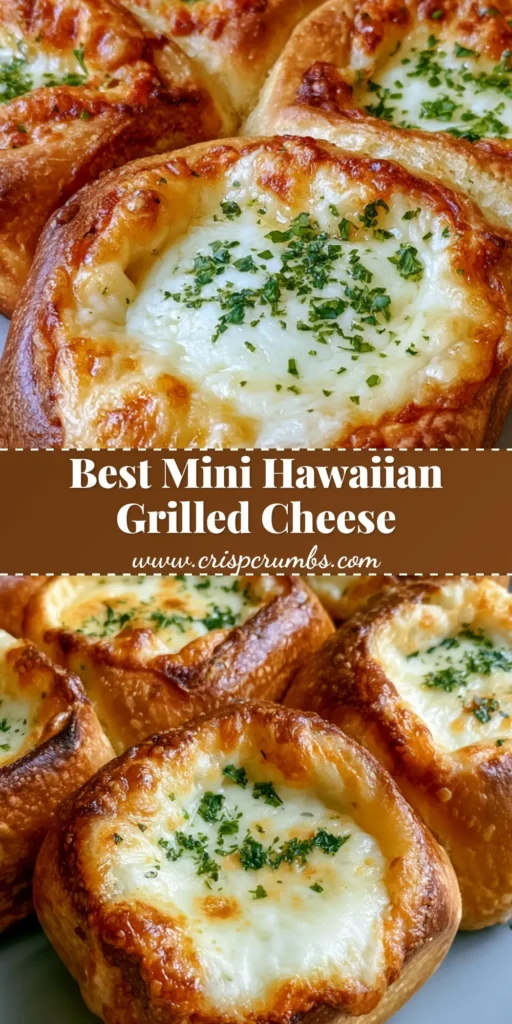
The Mini Grilled Cheese Hawaiian Rolls represent the perfect intersection of simplicity and culinary science. By focusing on the visual cues—the golden-brown crust, the bubbling white cheese, and the fine green parsley—you ensure a result that is as beautiful as it is delicious. These handheld treats are bound to become a staple in your kitchen.
If you enjoyed this recipe, please leave a comment below and let us know how your cheese pull turned out! Don’t forget to share your creations with us and follow our boards on Pinterest for more visually stunning recipe inspiration.


