There is a specific kind of culinary magic that happens when a deeply golden, crunch-heavy exterior meets a tender, juicy interior. This Crispy Malibu Chicken isn’t just a nostalgic nod to classic steakhouse menus; it is a masterclass in texture and flavor layering. Imagine a thick, succulent chicken breast encased in a shatteringly crisp panko shell, topped with a ribbon of savory pink ham and a blanket of bubbling, toasted Swiss cheese.
Every bite of this Crispy Malibu Chicken offers a sensory symphony. You get the initial snap of the breading, the salty depth of the ham, and the creamy, nutty pull of the molten Swiss. Dipped into a smooth, pale yellow honey mustard sauce, it hits every palate requirement from sweet and tangy to savory and rich. This is the ultimate “fake-out takeout” that looks like a professional chef prepared it in your very own kitchen.
Whether you are looking for a weeknight upgrade or a weekend dinner that impresses, this recipe delivers on every promise. We are focusing on the forensic details here—from the specific toasted bubbles on the cheese to the exact shade of golden-brown panko. Let’s dive into the science of the perfect crunch and the art of the molten melt.
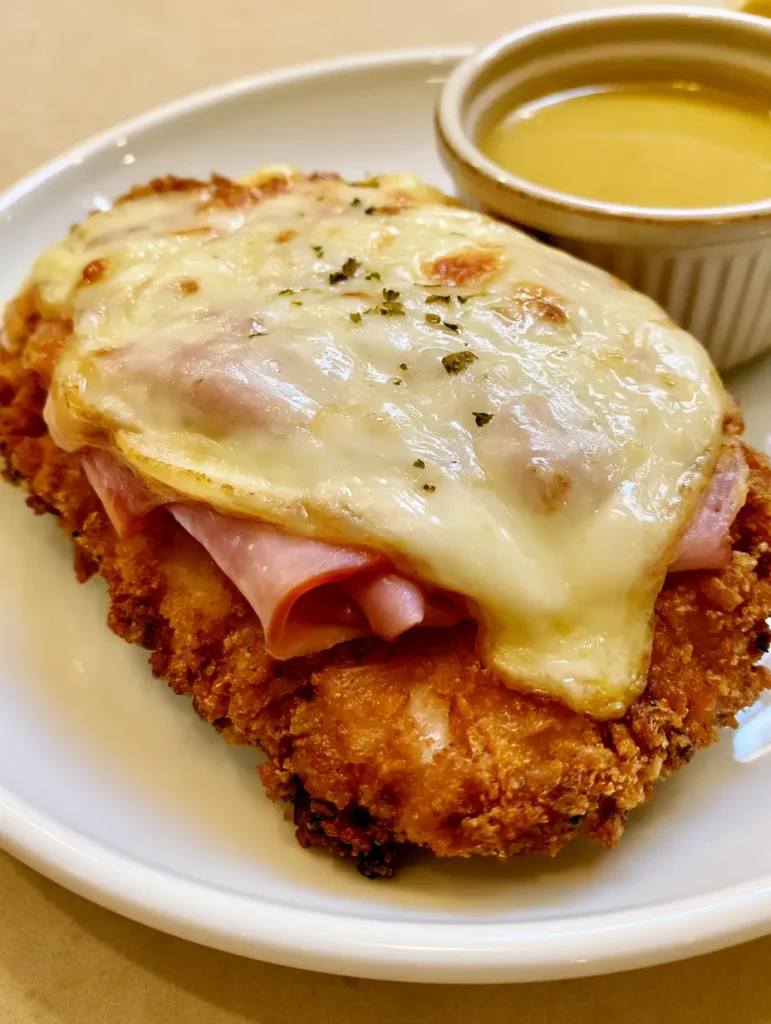
The Architecture of the Perfect Malibu Chicken
- Deeply Golden Panko Crust: Unlike standard breadcrumbs, panko creates a jagged, airy surface area that catches the light and provides a superior “crunch factor” that stays crispy even under melted cheese.
- Symmetric Ham Layering: Using a folded slice of savory pink deli ham ensures that every bite has the perfect ratio of salt to poultry without overwhelming the chicken.
- Molten Swiss Finish: We look for those signature toasted bubbles on the white Swiss cheese, indicating a high-heat finish that locks in the moisture of the chicken.
- The Signature Dip: A pale yellow, smooth honey mustard sauce provides the necessary acidity to cut through the richness of the breaded chicken and melted cheese.
The Essential Ingredients for Culinary Success
To achieve the visual and structural integrity of this dish, each ingredient plays a specific role. We aren’t just breading chicken; we are building layers of flavor that stand up to the high heat of the oven.
Boneless Skinless Chicken Breasts: Use 2 large (450g) breasts, sliced into even cutlets. Uniform thickness is the secret to ensuring the chicken stays juicy while the breading reaches that perfect mahogany hue.
Panko Breadcrumbs: You will need 1.5 cups (90g) of Japanese-style panko. These larger, flaky crumbs absorb less oil than traditional crumbs, resulting in a cleaner, crispier finish that matches our visual blueprint.
Savory Deli Ham: Select 4 thin slices (115g) of high-quality, honey-cured or smoked deli ham. Folding the ham adds vertical height to the dish, making it look as good as it tastes on the plate.
Swiss Cheese: Use 4 thick slices (115g) of Swiss cheese. Swiss is preferred for its low melting point and the way it develops beautiful golden “leopard spots” or toasted bubbles when placed under a broiler.
Foundational Coating (The Trinity): You will need 0.5 cup (60g) all-purpose flour for the base, 2 large eggs beaten with 1 tbsp (15ml) water as the binder, and 2 tbsp (30ml) neutral oil for the initial sear. These “invisible” ingredients are what create the structural bond between the meat and the crunch.
Dried Parsley Flakes: A simple 0.5 tsp (0.5g) of dried parsley provides the classic visual speckling. It adds a touch of earthy color that pops against the white molten cheese.
The Honey Mustard Components: Combine 0.25 cup (60g) mayonnaise, 2 tbsp (30g) yellow mustard, and 2 tbsp (42g) honey. This creates that iconic smooth, pale yellow dipping sauce seen in the handheld smartphone photo of the final dish.
Professional Tools for the Home Kitchen
To replicate the professional, unedited food photography look, you need the right heat distribution. A heavy-bottomed cast iron skillet or a stainless steel pan is vital for getting that initial deep golden sear on the panko.
You will also need a meat mallet to pound the chicken to an even 0.5-inch (1.25cm) thickness. This ensures the chicken cooks through at the exact moment the breading reaches peak crispness. Finally, a wire cooling rack set over a baking sheet is a pro-tip for the baking phase; it allows hot air to circulate under the chicken, preventing a “soggy bottom.”
Step-by-Step Instructions to Gold-Standard Chicken
Preparing the Chicken Foundation
Start by placing your chicken cutlets between two sheets of plastic wrap. Using the flat side of a meat mallet, gently pound the chicken until it is a uniform thickness; this is the difference between a dry chicken breast and a succulent one.
Season both sides of the chicken generously with sea salt and cracked black pepper. This foundational seasoning is what carries the flavor through the breading layers.
The Triple-Dredge Technique
Set up three shallow bowls. In the first, place your seasoned flour. In the second, your beaten egg wash. In the third, your panko breadcrumbs mixed with a pinch of salt.
Dredge the chicken in the flour, shaking off any excess. Dip it into the egg wash, ensuring full coverage, then press it firmly into the panko. You want a thick, even coating of crumbs with no bald spots.

Achieving the Deeply Golden Sear
Heat 2 tbsp (30ml) of neutral oil in your skillet over medium-high heat. Wait until the oil shimmers before adding the chicken. This high initial heat is what “sets” the panko and creates that crunch seen in the visual prompt.
Sear the chicken for 3-4 minutes per side until it reaches a deep, mahogany gold. If you are a fan of spicier crispy chicken profiles, you can add a pinch of cayenne to your flour dredge at this stage.
Layering for the Molten Finish
Once seared, transfer the chicken to a baking sheet. Place one folded slice of savory ham on each breast. Top the ham with a thick slice of Swiss cheese, ensuring the cheese covers the ham completely.
Place the chicken under the broiler for 2-3 minutes. Watch closely for sensory cues: you are looking for the cheese to become molten and develop slight toasted bubbles on the surface. Scatter your dried parsley flakes over the cheese immediately after removing from the heat so they adhere to the melted surface.
Whisking the Honey Mustard Dip
While the cheese melts, whisk together your mayonnaise, mustard, and honey in a small porcelain ramekin. The sauce should be smooth and pale yellow. This sauce is a great companion for many dishes, much like the flavors found in our famous chicken tenders.
Expert Tips for Success
- Don’t Crowd the Pan: If you add too many chicken breasts at once, the oil temperature will drop, and the panko will absorb oil rather than crisping up. Fry in batches if necessary.
- The “Hold” Test: If you aren’t serving immediately, keep the chicken on a wire rack in a 200°F (95°C) oven. This keeps the air moving and the panko shatteringly crisp.
- Cheese Choice: While Swiss is the blueprint, a high-quality Gruyère provides a similar melt with a slightly more sophisticated, nutty profile, similar to a classic European poultry preparation.
- Sauce Consistency: If your honey mustard is too thick, add 1 tsp (5ml) of apple cider vinegar. This adds a bright pop of acidity that balances the fried elements.
Storage, Reheating, and Freezing
Leftover Crispy Malibu Chicken can be stored in an airtight container in the refrigerator for up to 3 days. To maintain the crunch, avoid the microwave for reheating.
The best way to reheat is in an air fryer at 350°F (175°C) for 4-5 minutes, or in a conventional oven at 375°F (190°C) until the cheese is bubbling again. If you want to freeze these, freeze the breaded (but uncooked) chicken cutlets individually; then, you can fry and bake them fresh whenever the craving hits.
What to Serve with This Classic
This dish is heavy on protein and rich textures, so it pairs beautifully with lighter, vibrant sides. A crisp green salad or roasted asparagus provides a nice contrast to the molten Swiss cheese.
If you want a more substantial meal, consider serving this alongside a chilled pasta salad or even some corn-based sides for a fusion of textures. The honey mustard sauce also doubles as a fantastic dressing for roasted potatoes.
Frequently Asked Questions
Yes! Air fry the breaded chicken at 375°F (190°C) for 12-15 minutes, then add the ham and cheese for the final 2 minutes until melted.
The secret is a combination of pounding the chicken thin for a quick cook and using a medium-high heat sear in oil before finishing under the broiler.
While both use chicken, ham, and Swiss, Cordon Bleu is traditionally stuffed and rolled, whereas Malibu Chicken is breaded, fried, and then layered with the toppings on the outside for maximum crispness.
A thin-sliced savory deli ham, like honey-cured or Black Forest ham, works best as it folds easily and adds a salty-sweet contrast.
Ensure you dredge in flour first and shake off the excess; the flour acts as the ‘glue’ for the egg wash, which then holds the panko in place.
The Ultimate Crispy Malibu Chicken Recipe
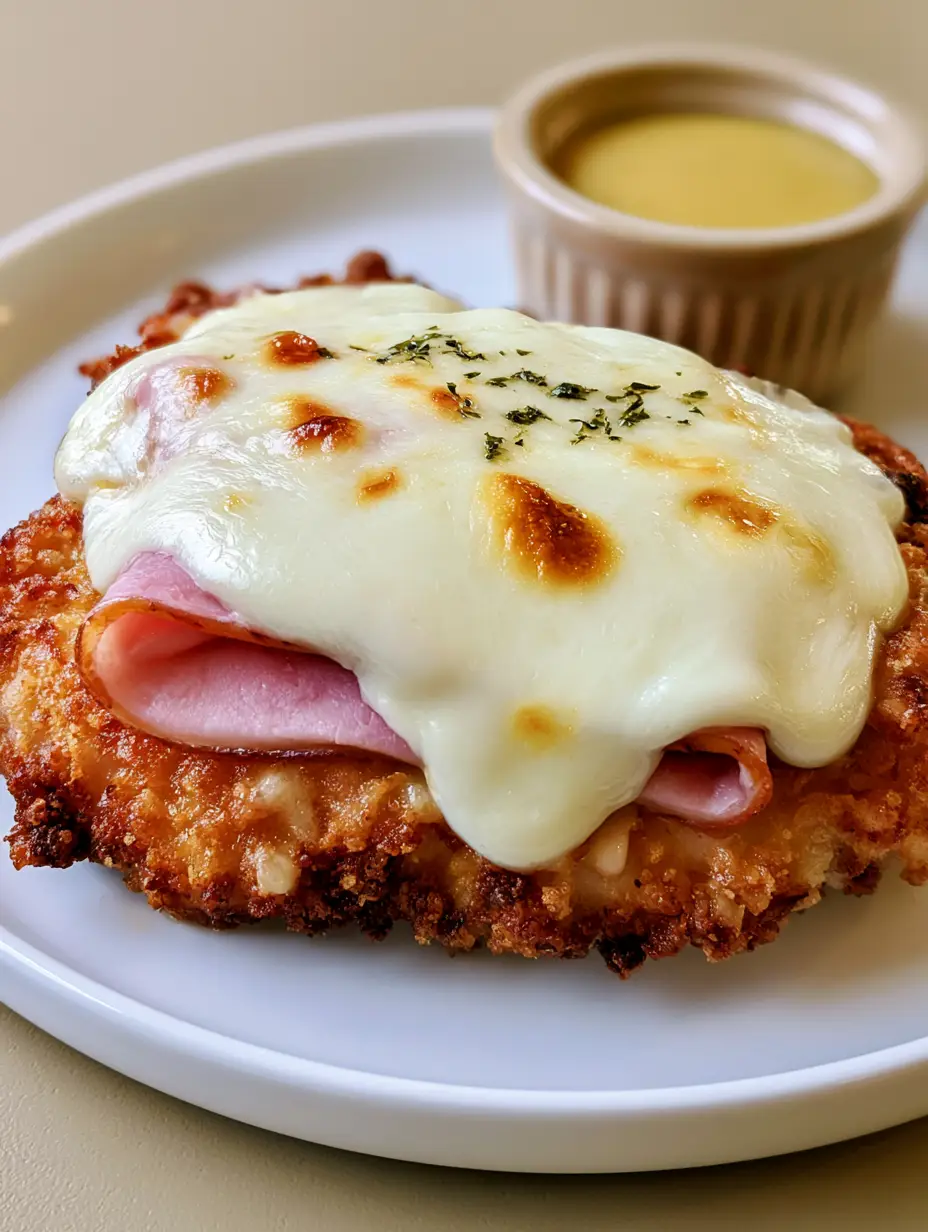
Crispy Malibu Chicken with Savory Ham and Molten Swiss
Ingredients
Equipment
Method
- Place chicken cutlets between plastic wrap and pound to 0.5-inch thickness for even cooking.
- Set up bowls with flour, egg wash, and panko. Season each layer with salt and pepper.
- Fry chicken in oil over medium-high heat until panko is deeply golden and crunchy, about 3-4 minutes per side.
- Layer each breast with a folded slice of ham and a slice of Swiss. Broil until cheese has toasted bubbles.
- Sprinkle with dried parsley and serve with the whisked honey mustard sauce.
Notes
Watch the broiler closely to get those perfect toasted bubbles without burning.
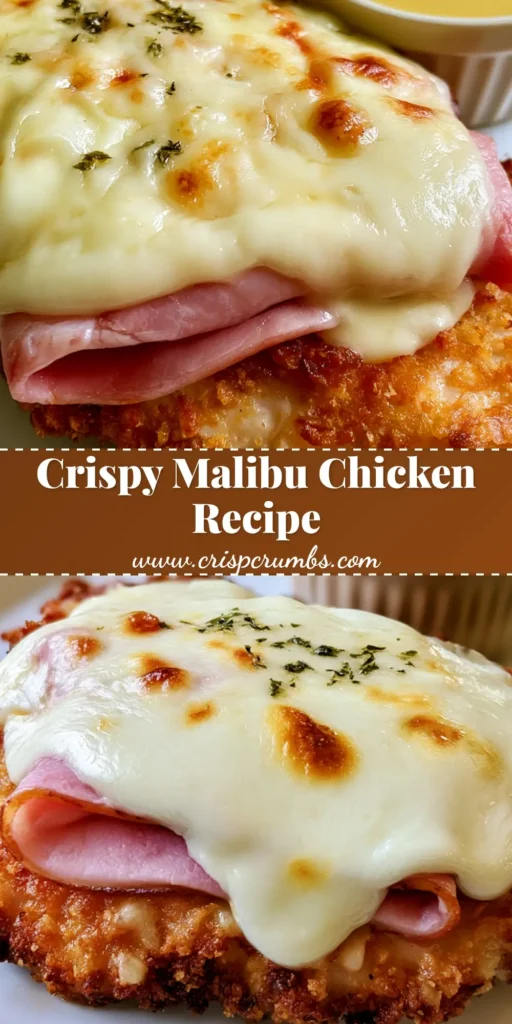
Closing & Call to Action
Crispy Malibu Chicken is more than just a meal; it is a nostalgic experience brought to life with modern culinary techniques. By focusing on the quality of the panko and the perfect melt of the Swiss cheese, you can create a restaurant-quality dish that looks exactly like a professional food photograph.
If you enjoyed this recipe, please leave a comment below and let us know how your toasted bubbles turned out! Don’t forget to sign up for our newsletter for more “visual-first” recipes and share this post to your favorite boards on Pinterest so you never lose the secret to the perfect crunch.


