There is a specific kind of magic that happens when high heat meets a well-seasoned pan, turning simple ingredients into a restaurant-quality feast. These Sticky Garlic Chicken Noodles represent the pinnacle of home-cooked comfort, combining the chewy satisfaction of curly yellow noodles with a sauce so glossy it reflects the light. If you have been searching for that elusive “sticky” texture that clings to every strand, you have found it.
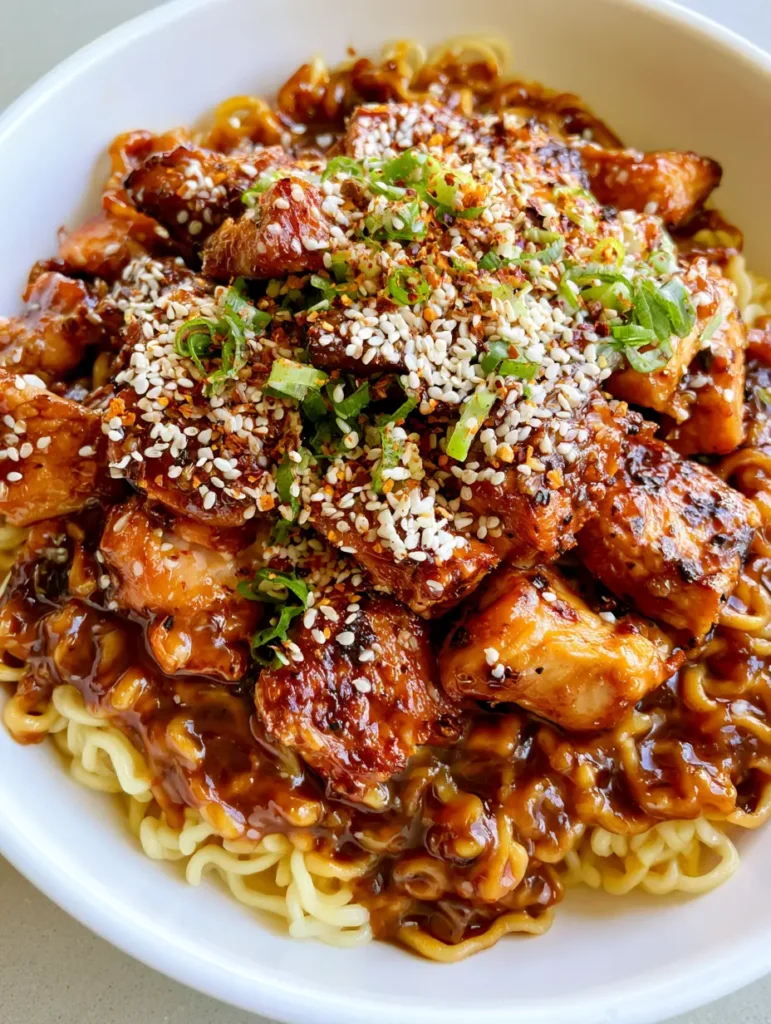
Inspired by the vibrant street food scenes of East Asia, this dish focuses on the interplay between aromatic garlic, savory soy, and the deep caramelization of tender chicken thighs. The visual appeal is undeniable: a mountain of golden noodles drenched in a rich, mahogany-hued glaze, punctuated by the bright pop of green onions and the crunch of toasted sesame seeds. It is a sensory experience that begins the moment the garlic hits the hot oil.
Why These Sticky Garlic Chicken Noodles Will Become Your New Weeknight Obsession
- The Ultimate “Gloss” Factor: We utilize a specific ratio of sugars and thickening agents to ensure the brown garlic sauce is thick, translucent, and perfectly coat-able.
- Textural Harmony: By using curly yellow noodles, we create maximum surface area for the sauce to grip, ensuring no bite is left dry.
- Forensic Caramelization: The chicken is seared using a high-heat technique that creates a crusty, golden-brown exterior while maintaining a succulent, juicy interior.
- Aromatic Depth: Instead of just a hint of garlic, we use a generous amount of freshly minced cloves to create a pungent, savory foundation that balances the sweetness of the glaze.
The Essential Pantry Staples for a Perfect Stir-Fry
To achieve the specific visual and flavor profile described in our blueprint, the quality of your ingredients matters. We aren’t just looking for salt; we are looking for complexity and color. The “brown” in our glossy sauce comes from a combination of dark soy and caramelizing sugars.
Curly Yellow Noodles: You want a noodle with a high egg content or a specific alkaline treatment (like ramen or lo mein) to provide that signature bounce and yellow hue. Use 10 oz (285g) of dried noodles or 1 lb (450g) of fresh noodles. The curls are essential for trapping the tiny red pepper flakes and sesame seeds.
Chicken Thighs: While breast meat works, boneless skinless thighs provide the fat content necessary for deep caramelization. You will need 1.5 lbs (680g) of chicken, cut into bite-sized pieces. If you enjoy this flavor profile, you might also love our honey garlic chicken skewers.
The Garlic Foundation: Use 6 to 8 large cloves (approx. 30g) of fresh garlic. Avoid the pre-minced jars, as they lack the pungent oils required to flavor the oil during the initial sear. The garlic should be finely minced but not a paste, allowing small bits to toast and cling to the noodles.
Aromatic Liquid Gold: The sauce requires 1/2 cup (120ml) low-sodium soy sauce for the base, 2 tbsp (30ml) oyster sauce for body and gloss, and 3 tbsp (45g) brown sugar for that “sticky” finish. A splash of sesame oil, roughly 1 tsp (5ml), provides the final nutty aroma.
Foundational Invisible Ingredients: You cannot achieve this result without a high-smoke point oil. Use 2 tbsp (30ml) of avocado or vegetable oil. Additionally, 1 tsp (5g) of cornstarch mixed with a tablespoon of water creates the slurry that transforms a thin liquid into a glossy, thick glaze.
Must-Have Kitchen Tools for High-Heat Cooking
Achieving the seared caramelized chicken pieces described in our visual prompt requires the right heat conduction. A heavy-bottomed cast iron skillet or a traditional carbon steel wok is preferred. These materials retain heat, preventing the chicken from steaming in its own juices.
A set of sturdy tongs or a wide spatula is necessary for tossing the noodles vigorously without breaking the delicate curls. You will also need a sharp chef’s knife to achieve the “thinly sliced green onions” that serve as our primary fresh garnish. A small whisk is helpful for ensuring the cornstarch slurry is perfectly smooth before it hits the pan.

Mastering the Art of the Sticky Garlic Chicken Noodles
Success in stir-fry cooking is 90% preparation and 10% execution. Because the cooking process happens so quickly, you must have all ingredients measured and within arm’s reach. This is known in the professional culinary world as mise en place.
Step 1: Preparing the Noodle Foundation
Bring a large pot of water to a rolling boil. Add your curly yellow noodles and cook according to the package instructions, but stop exactly 1 minute early. This is “al dente” for stir-fry. The noodles will finish cooking in the sauce, absorbing the liquid rather than becoming mushy. Drain and rinse briefly with cool water to remove excess surface starch, then toss with 1 tsp (5ml) of oil to prevent sticking.
Step 2: The Art of the Golden Chicken Sear
Pat your chicken pieces bone-dry with paper towels. This is a critical step; moisture is the enemy of caramelization. Season with a pinch of salt. Heat your oil in the pan until it begins to shimmer and a wisp of smoke appears. Add the chicken in a single layer. Do not crowd the pan.
Let the chicken sit undisturbed for 3-4 minutes. You are looking for a deep, golden-brown crust to form—the “visible golden-brown caramelization” mentioned in our blueprint. Flip and sear the other side for another 2 minutes until fully cooked. Remove the chicken from the pan and set aside, leaving the flavorful rendered fat behind.
Step 3: Developing the Glossy Brown Garlic Sauce
Reduce the heat to medium. Add your minced garlic to the residual oil. Stir constantly for 30-45 seconds. You should smell the fragrance immediately, and the garlic should turn a pale golden color. If it turns dark brown, it will be bitter, and you must start over. Pour in your soy sauce, oyster sauce, and brown sugar mixture.
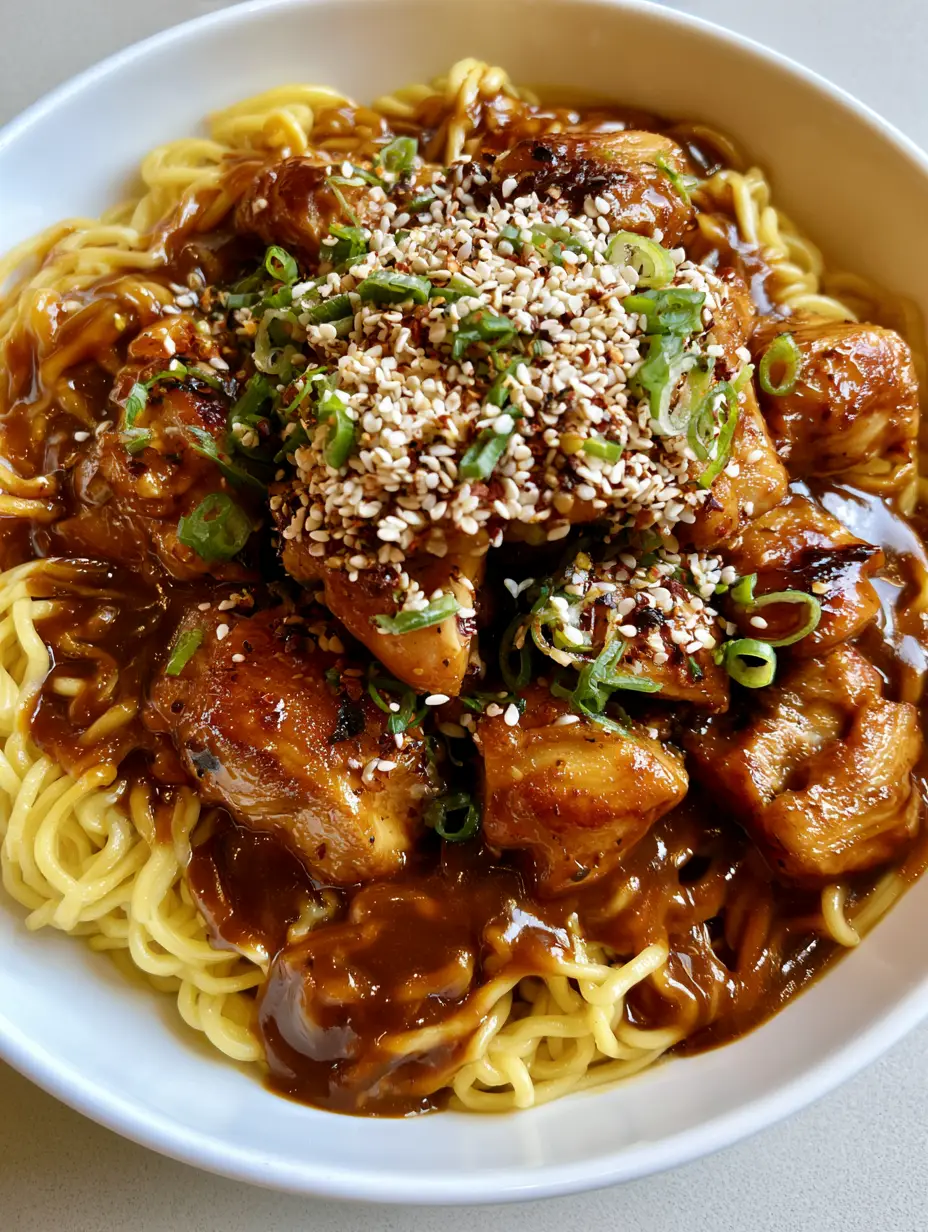
Bring the liquid to a simmer. Whisk in your cornstarch slurry. Within seconds, the sauce will transform from a thin brown liquid into a thick, glossy glaze. It should be thick enough to coat the back of a spoon. This is the “glossy, thick brown garlic sauce” that defines this dish.
Step 4: The Final Toss and Garnish Execution
Return the caramelized chicken to the pan and add your cooked curly noodles. Using tongs, toss everything vigorously over medium-high heat. The noodles should be completely drenched in the brown sauce, and the chicken should be evenly distributed. Continue tossing for 1-2 minutes until the sauce has reduced slightly and is clinging tightly to every surface.
Remove from heat immediately. Transfer the Sticky Garlic Chicken Noodles to a shallow white bowl. Now, we apply the visual finishing touches: a heavy dusting of white sesame seeds, a handful of thinly sliced green onions, and a sprinkle of tiny red pepper flakes for heat and color contrast.
Expert Tips for stir-fry Success
- Noodle Choice: If you cannot find fresh yellow noodles, high-quality instant ramen noodles (discarding the flavor packet) work beautifully due to their curly texture.
- The “Wok Hei” Effect: If using a gas stove, tilt the pan slightly toward the flame while tossing to catch a bit of the heat, which adds a subtle smoky flavor characteristic of professional kitchens.
- Deglazing: If the sauce becomes too thick too quickly, add a splash of chicken broth or water, 1 tbsp (15ml) at a time, to loosen it back to a glossy consistency.
- Balanced Heat: The red pepper flakes are intended for visual pop and a back-of-the-throat warmth. If you prefer a spicier dish, add 1 tsp (5ml) of chili garlic sauce to the liquid mixture.
The Science of Caramelization vs. Maillard Reaction
In this recipe, we are utilizing two scientific processes. The Maillard reaction occurs between the amino acids in the chicken and the reducing sugars, creating that savory, crusty exterior. The caramelization occurs when the brown sugar in the sauce reaches high temperatures, creating the “sticky” and “glossy” attributes. For more high-protein meals with great texture, check out our garlic-parmesan chicken pasta or our sticky Mongolian meatballs.
Storage, Reheating, and Meal Prep Advice
These noodles are best served immediately to maintain the “glossy” appearance. However, they do store well. Place leftovers in an airtight container and refrigerate for up to 3 days. When reheating, the sauce will have been absorbed by the noodles. To restore the texture, add a splash of water or soy sauce before microwaving or reheating in a pan.
We do not recommend freezing this dish, as the texture of the yellow noodles can become grainy and soft upon thawing. For a meal-prep friendly option that freezes better, consider our Doritos chicken casserole.
What to Serve With These Sticky Garlic Chicken Noodles
Because this dish is so rich and savory, it pairs best with bright, acidic, or crunchy side dishes. A simple cucumber salad with rice vinegar or steamed bok choy provides a refreshing contrast. If you are looking for a complete Mediterranean-Asian fusion weeknight, you might pair these flavors with a side of mediterranean chicken orzo (coming soon) for different textural variety throughout the week.
Frequently Asked Questions
Absolutely! Sliced bell peppers, broccoli florets, or snap peas work well. Sauté them after the chicken and before adding the garlic for the best results.
Yes, substitute the soy sauce for tamari or coconut aminos, use a gluten-free oyster sauce, and swap the noodles for rice noodles or gluten-free ramen.
The secret is to pat the chicken completely dry with paper towels and sear it in a very hot pan with oil, leaving it undisturbed for several minutes to develop a crust.
Curly yellow egg noodles or alkaline ramen noodles are best because their texture allows the glossy sauce to cling to the ridges, providing a better flavor in every bite.
You likely need to add a cornstarch slurry (cornstarch mixed with cold water). Once heated, the starch gelatinizes, creating that signature thick, translucent shine.
The Ultimate Sticky Garlic Chicken Noodles Recipe
Sticky Garlic Chicken Noodles with Glossy Brown Sauce
Ingredients
Equipment
Method
- Cook curly yellow noodles in boiling water, draining 1 minute before package instructions for 'al dente' texture.
- Heat oil in wok. Add chicken in a single layer. Sear until deep golden-brown caramelization forms (3-4 mins), then flip and finish.
- Sauté minced garlic in residual oil for 30 seconds until aromatic.
- Add soy sauce, oyster sauce, and brown sugar. Simmer, then stir in cornstarch slurry until glossy and thick.
- Toss noodles and chicken in the sauce until heavily coated and sticky.
Notes
Ensure chicken is bone-dry before searing for maximum caramelization.
Bring the Restaurant Home Today
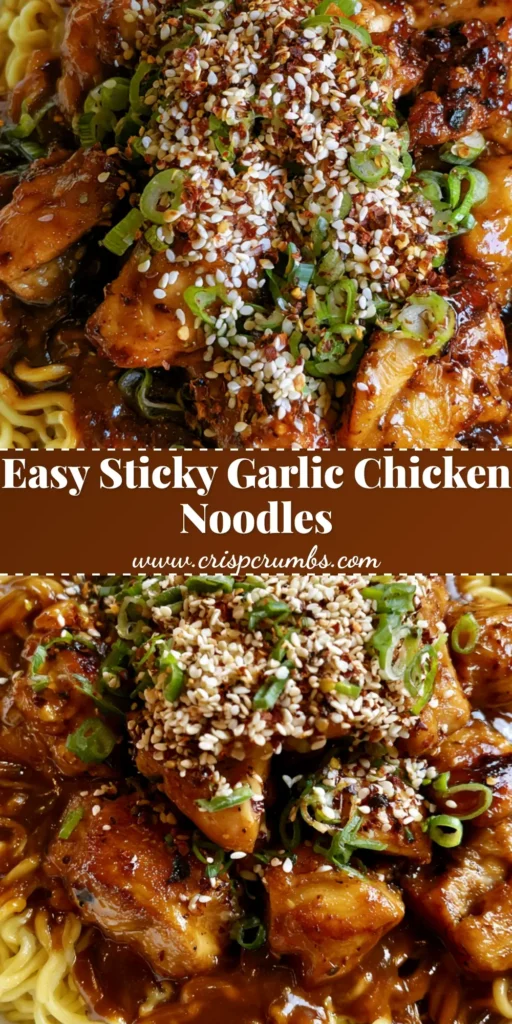
These Sticky Garlic Chicken Noodles are more than just a quick dinner; they are a masterclass in balancing textures and flavors. From the crunch of the sesame seeds to the bounce of the curly yellow noodles, every element is designed to satisfy. Whether you are cooking for a busy family or looking for a comforting solo meal, this recipe delivers on its promise of glossy, garlic-infused perfection.
If you enjoyed this recipe, please leave a comment below and let us know how your caramelization turned out! Don’t forget to share your creations with us on Pinterest and follow CrispCrumbs for more culinary inspiration.


