There is a specific, primal joy that comes from the sizzle of a split sausage hitting a hot grate. These Grilled Kielbasa Sandwiches are designed to capture that exact sensory experience, delivering a symphony of textures from the snap of the charred casing to the pillowy softness of a toasted hoagie roll.
When you bite into these Grilled Kielbasa Sandwiches, you aren’t just eating a meal; you are experiencing a Masterclass in contrast. The deep, smoky savoriness of the beef kielbasa is perfectly offset by the translucent, jammy sweetness of slow-caramelized onions and the earthy, blistered skin of colorful bell peppers.
Whether you are hosting a summer backyard bash or looking for a high-impact weeknight dinner, this recipe delivers a visual and culinary punch. The glistening, juicy surface of the sausage and those iconic dark char lines make this a dish that looks as professional as it tastes.
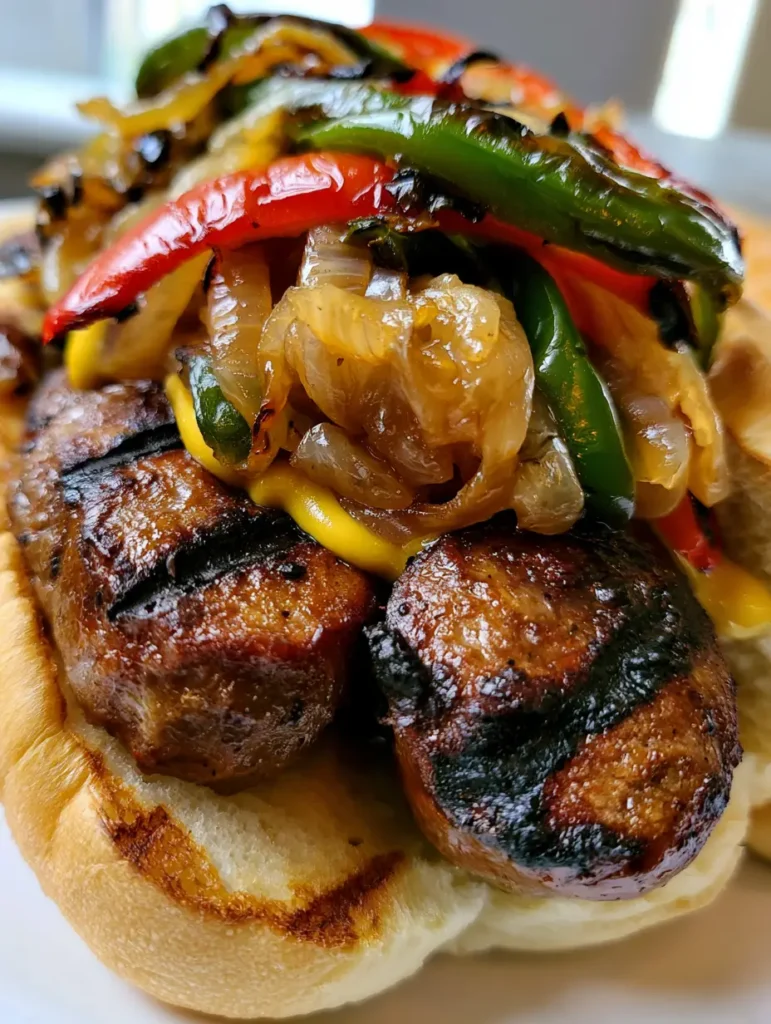
The Anatomy of the Ultimate Grilled Kielbasa Sandwiches
- Deeply Charred Beef Kielbasa: By splitting the sausage lengthwise, we maximize the surface area for the Maillard reaction, creating those gorgeous, smoky char marks seen in our blueprint.
- Jammy Caramelized Onions: We move beyond simple sautéing to achieve a translucent, almost spreadable texture that acts as a sweet counterpoint to the salty beef.
- Blistered Pepper Strips: High-heat searing ensures the red and green bell peppers are softened yet retain a slight bite, with skins that are intentionally charred for flavor.
- Toasted White Hoagie Buns: A golden-brown interior with visible grill marks provides the structural integrity needed to hold this mountain of toppings.
- The Tangy Finish: A classic yellow mustard drizzle provides the necessary acidity to cut through the richness of the grilled meats and oils.
Essential Ingredients for a Glistening Sausage Hoagie
To recreate the exact look of our Grilled Kielbasa Sandwiches, you must start with high-quality beef kielbasa. Look for “U” shaped rings of smoked sausage that have a firm casing, which will provide that essential “snap” when bitten into.
For the onions, sweet varieties like Vidalia or Walla Walla are non-negotiable. Their high sugar content allows them to transform into the jammy, translucent ribbons required for the authentic visual profile of this sandwich.
Main Components:
1 lb (454g) Beef Kielbasa: This should be sliced into roughly 6-inch (15cm) lengths and then halved lengthwise to create a flat surface for those iconic grill marks.
2 large (approx. 600g) Sweet Onions: Peeled and thinly sliced into half-moons; these will reduce significantly during the caramelization process.
1 large (200g) Red Bell Pepper: Deseeded and cut into thin, uniform strips to ensure even blistering.
1 large (200g) Green Bell Pepper: These provide a slightly bitter, earthy balance to the sweetness of the red peppers and onions.
4 Classic White Hoagie Buns: Choose a variety that is soft but dense enough to handle the moisture from the onions and sausage juices.
Foundational Additions:
2 tbsp (30ml) Extra Virgin Olive Oil: Used for coating the peppers and onions to facilitate heat transfer and prevent sticking on the grates.
1 tbsp (15g) Unsalted Butter: Added to the onions in the final stages of cooking to create that glistening, “jammy” appearance described in our prompt.
1/2 tsp (3g) Kosher Salt: Essential for drawing moisture out of the onions so they brown rather than steam.
2 tbsp (30ml) Yellow Mustard: A sharp, tangy condiment that adds a vibrant yellow pop of color and essential acidity.
Kitchen Tools for Mastering the Perfect Char
Achieving the professional, “handheld smartphone photo” quality of these Grilled Kielbasa Sandwiches requires a few specific tools. A heavy-duty cast iron grill pan or an outdoor gas grill is essential for those deep, dark char lines on both the meat and the bread.
You will also need a wide stainless steel or cast iron skillet for the onions. A wider surface area allows for better evaporation, which is the secret to getting onions jammy and translucent rather than mushy.
Finally, a pair of long-handled silicone tongs is vital. These allow you to flip the delicate, blistered peppers and the split kielbasa without tearing the skin or losing that precious glistening fat.

Step-by-Step: From Raw Prep to Blistered Perfection
Preparing the Kielbasa and Aromatics
Begin by slicing your beef kielbasa into segments that fit your hoagie rolls, typically about 6 inches (15cm). Using a sharp chef’s knife, split each segment lengthwise, but do not cut all the way through if you prefer a “butterfly” style, though for our visual blueprint, two distinct halves are ideal.
Slice your sweet onions into thin half-moons and your peppers into 1/4-inch (6mm) strips. Toss the peppers in a light coating of olive oil and a pinch of salt; this ensures they blister immediately upon contact with the heat rather than drying out.
Achieving the Jammy Onion Texture
In a skillet over medium-low heat, add the onions with a teaspoon of oil and a pinch of salt. Cook them slowly, stirring occasionally, for 20-25 minutes. If they begin to stick, add a tablespoon of water to deglaze the pan.
During the last 5 minutes, stir in the butter. You are looking for a visual cue where the onions become translucent and take on a deep, golden hue. They should look “jammy” and soft, providing the perfect bed for our Grilled Kielbasa Sandwiches.
Grilling the Sausage and Blistering Peppers
Preheat your grill or grill pan to medium-high heat. Place the kielbasa halves cut-side down first. Press down slightly to ensure maximum contact. Sear for 3-4 minutes until dark, defined char lines appear and the fat begins to glisten on the surface.
Simultaneously, place your pepper strips on the hottest part of the grill. Watch for the skin to bubble and turn black in spots—this is the “blistered” effect we want. Flip them frequently until they are softened but still vibrant in color.
The Perfect Bun Toast
Open your hoagie buns and lightly brush the interior with a tiny amount of oil or butter. Place them face-down on the grill for 60-90 seconds. You are looking for a golden-brown crust with visible grill marks that match the “toasted white hoagie bun” description from our recipe blueprint.
Pro Secrets for a Glistening, Visual Masterpiece
- Don’t Overcrowd the Pan: When caramelizing onions, overcrowding causes them to steam. Use a large pan so the moisture can escape, leading to that jammy consistency.
- Temperature Control: If your grill is too cold, the kielbasa will dry out before it chars. High heat is the key to a juicy interior and a blackened exterior.
- The “Steam Hack”: If your peppers are charred but still too firm, toss them into a bowl and cover with plastic wrap for 2 minutes after grilling. The steam will soften the flesh perfectly.
- Mustard Placement: For the best visual, drizzle the mustard in a thin zigzag between the sausage and the peppers rather than just globbing it on top.
Storage, Reheating, and Make-Ahead Tips
While Grilled Kielbasa Sandwiches are best enjoyed fresh from the grill, you can prepare the caramelized onions and blistered peppers up to 3 days in advance. Store them in an airtight container in the refrigerator and reheat in a skillet before serving.
The grilled kielbasa itself can be refrigerated for up to 4 days. To reheat, we recommend using a toaster oven or a skillet rather than a microwave to maintain the snap of the casing and the integrity of those char marks.
We do not recommend freezing the assembled sandwiches, as the hoagie bun will become soggy upon thawing. However, you can freeze the grilled kielbasa and the onion/pepper mixture for up to 2 months.
What to Serve with Your Smoked Sausage Masterpiece
To round out this meal, you need sides that offer a bright contrast to the heavy, smoky flavors of the beef. A cool and crunchy creamy jalapeno slaw (coming soon) is the ultimate companion, providing a spicy acidity that cleanses the palate between bites.
If you are looking for something heartier, a side of one-pot black beans and rice mirrors the smoky notes of the kielbasa while adding a different textural element. For a fun appetizer before the main event, consider serving these alongside some blueberry brie jalapeno poppers.
If you happen to have leftovers of the sausage and peppers, they make an incredible topping for an Amish hamburger casserole or can be chopped up to fill a spicy chipotle breakfast sandwich the following morning.
Frequently Asked Questions
Yes, but keep in mind that turkey kielbasa has less fat, so it may dry out faster. Lightly brush the meat with oil before grilling to help achieve those glistening char marks and prevent sticking.
No, it’s not necessary as most kielbasa is pre-cooked/smoked. Grilling it directly from the package allows the fat to render and the casing to become crispy and charred, which provides a better texture than boiling.
Apply a very thin layer of butter or oil to the interior of the bun and place it on the grill for only 60-90 seconds. Watch it closely; you want a golden brown color with visible grill marks, not a blackened crust.
The key is low and slow heat with a bit of salt to draw out moisture. Finish the onions with a tablespoon of butter at the end of the cooking process to give them that translucent, glistening, and spreadable texture.
For maximum char and flavor, slice the kielbasa into 6-inch lengths and then halve them lengthwise. This creates a flat surface that stays in contact with the grill, resulting in better caramelization and those iconic char marks.
The Ultimate Grilled Kielbasa Sandwiches Recipe Card
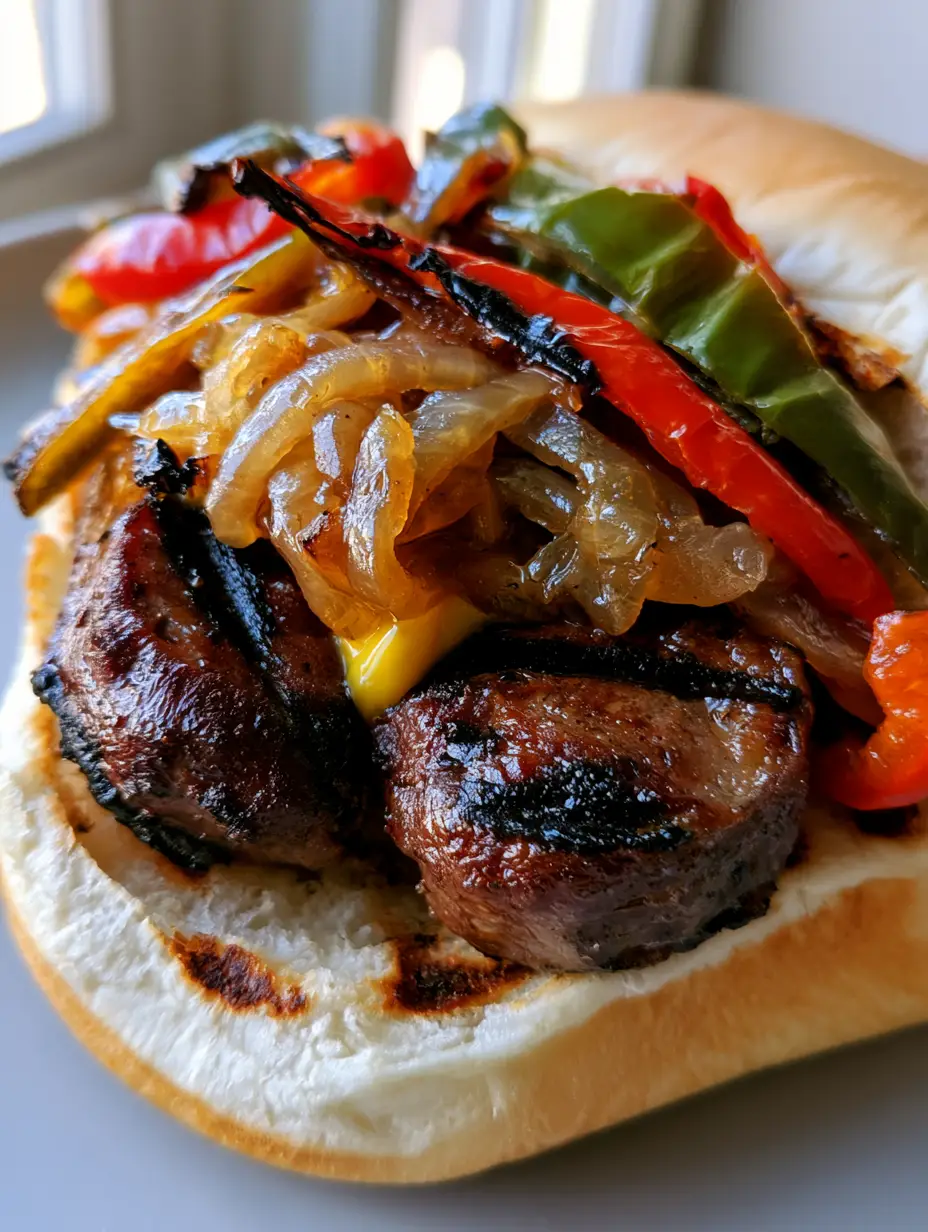
Grilled Kielbasa Sandwiches with Charred Peppers and Jammy Onions
Ingredients
Equipment
Method
- Heat 1 tbsp olive oil in a skillet over medium-low heat. Add onions and salt. Cook for 20-25 minutes until translucent and jammy, adding butter in the last 5 minutes.
- Toss pepper strips with remaining olive oil. Split kielbasa lengths in half.
- Place kielbasa cut-side down on a hot grill (medium-high). Grill for 3-4 minutes until dark char lines appear. Add peppers to the grill until skins are blistered and charred.
- Place hoagie buns face-down on the grill for 60 seconds until golden brown with visible grill marks.
- Place two kielbasa halves on each bun. Top with a thick layer of jammy onions and blistered peppers. Drizzle with yellow mustard and serve immediately.
Notes
Ensure the grill is preheated to high to get those glistening char marks without overcooking the meat.
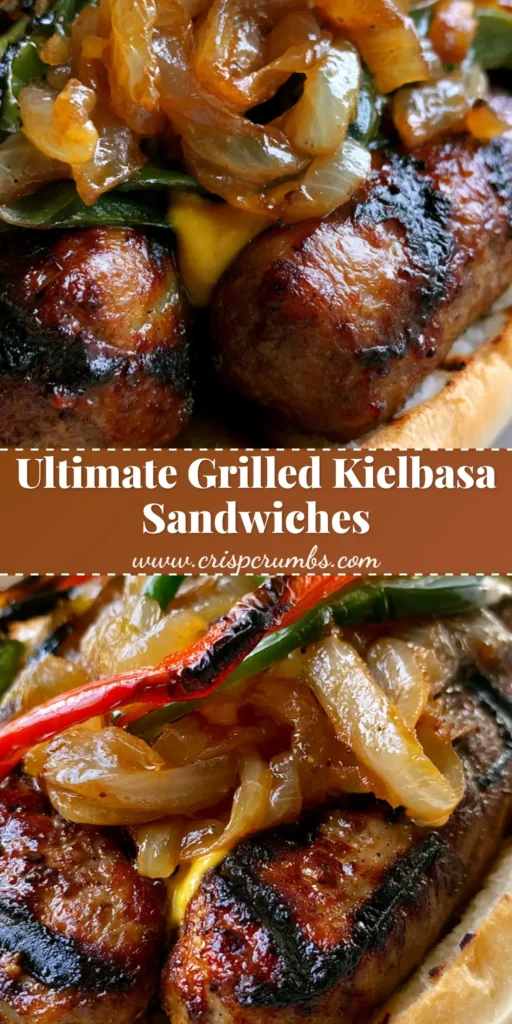
Bring the Sizzle Home
Mastering the art of Grilled Kielbasa Sandwiches is a surefire way to elevate your grilling game. The combination of high-heat charring and low-and-slow onion caramelization creates a professional-grade sandwich that is as beautiful to look at as it is delicious to eat. Don’t forget to snap a photo of your glistening creation and share it with us!
If you loved this recipe, please leave a comment below and let us know your favorite sandwich toppings. Be sure to sign up for our newsletter for more culinary deep-dives and follow us on Pinterest for daily inspiration!


